
I have collected many pairs of earrings over the years, but I have always been terrible at organising them properly. I had a wooden box I kept my earrings in. I used to forget about some of my best pairs because they were buried underneath other earrings at the bottom of my jewellery box. On occasions I couldn’t pair the earrings together because of the mess in the box. After years of ‘struggle’ I decided to find a better way to store my earing collection. I have done my research you can check out my post about 25 Fabulous Jewellery Organising Ideas to see some more jewellery organising projects that might interest you.
Below is a tutorial of how to create an earring holder out of a picture frame. Enjoy!
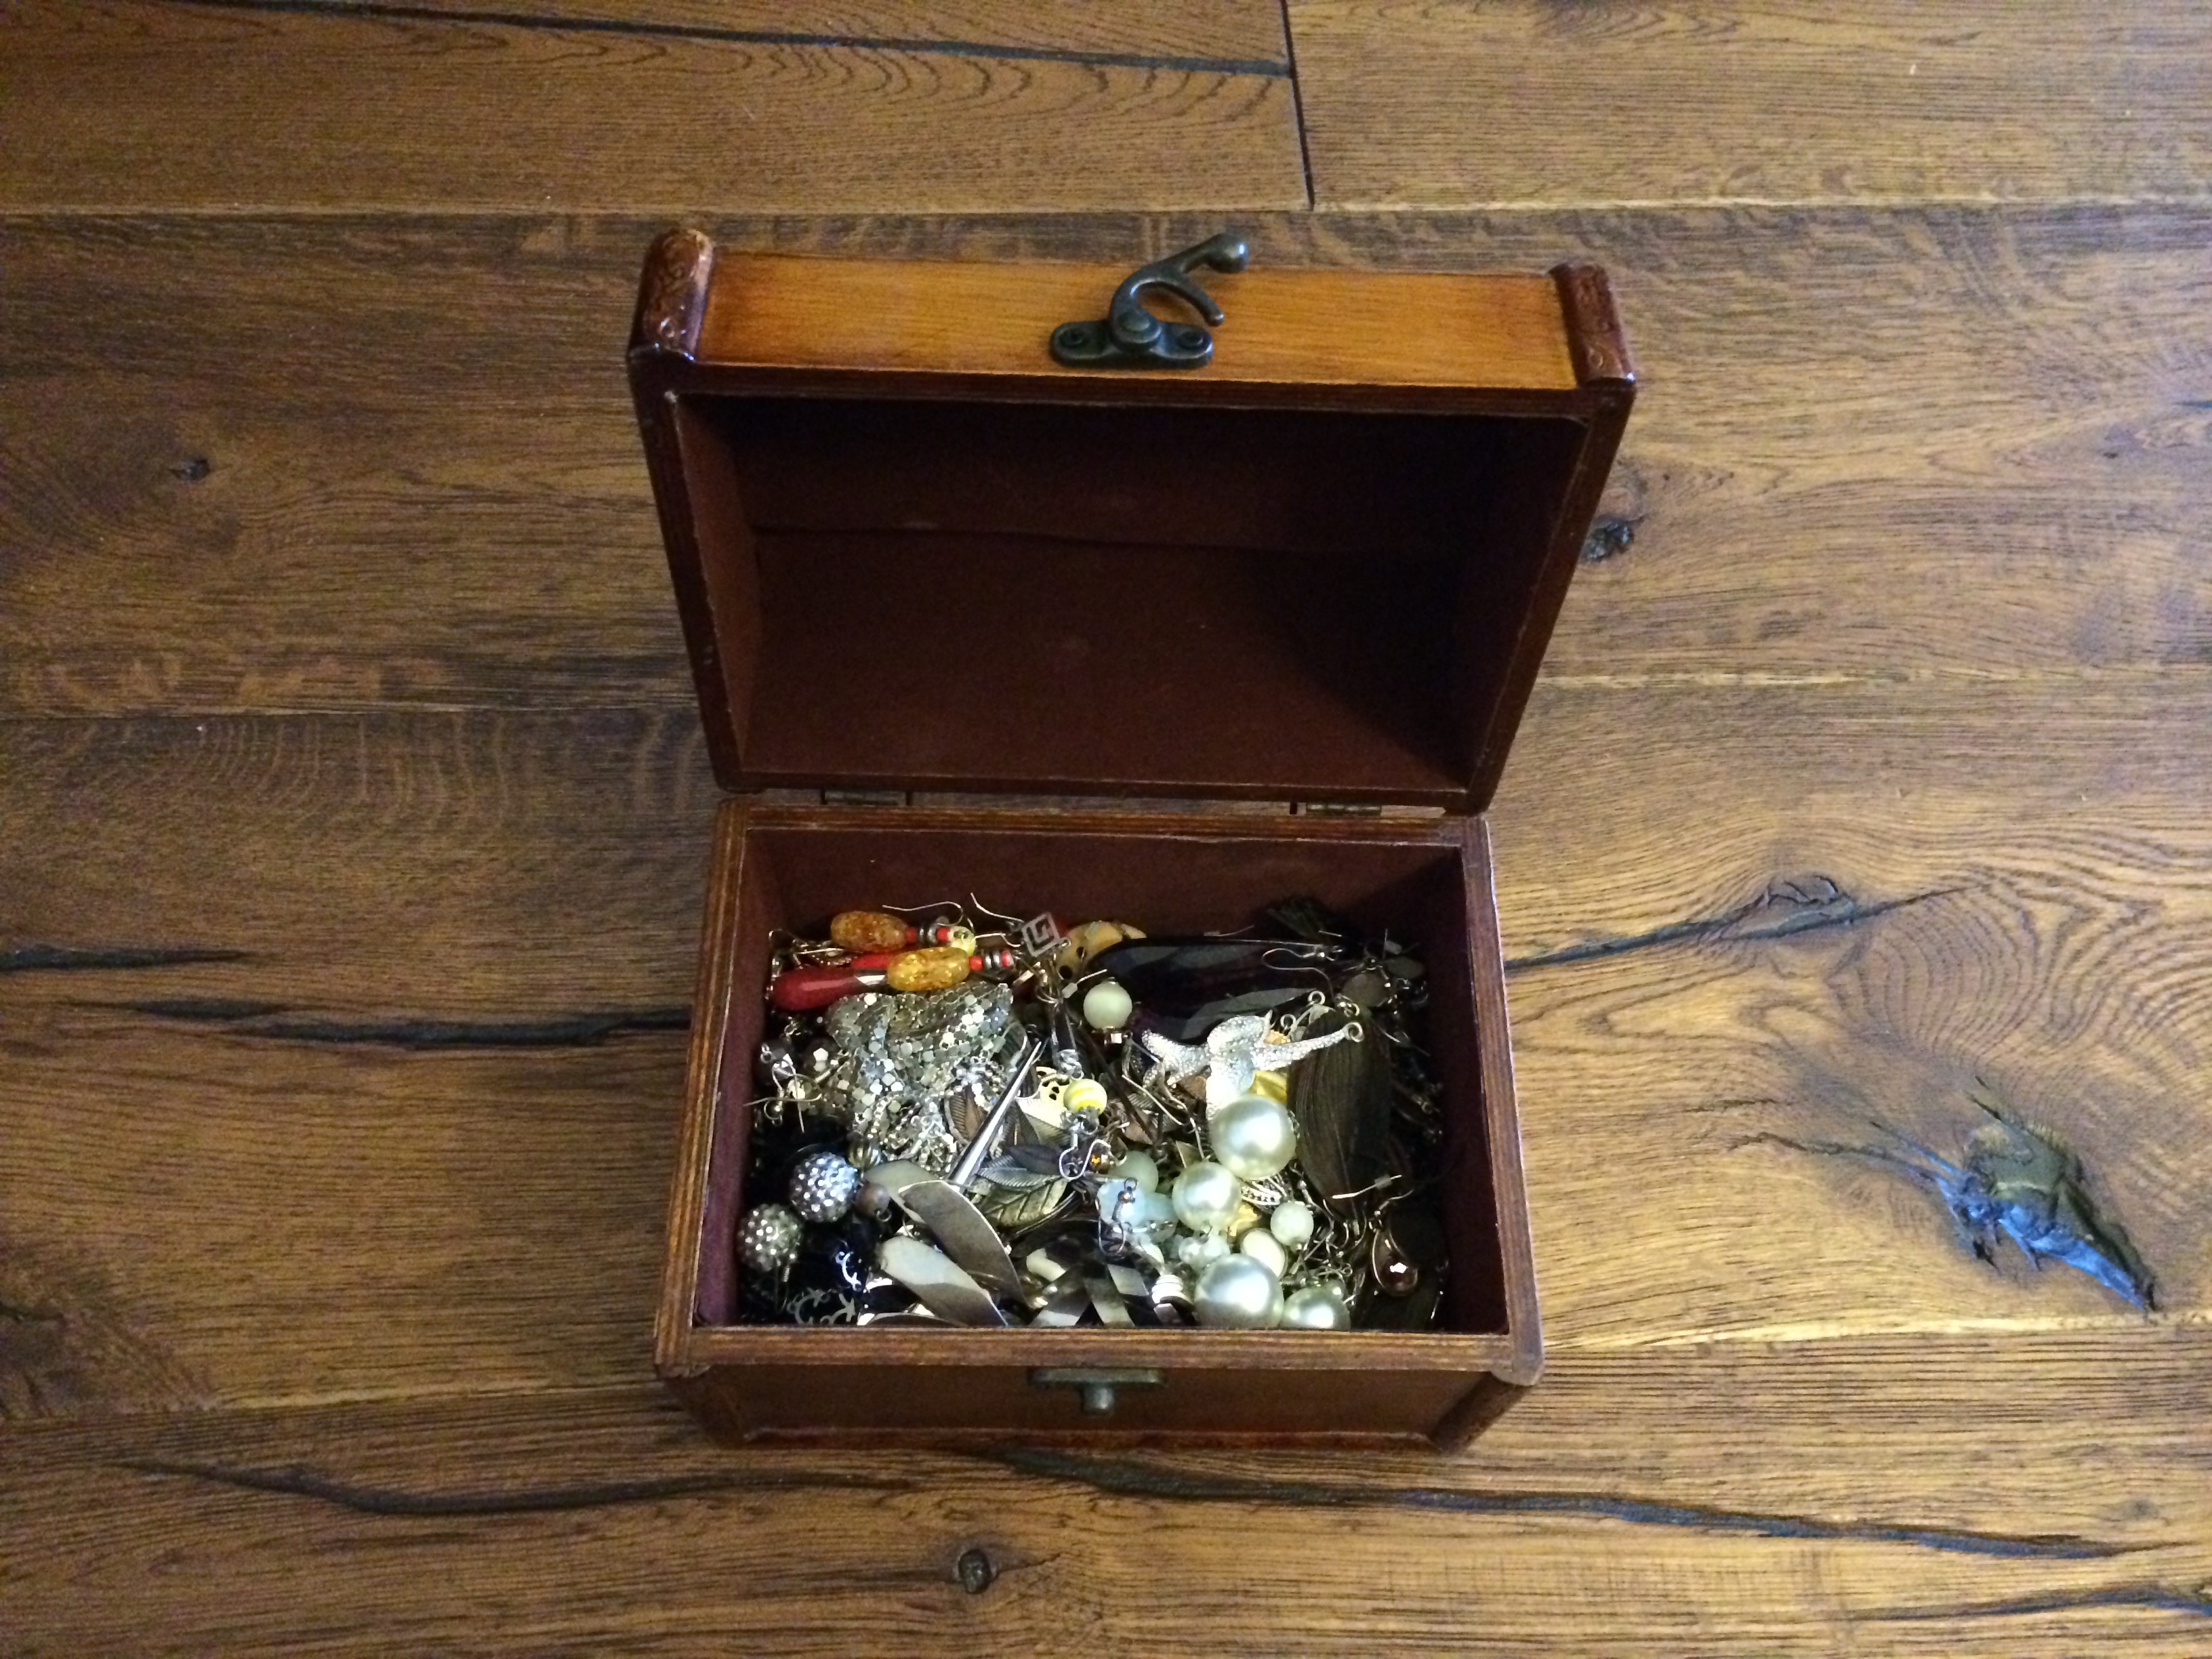
BEFORE
My inglorious old earring box.
Step 1. Prepare
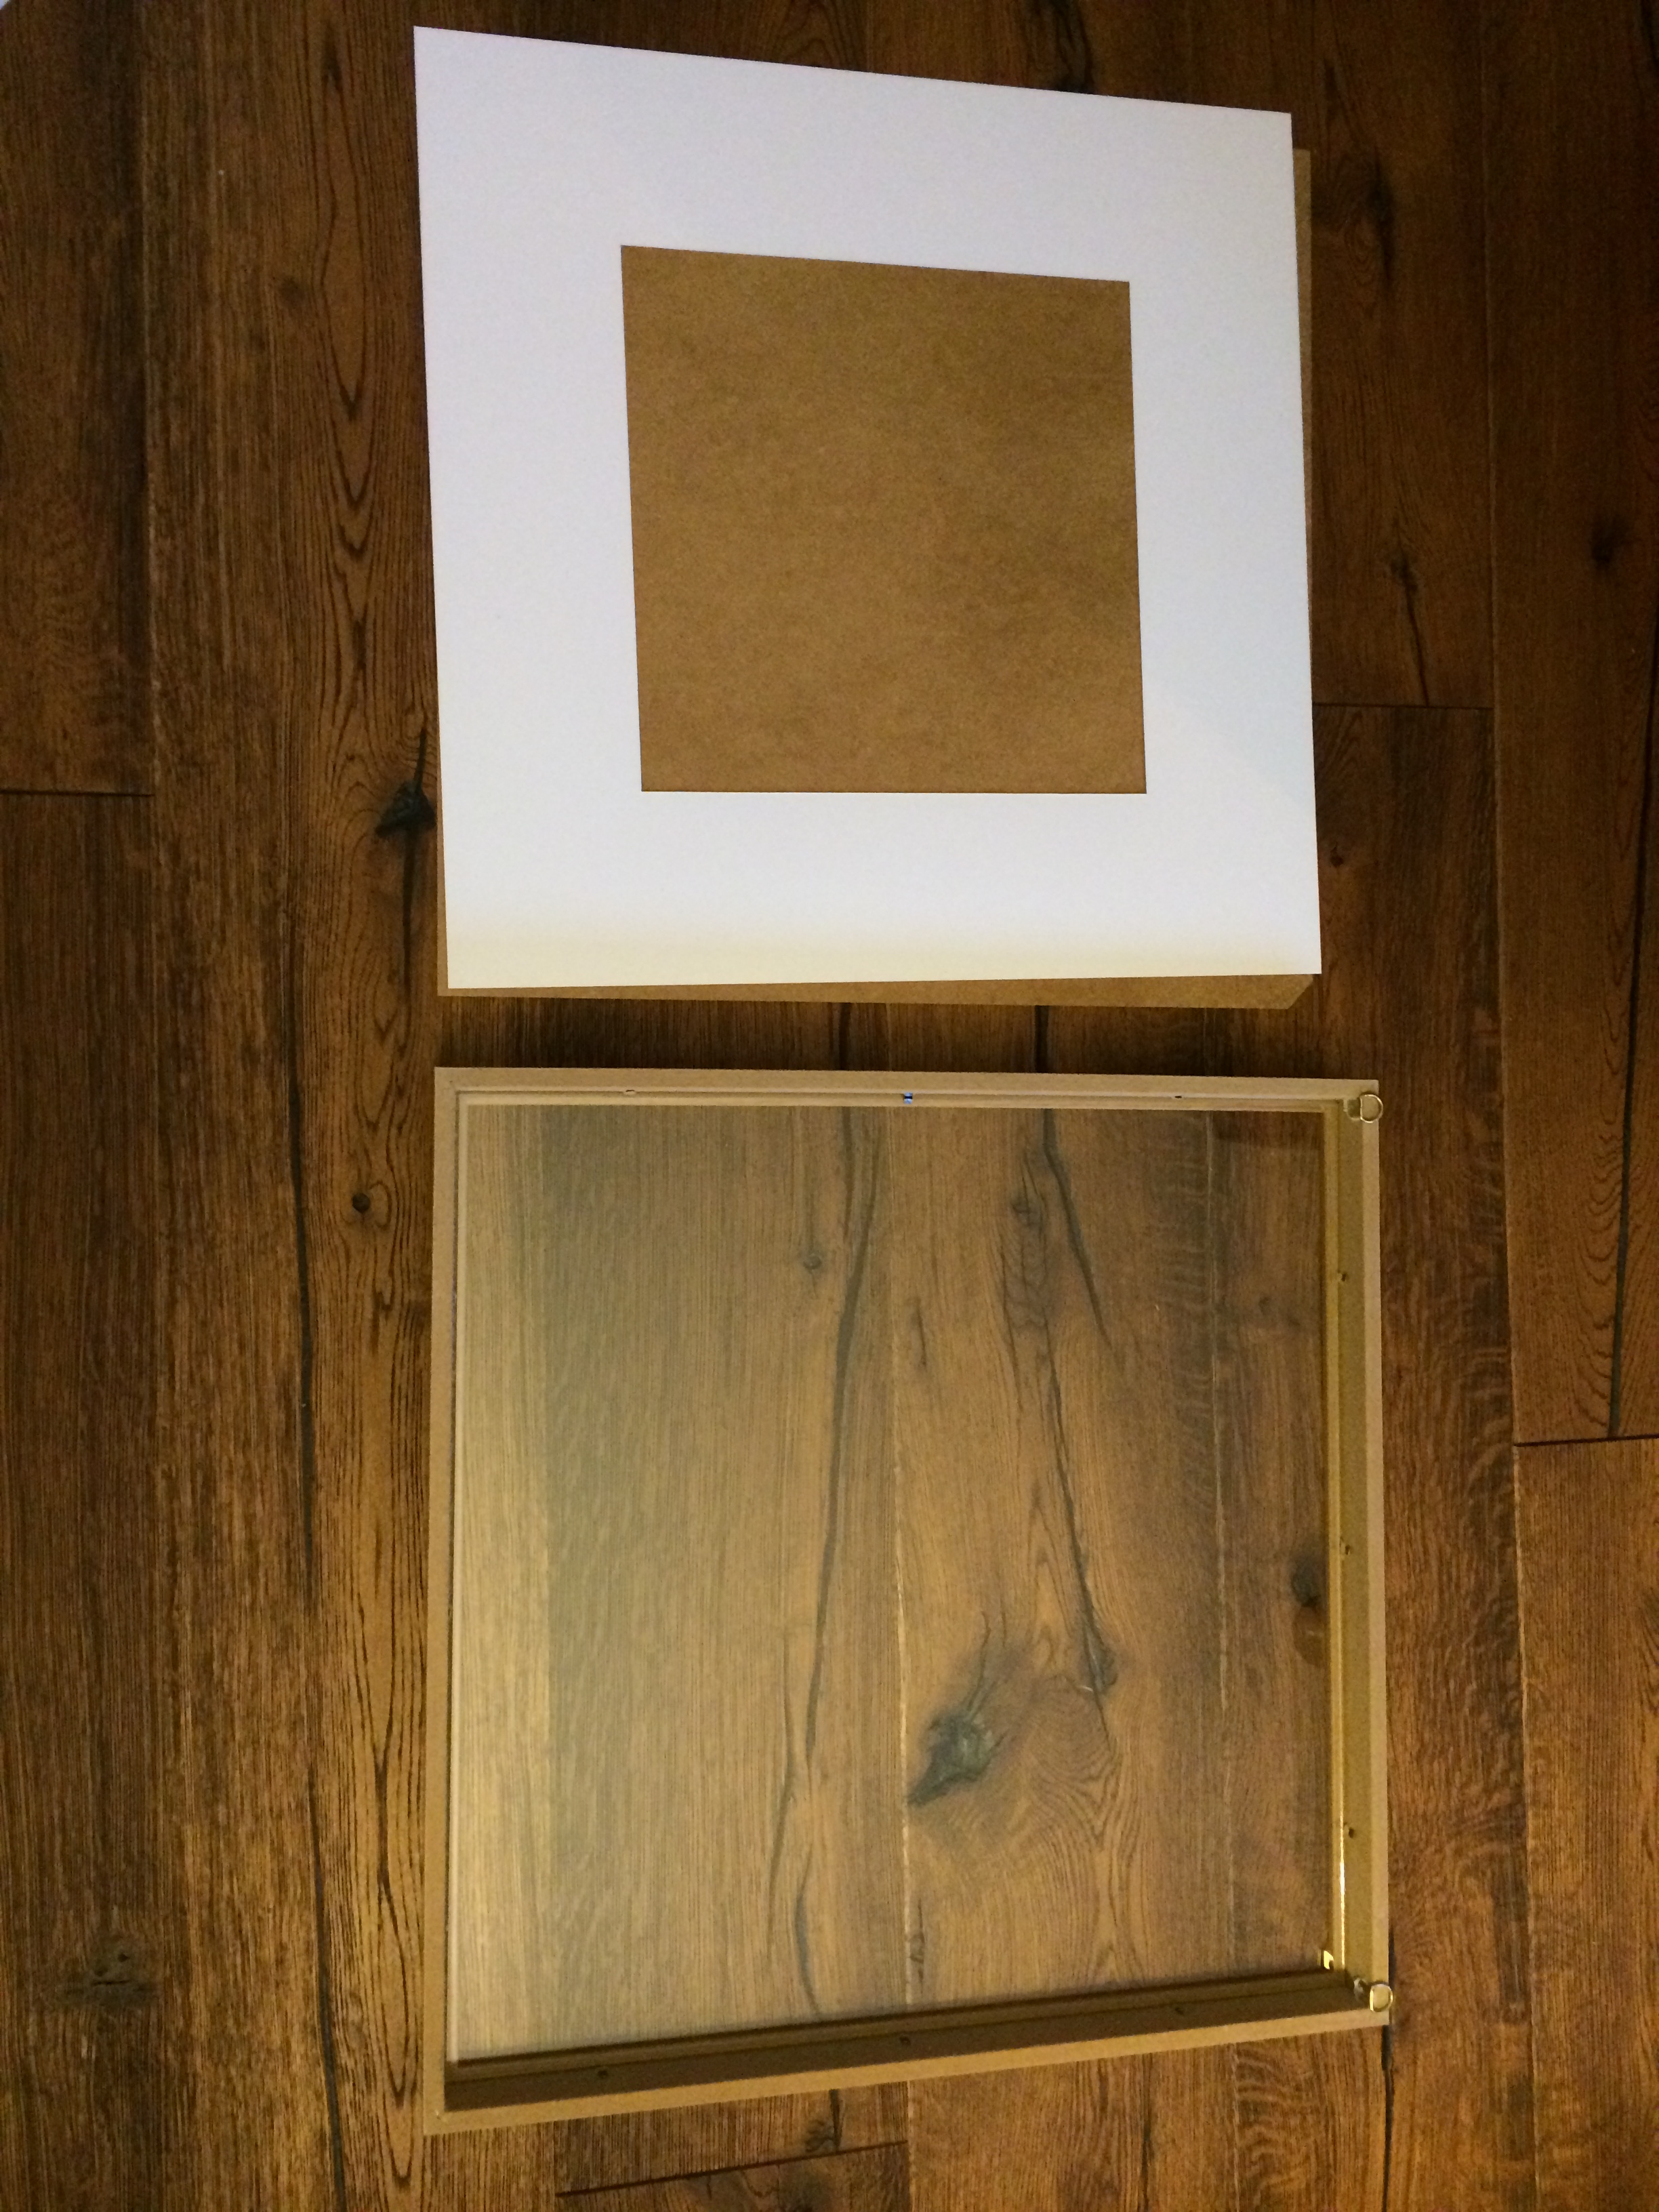
Get a frame! Feel free to use any frame you want. Just make sure it’s big enough to hold your whole collection of earrings. I decided to go with Ribba Frame Oak Effect because our walk-in wardrobe furniture were from Ikea and they were oak veneered too. It’s a large frame with glass and cream mount costing £9.

Step 2. Cut it
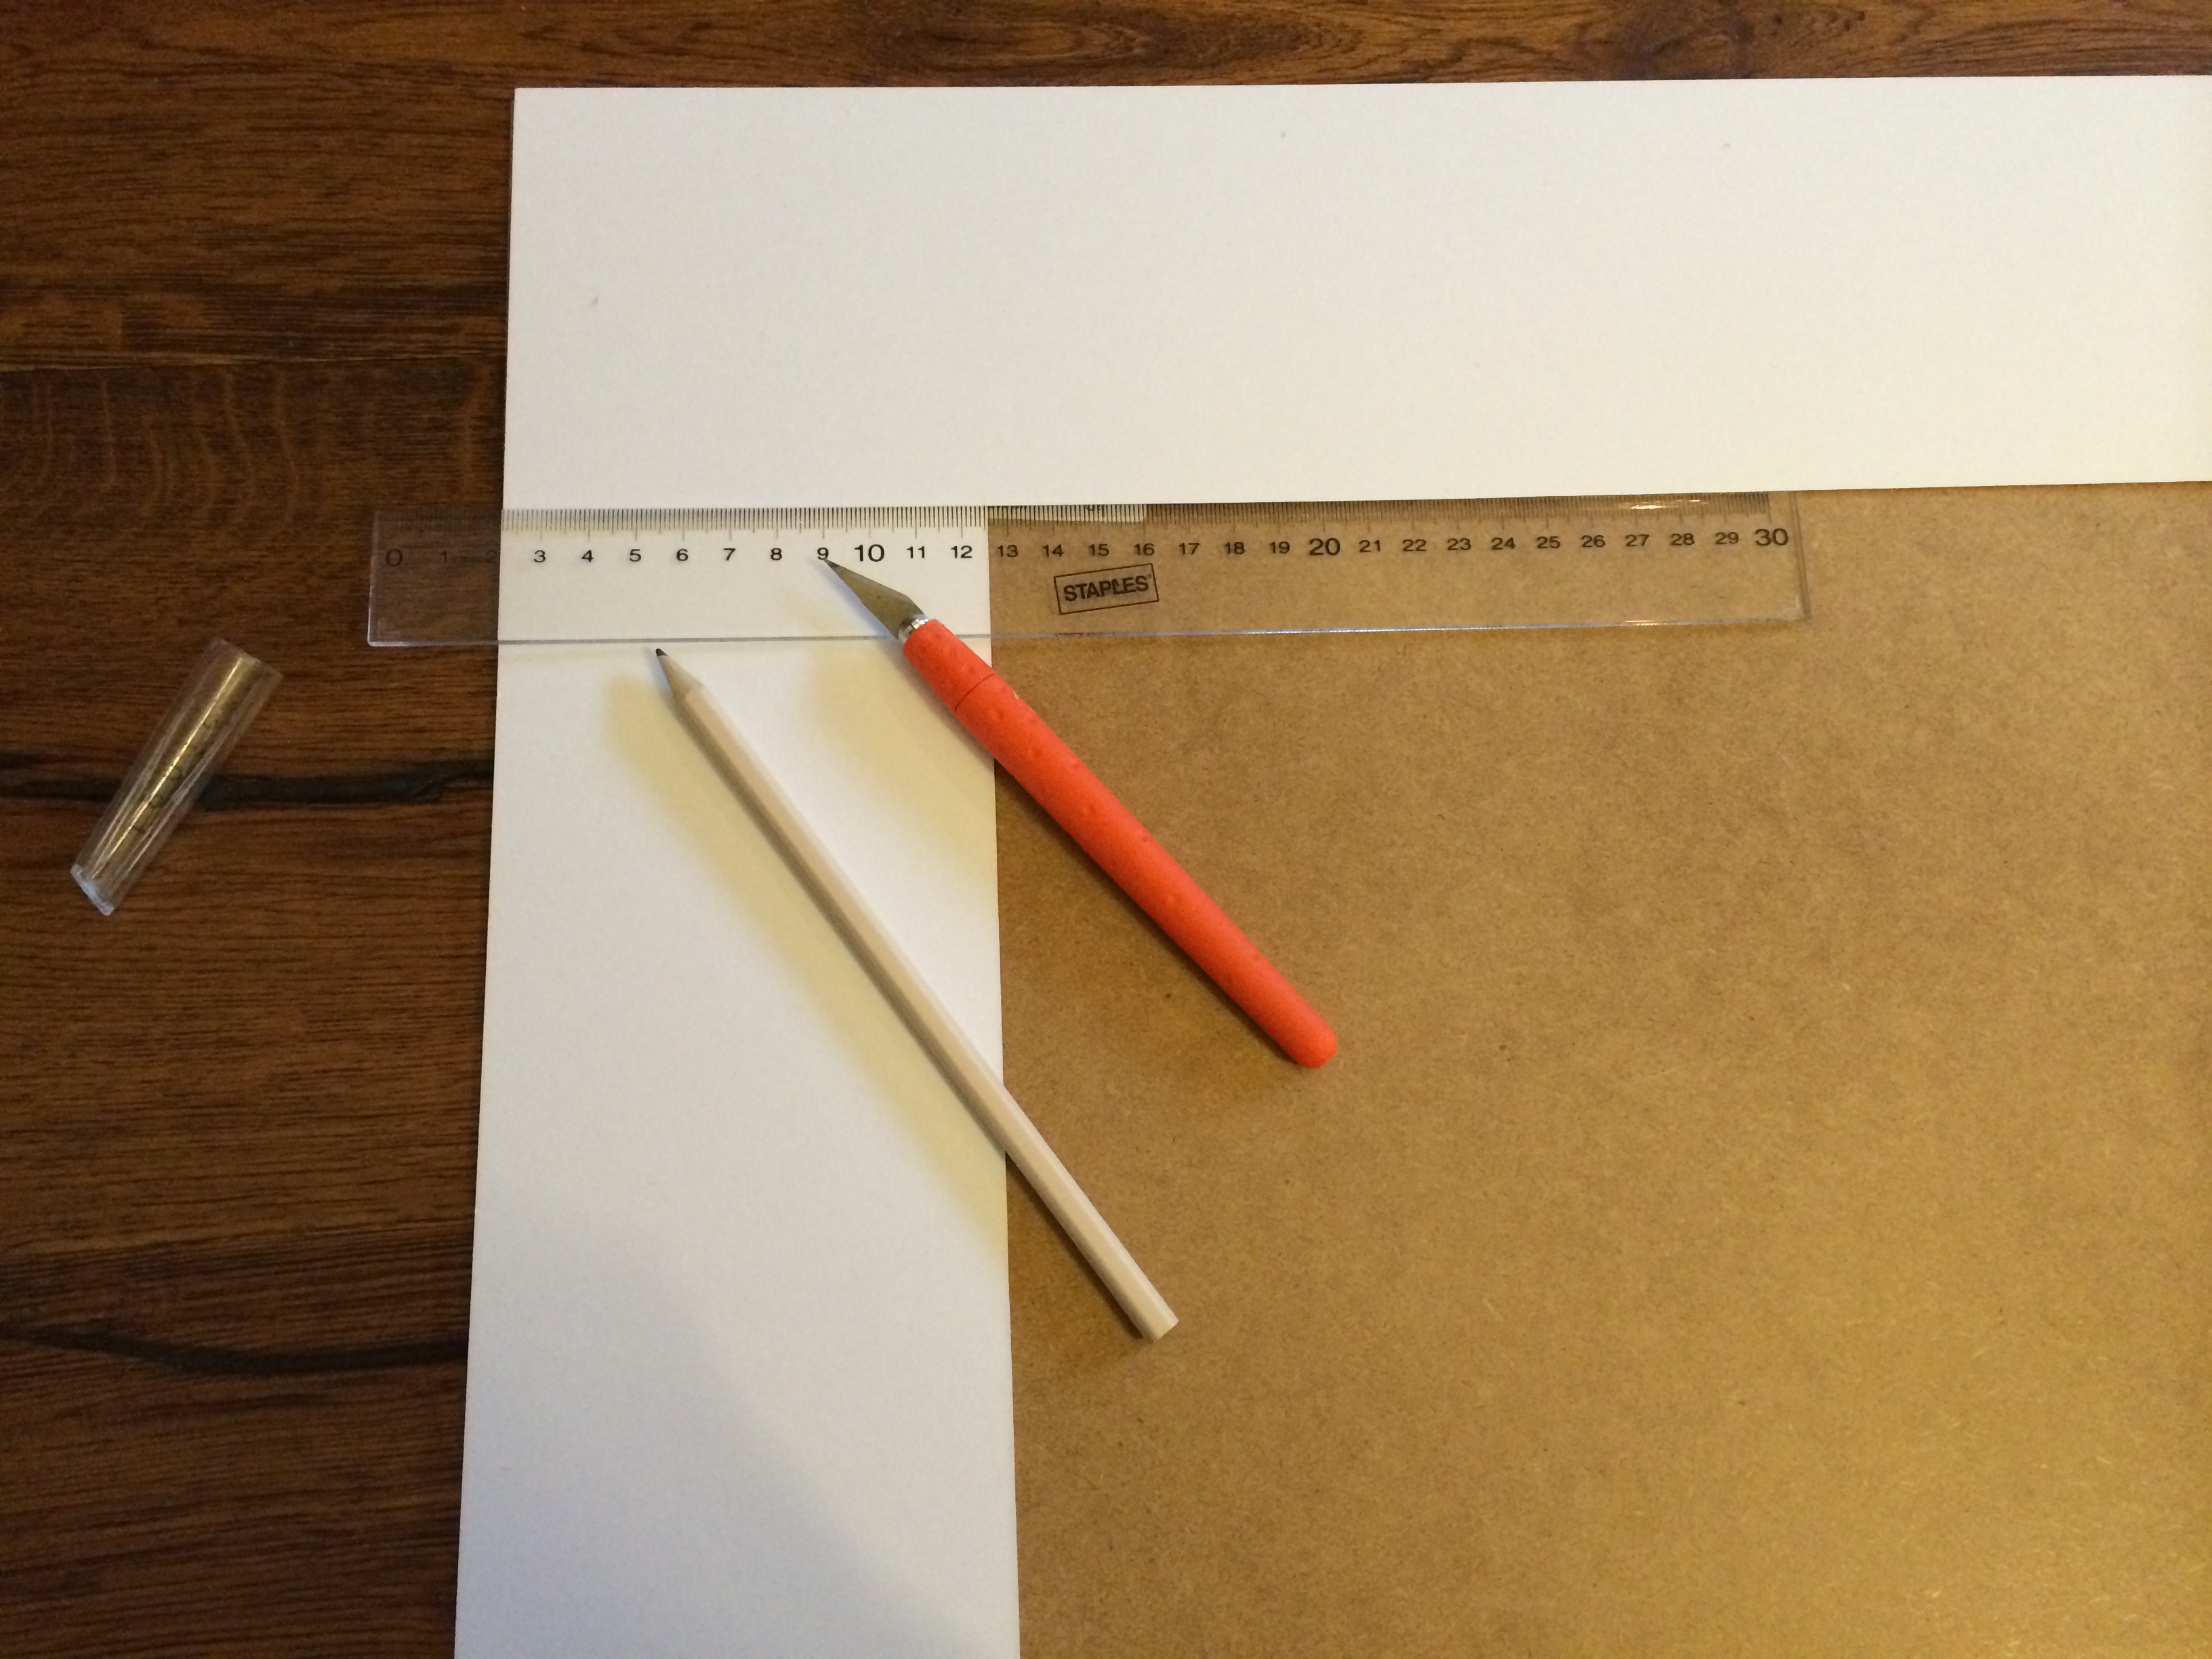
Remove the mount and glass from the frame (I decided not to remove the mount, but make it smaller using a craft knife).You don’t have to have a mount if you think your earring holder with a mount might be too small for your collection. If you don’t have one and you want one you can make it from a paper sheet purchased at any craft shop.
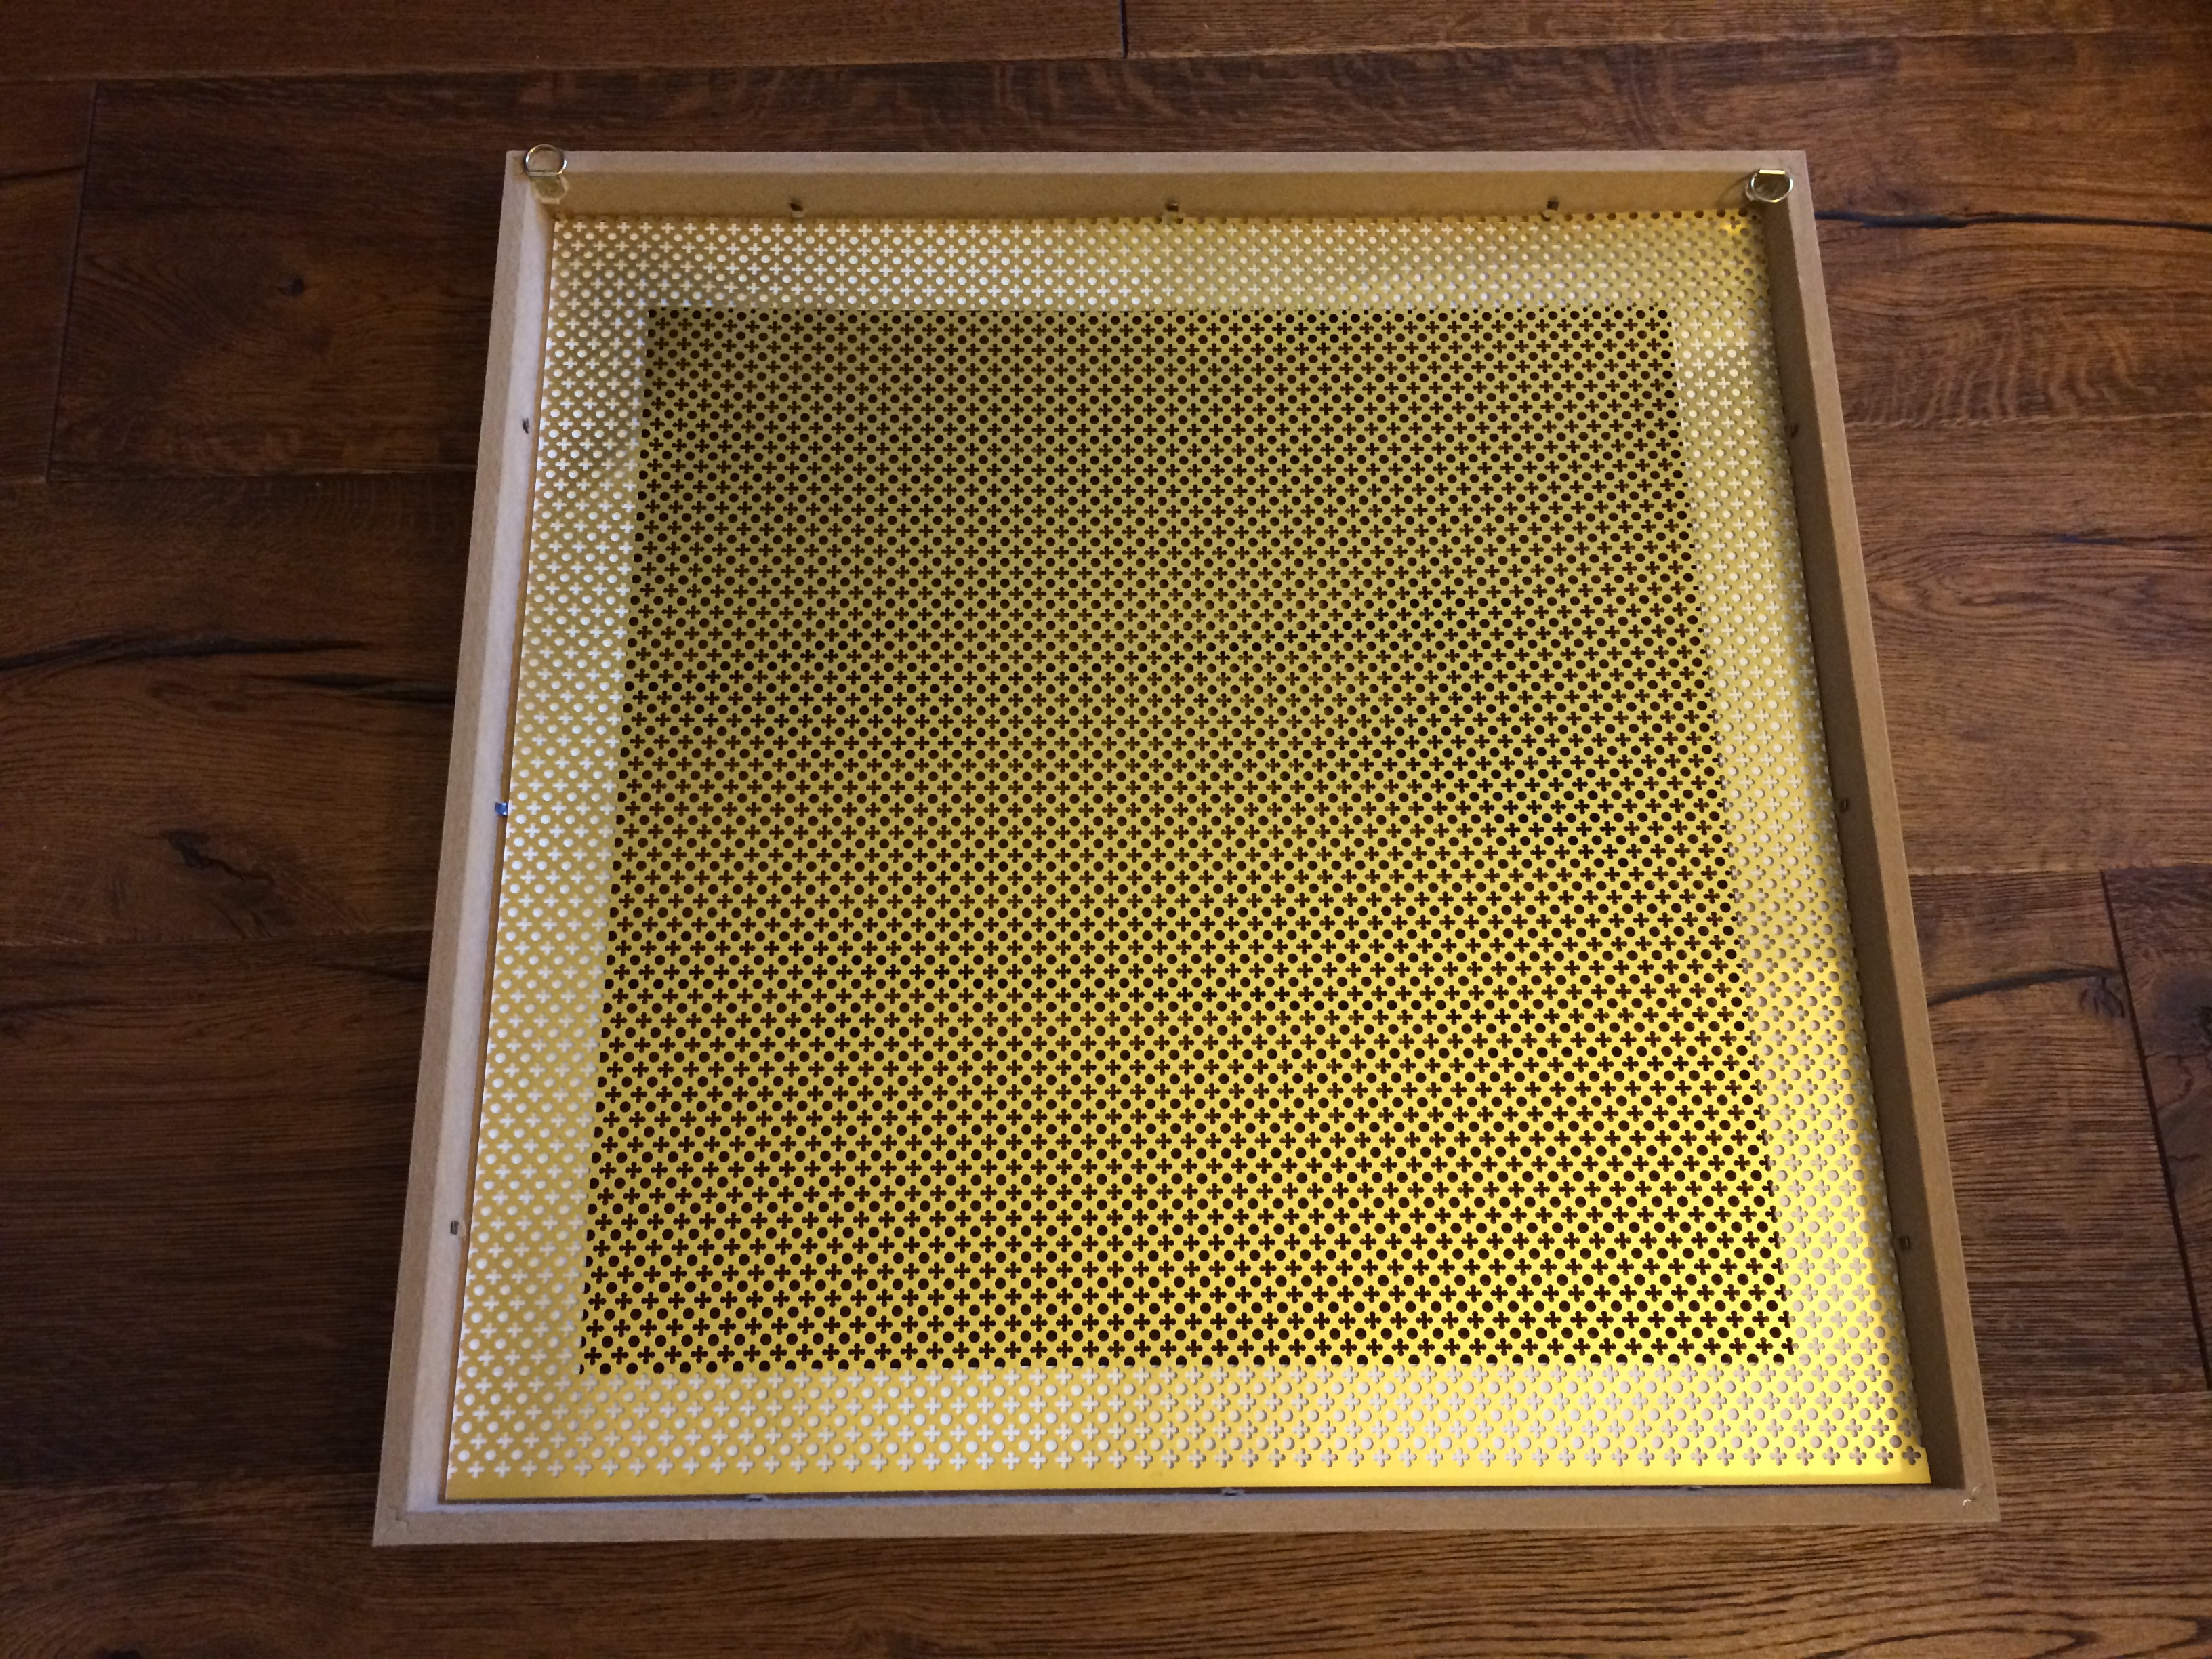
Measure and cut the perforated metal sheet to fit the frame. I used perforated metal sheet from B&Q; they have a huge selection of metal sheets in different sizes. Check them out here. In order to cut it to frame size use jigsaw, metal cutting scissors or shears.

Step 3. Put it together
Insert the frame mount first then insert the perforated metal sheet and fasten it with frame turnbuttons. On top of that you can also use hot glue gun and glue the sheet to to the edge of the frame for extra security.
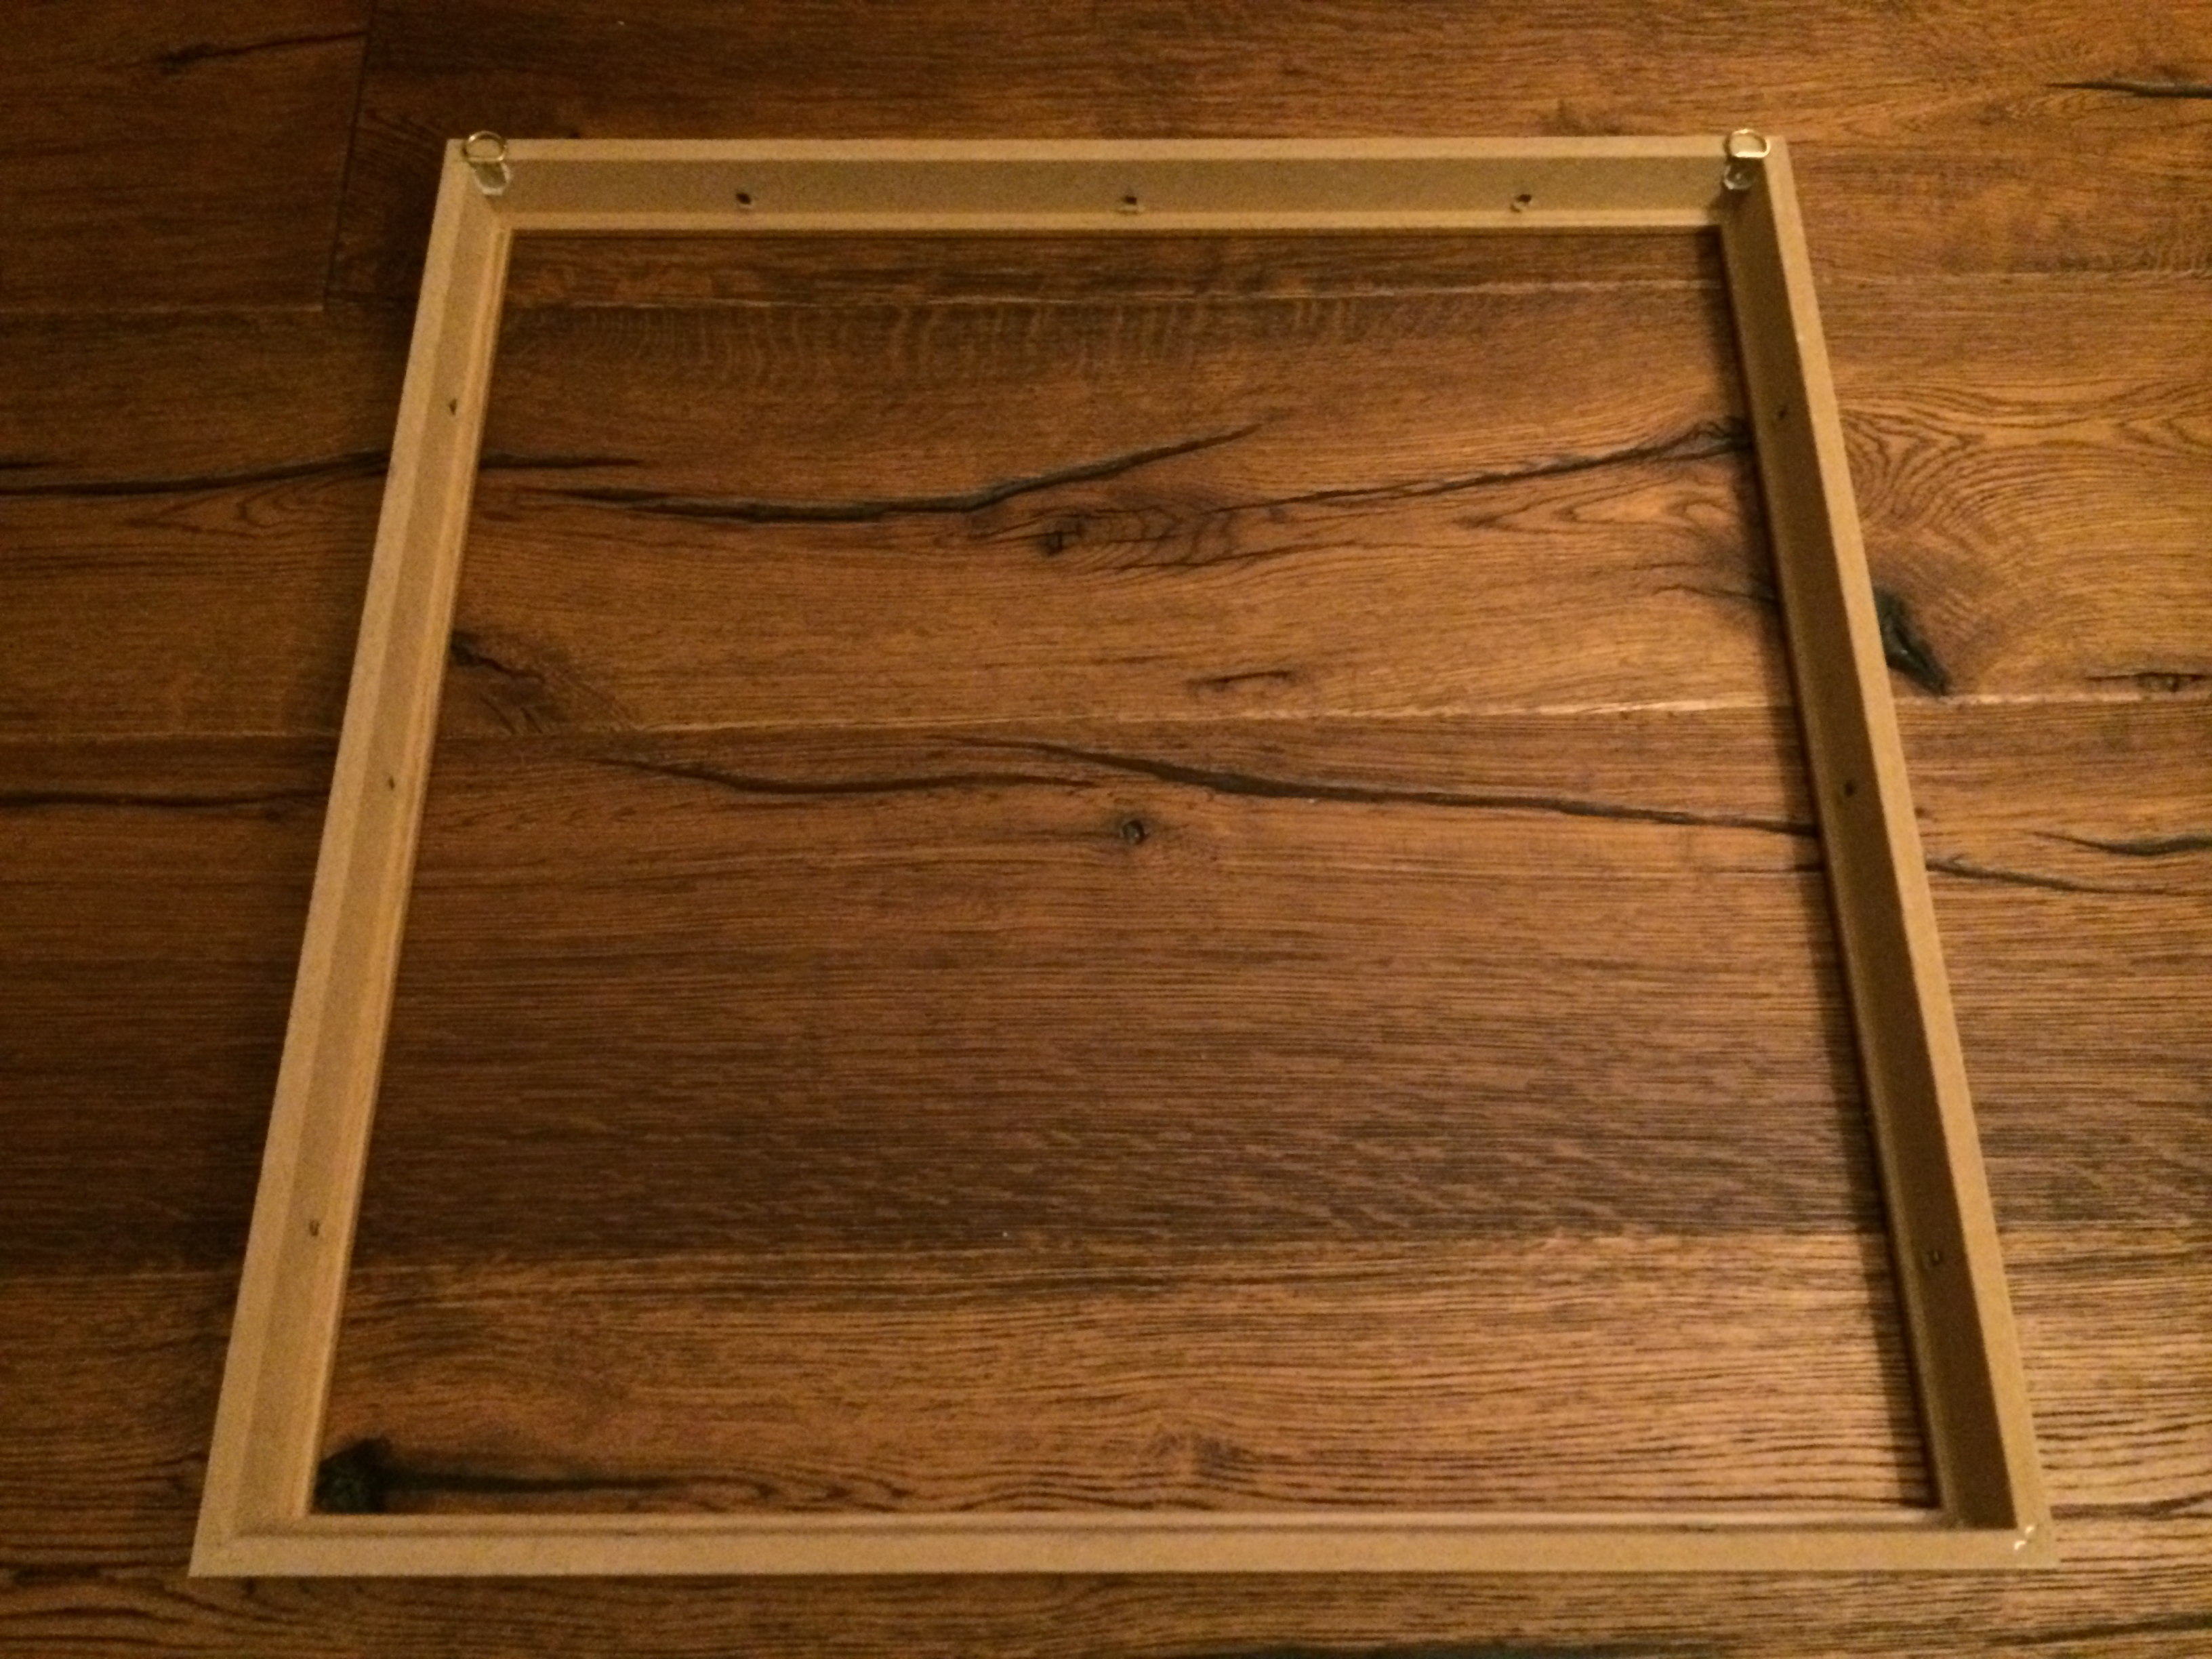


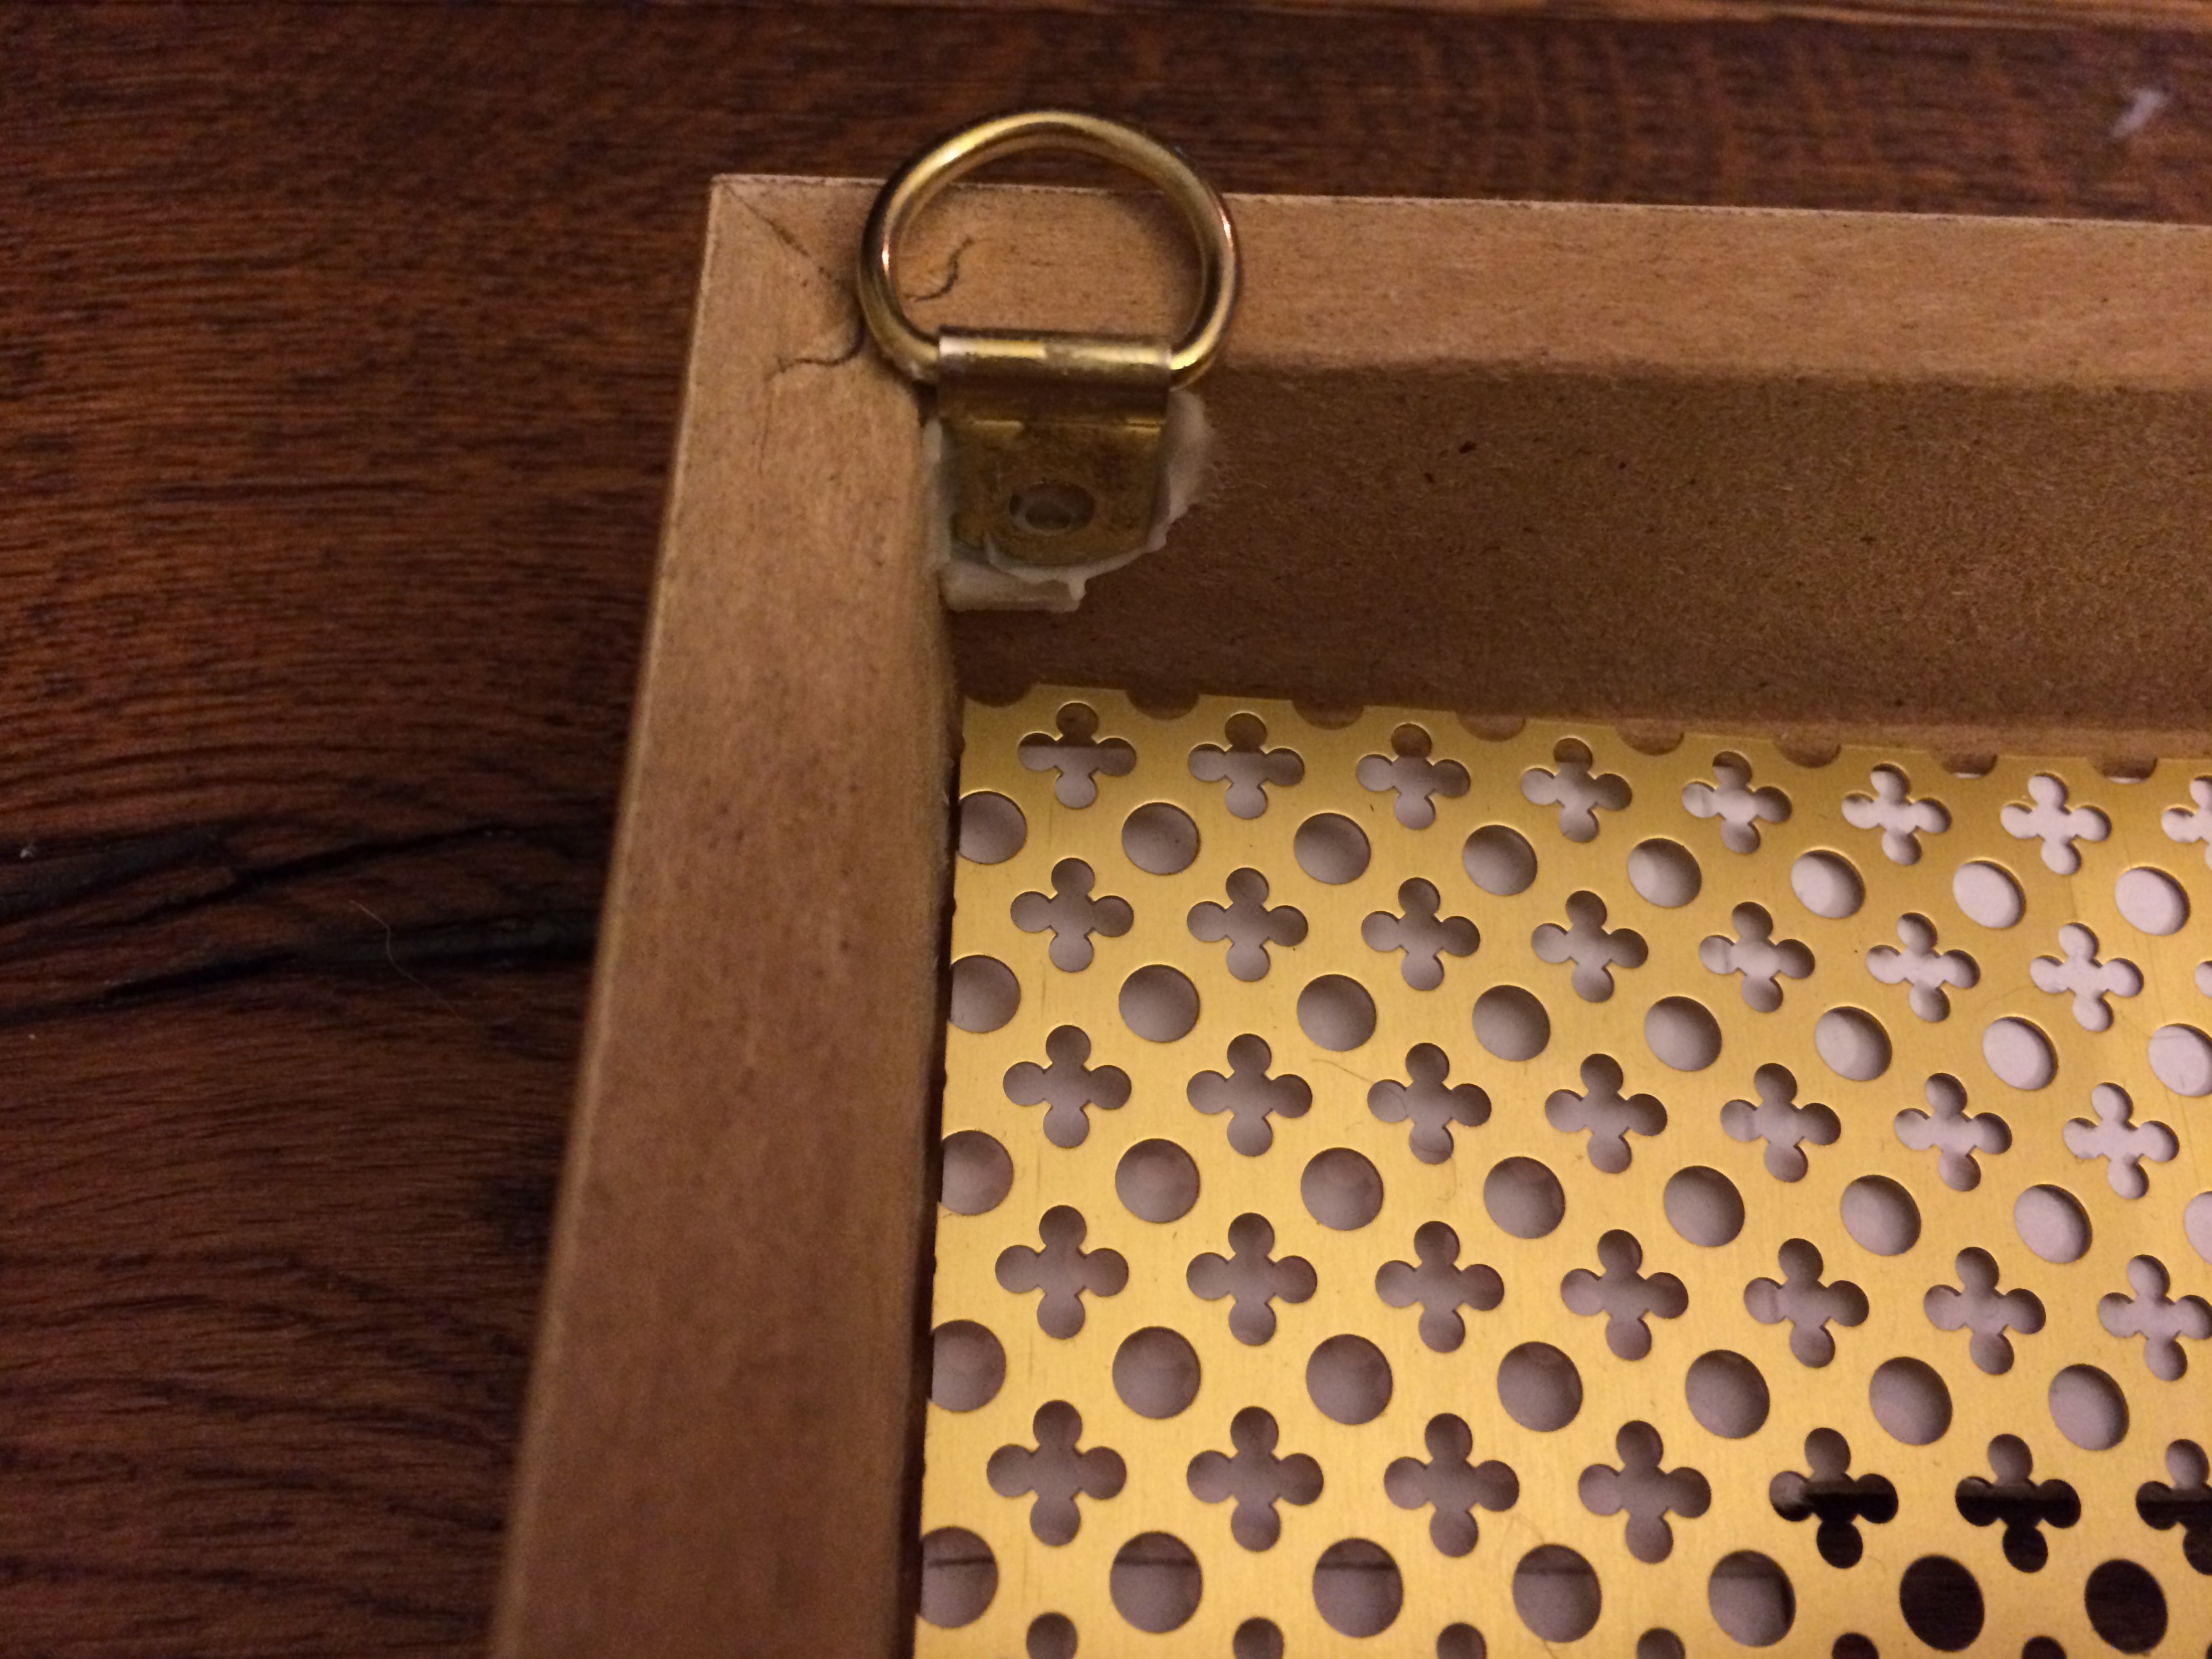
Step 4. Hang it
Attach two picture hangers on each side of the frame. Make holes in the designated place on the wall. Always use appropriate screws and plugs for the specific wall type. If you are not sure what plugs & screws to use- ask at the DIY store. Hang your DIY masterpiece.

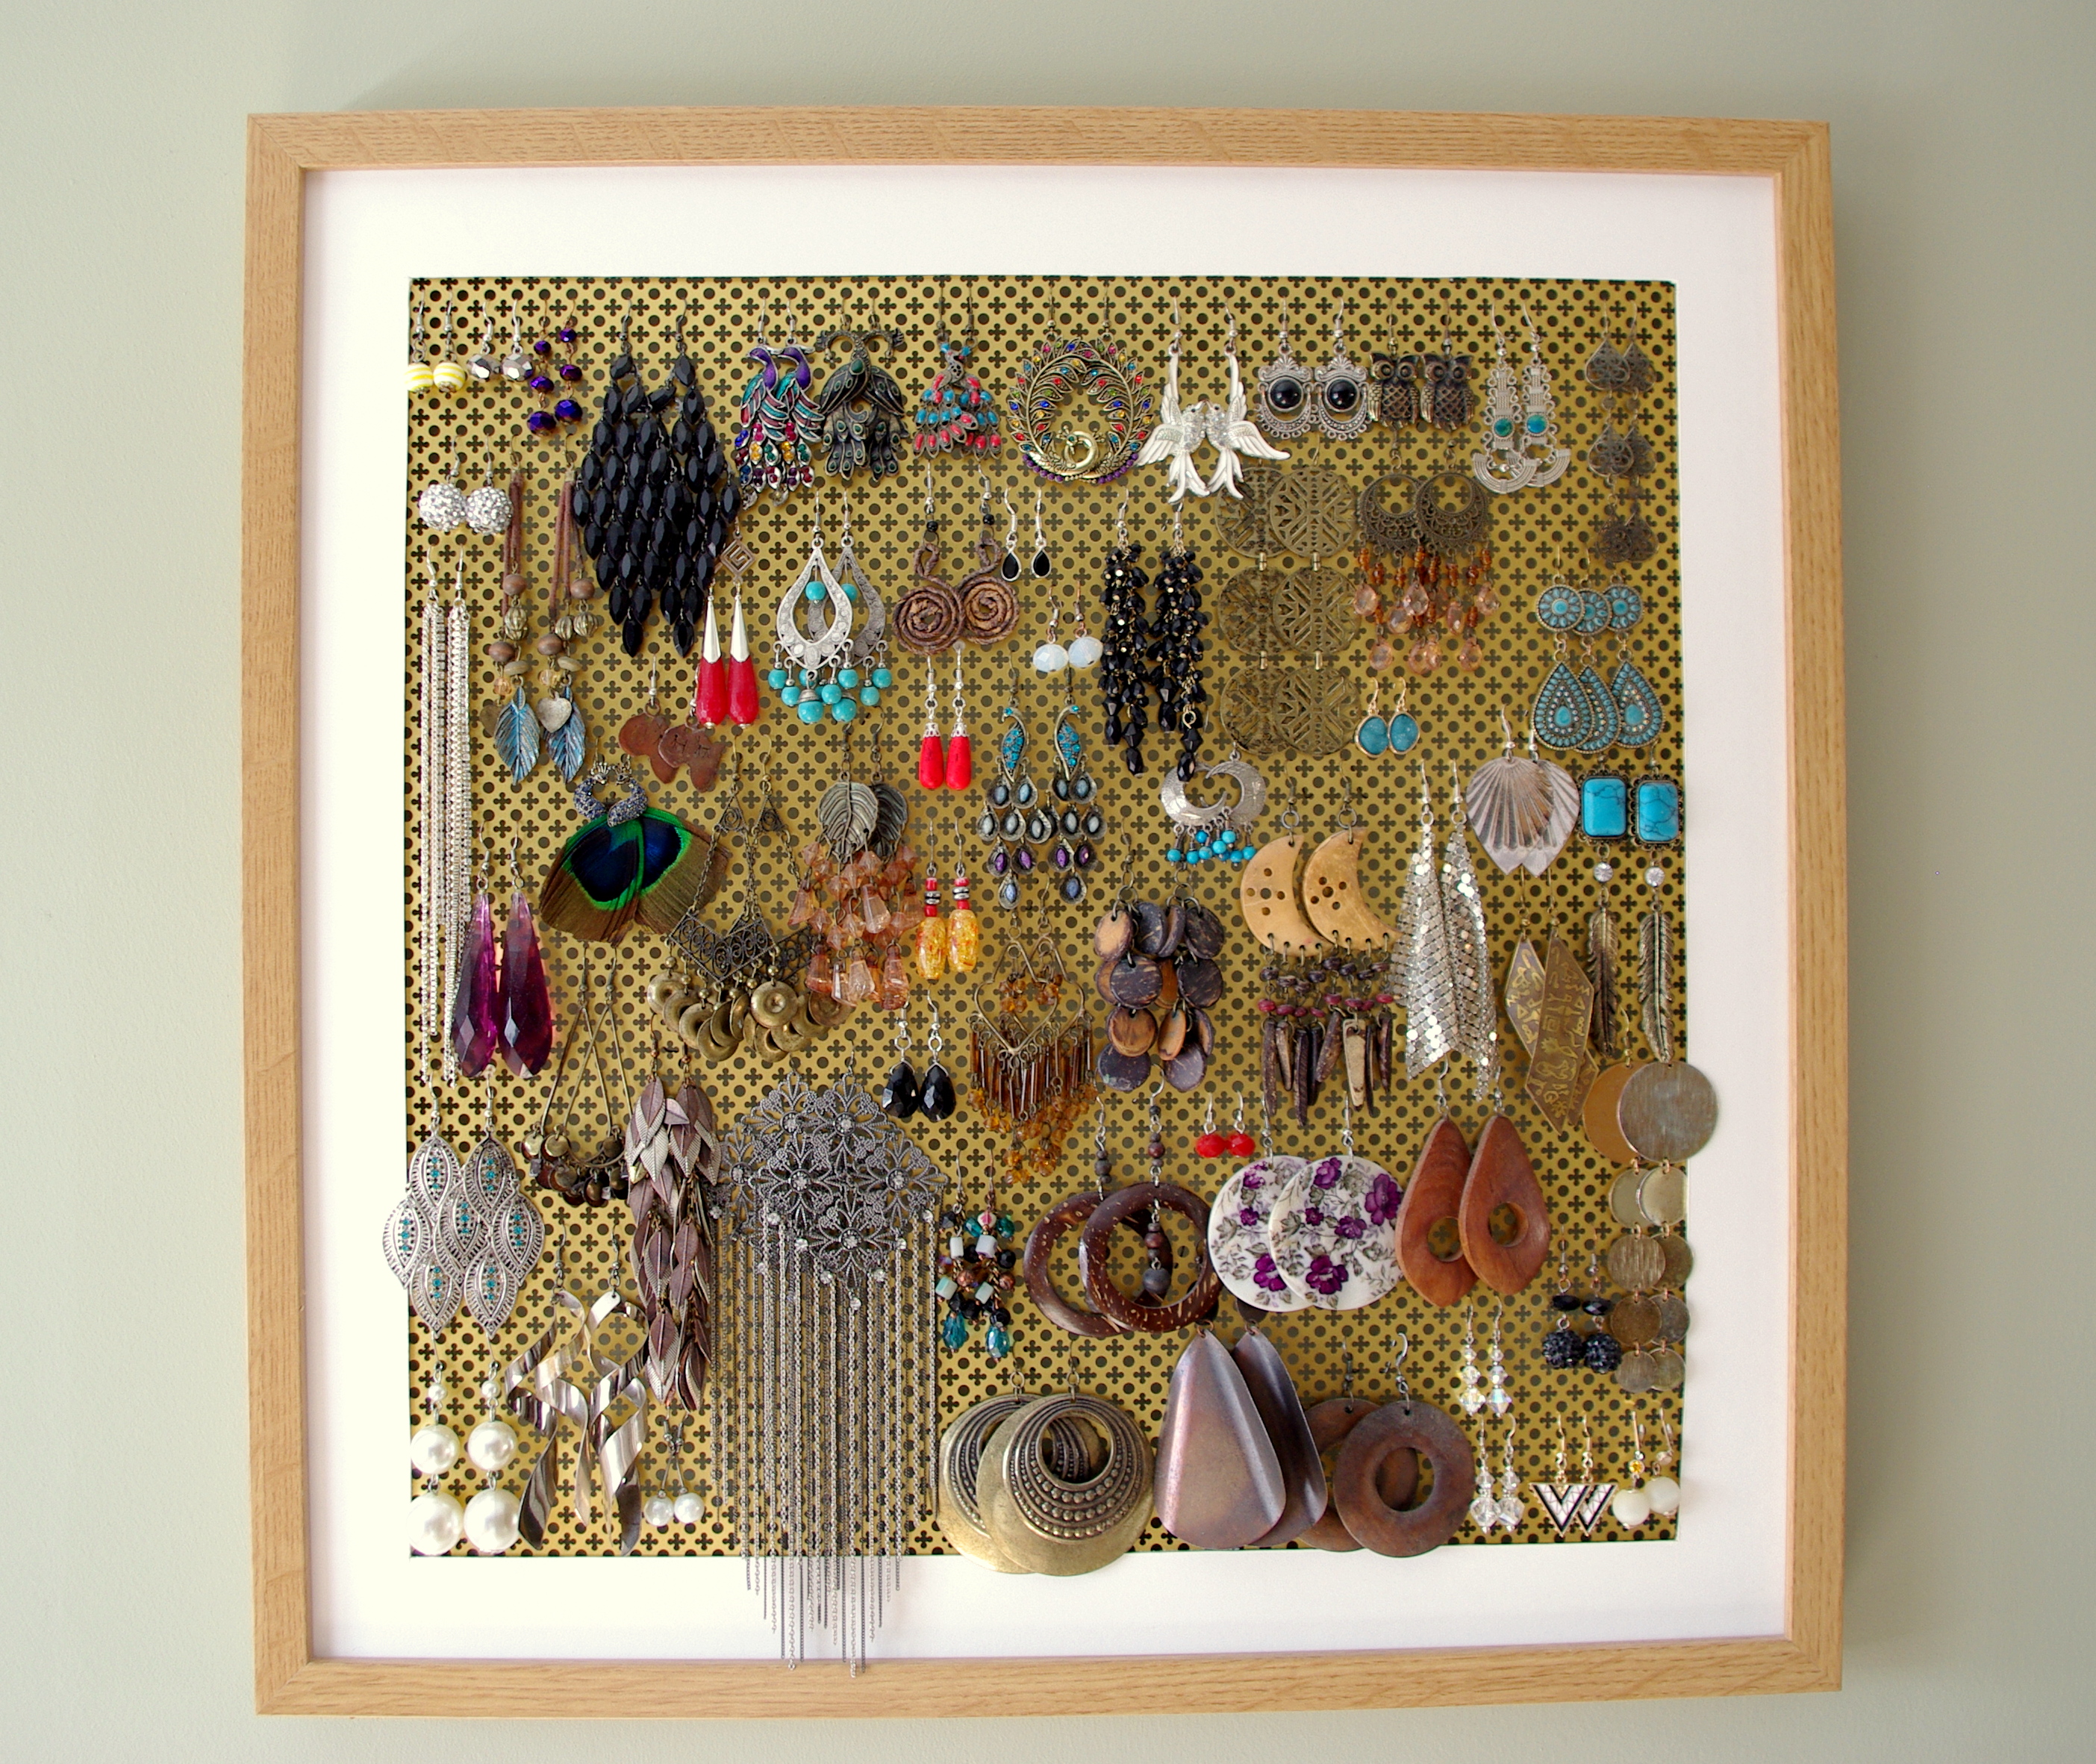
Step 5. Make it pretty
This is the time to decorate your earring holder with your beautiful earrings. Have fun organising your collection!!
After
My beautiful new earring holder.


One thought on “DIY Earring Holder Tutorial”