
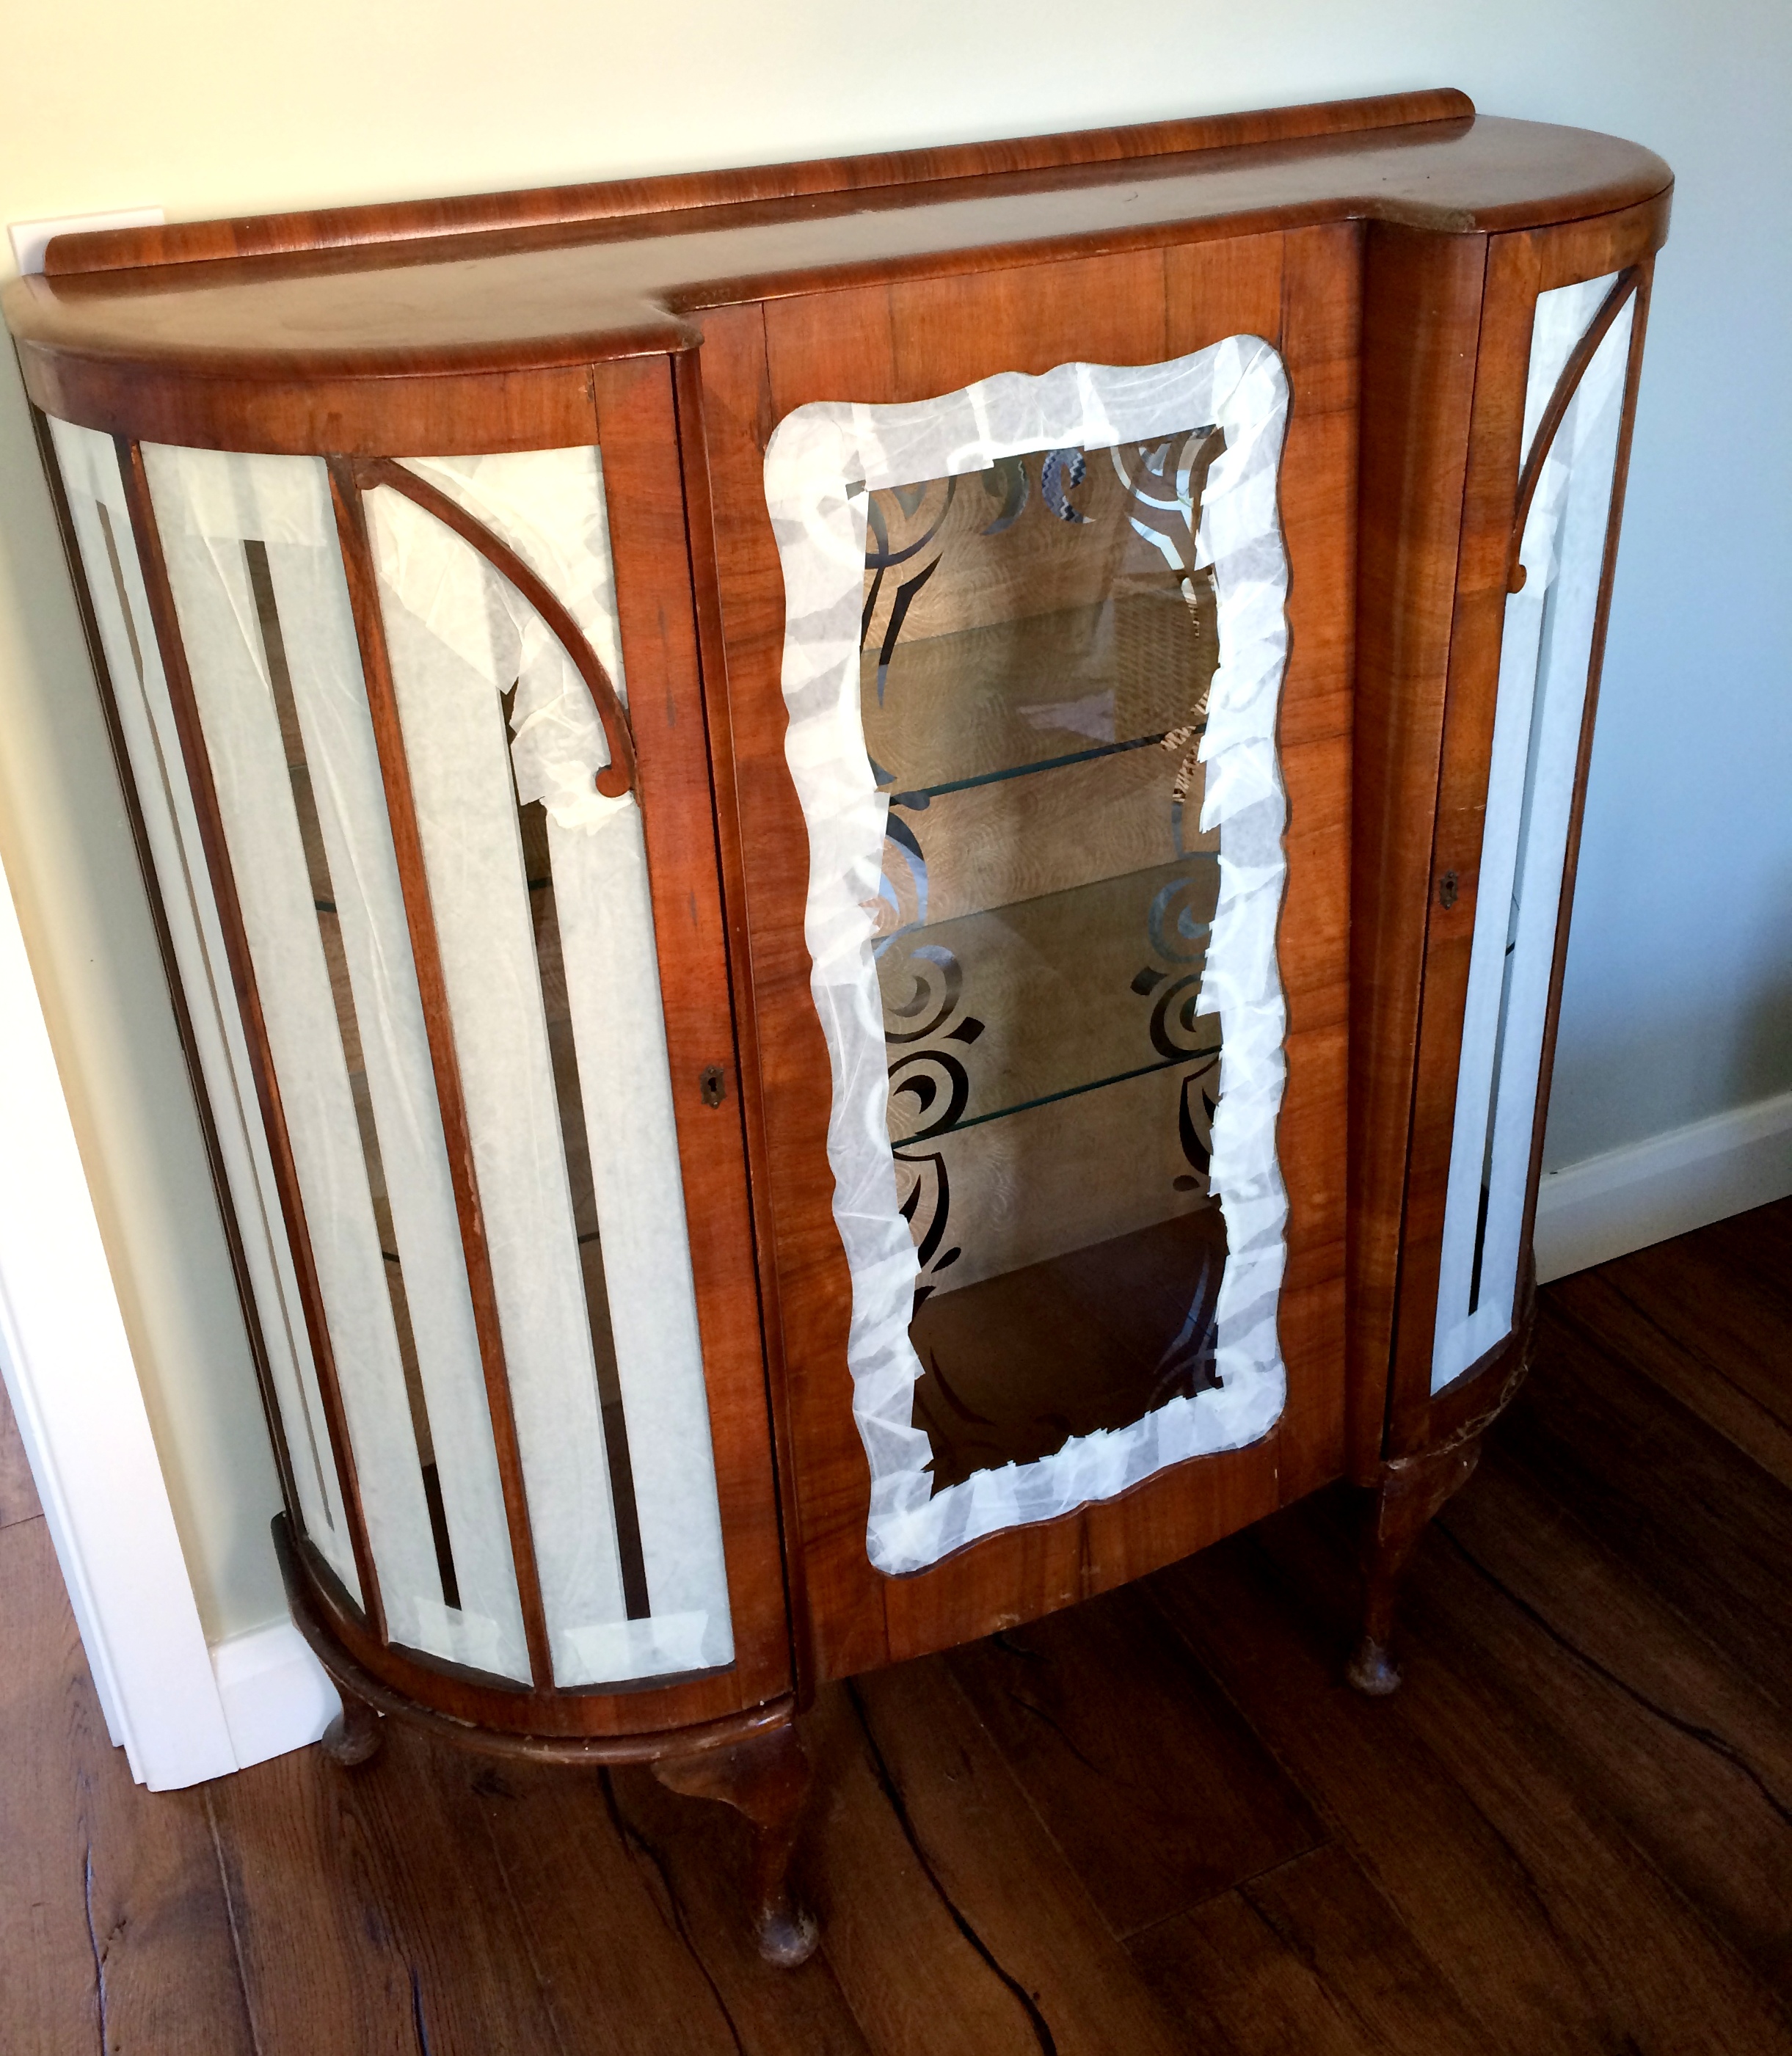
I am pleased to present our latest ‘accidental’ DIY project. Why ‘accidental’? because my husband and I were actually shopping for some wooden chairs at our local thrift shop few weeks back and instead of chairs we ended up buying this gorgeous sideboard. Oh well, it happens! As soon as I saw this beautiful wooden cabinet I had to have it. It was love at first sight! It took me a while to convince Mr Voyno that we REALLY needed it in our fully furnished house. He eventually gave up. 0-1 to Mrs Voyno team. 🙂
I knew straight away what I would use the sideboard for- Liquor cabinet!!! I have been thinking about something like that for the past couple of months. Our current wine rack/liquor cabinet was simply too small (I know, it sounds like we might have some serious issues, but let me reassure you- we don’t, we just like to have a glass of good red wine from time to time) ;). I didn’t want to spend huge amount of money on the new piece of furniture, so when I saw the price tag on this beauty my face lit up with excitement! £35 (!) a bargain!
I knew I wanted my new liquor cabinet to replace the old mango wine rack in the main living area/dinning/kitchen in our house so I decided to go with shabby look since my kitchen cabinets were vintage white with dark walnut worktops. Below you will find our step-by-step tutorial how to shabby chic wooden piece of furniture. Enjoy!
Tools
We used the following tools to create our bespoke liquor cabinet
- scissors
- pencil
- tape measure
- wallpaper paste (the smallest available packet)
- brushes (various sizes)
- B&Q Colours undercoat & primer
- craft knife
- masking tape
- small paint roller & tray
- sanding block & sanding paper (medium grade)
- screwdriver
- drill
- steel wool
- beeswax & cloth
- Wood filler
- wallpaper
- small electric sander


Preparing
Preparation is a key to success- I probably say it every single time I post a DIY tutorial, but trust me- I learnt it the hard way.
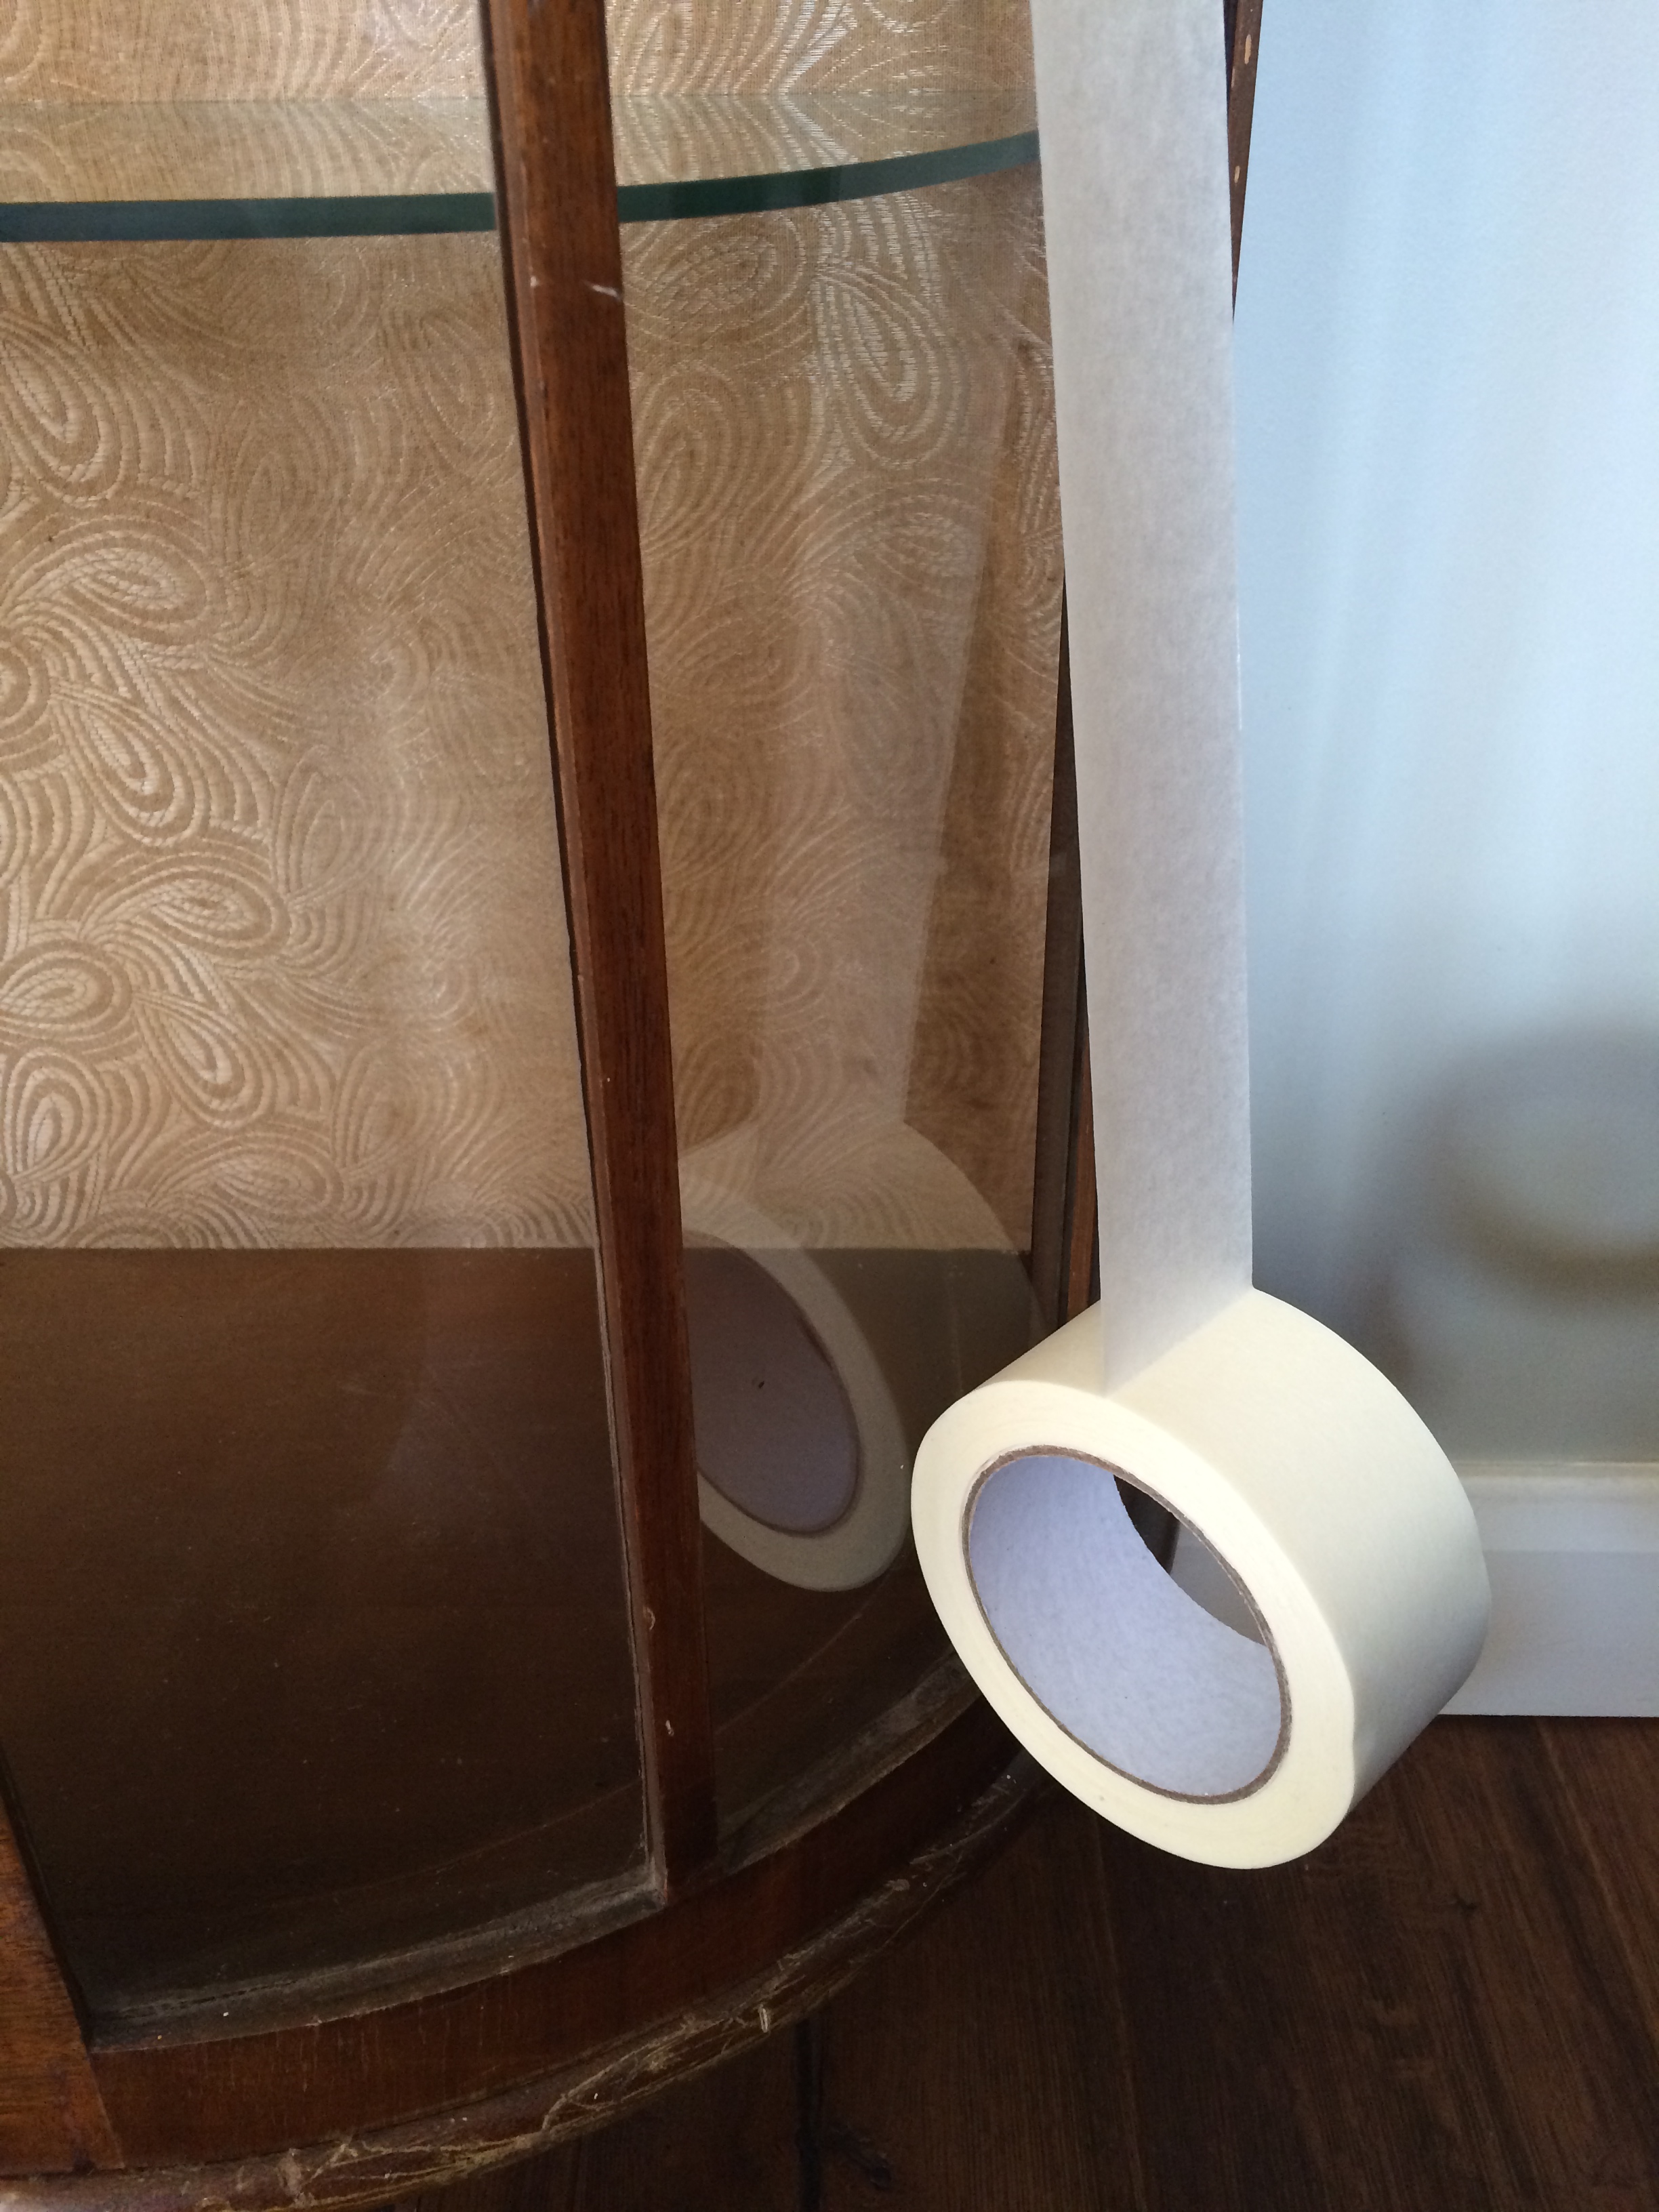
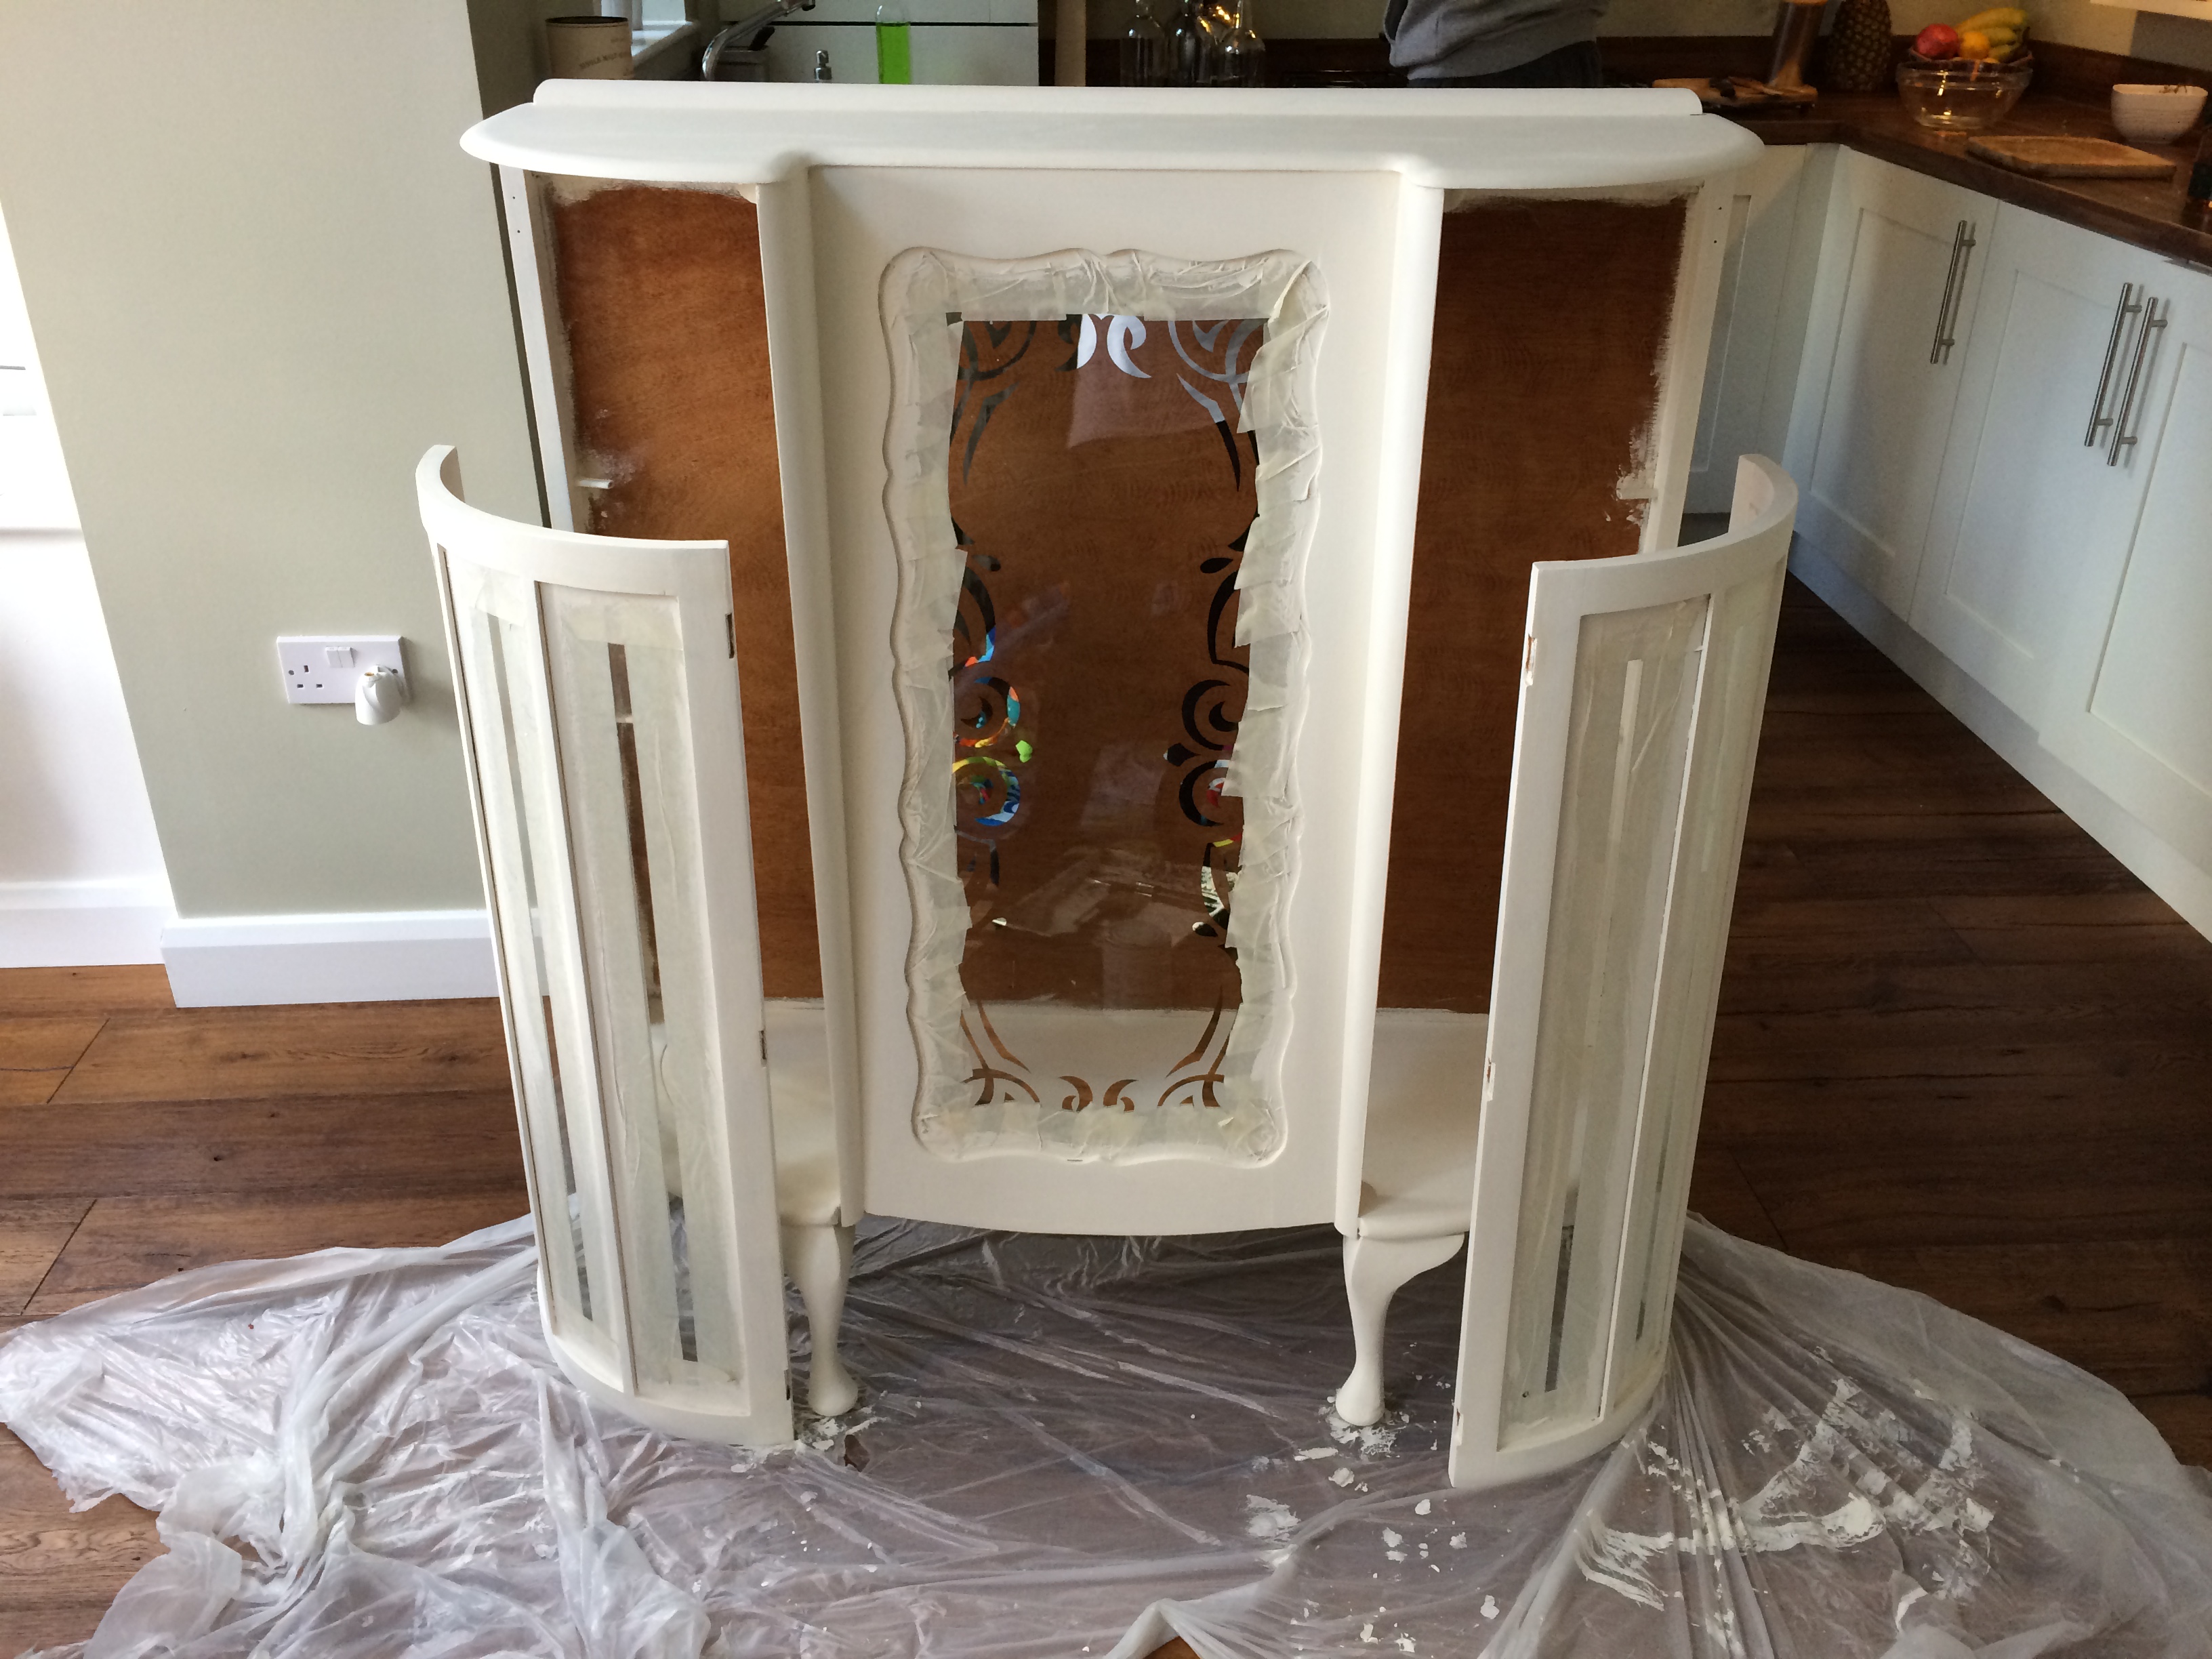
Make sure you have all the tools to do the work (check my list and pictures above) otherwise it will take you twice as long to finish the project. We started with removing the shelves and protecting the glass door and glass front from paint with a masking tape. I used my craft knife to cut the tape excess. We also removed the doors from the rest of the cabinet (it’s easier to sand and paint when you do this). We also removed the old piece of fabric from the back of the sideboard (it really stunk)!!


Sand It
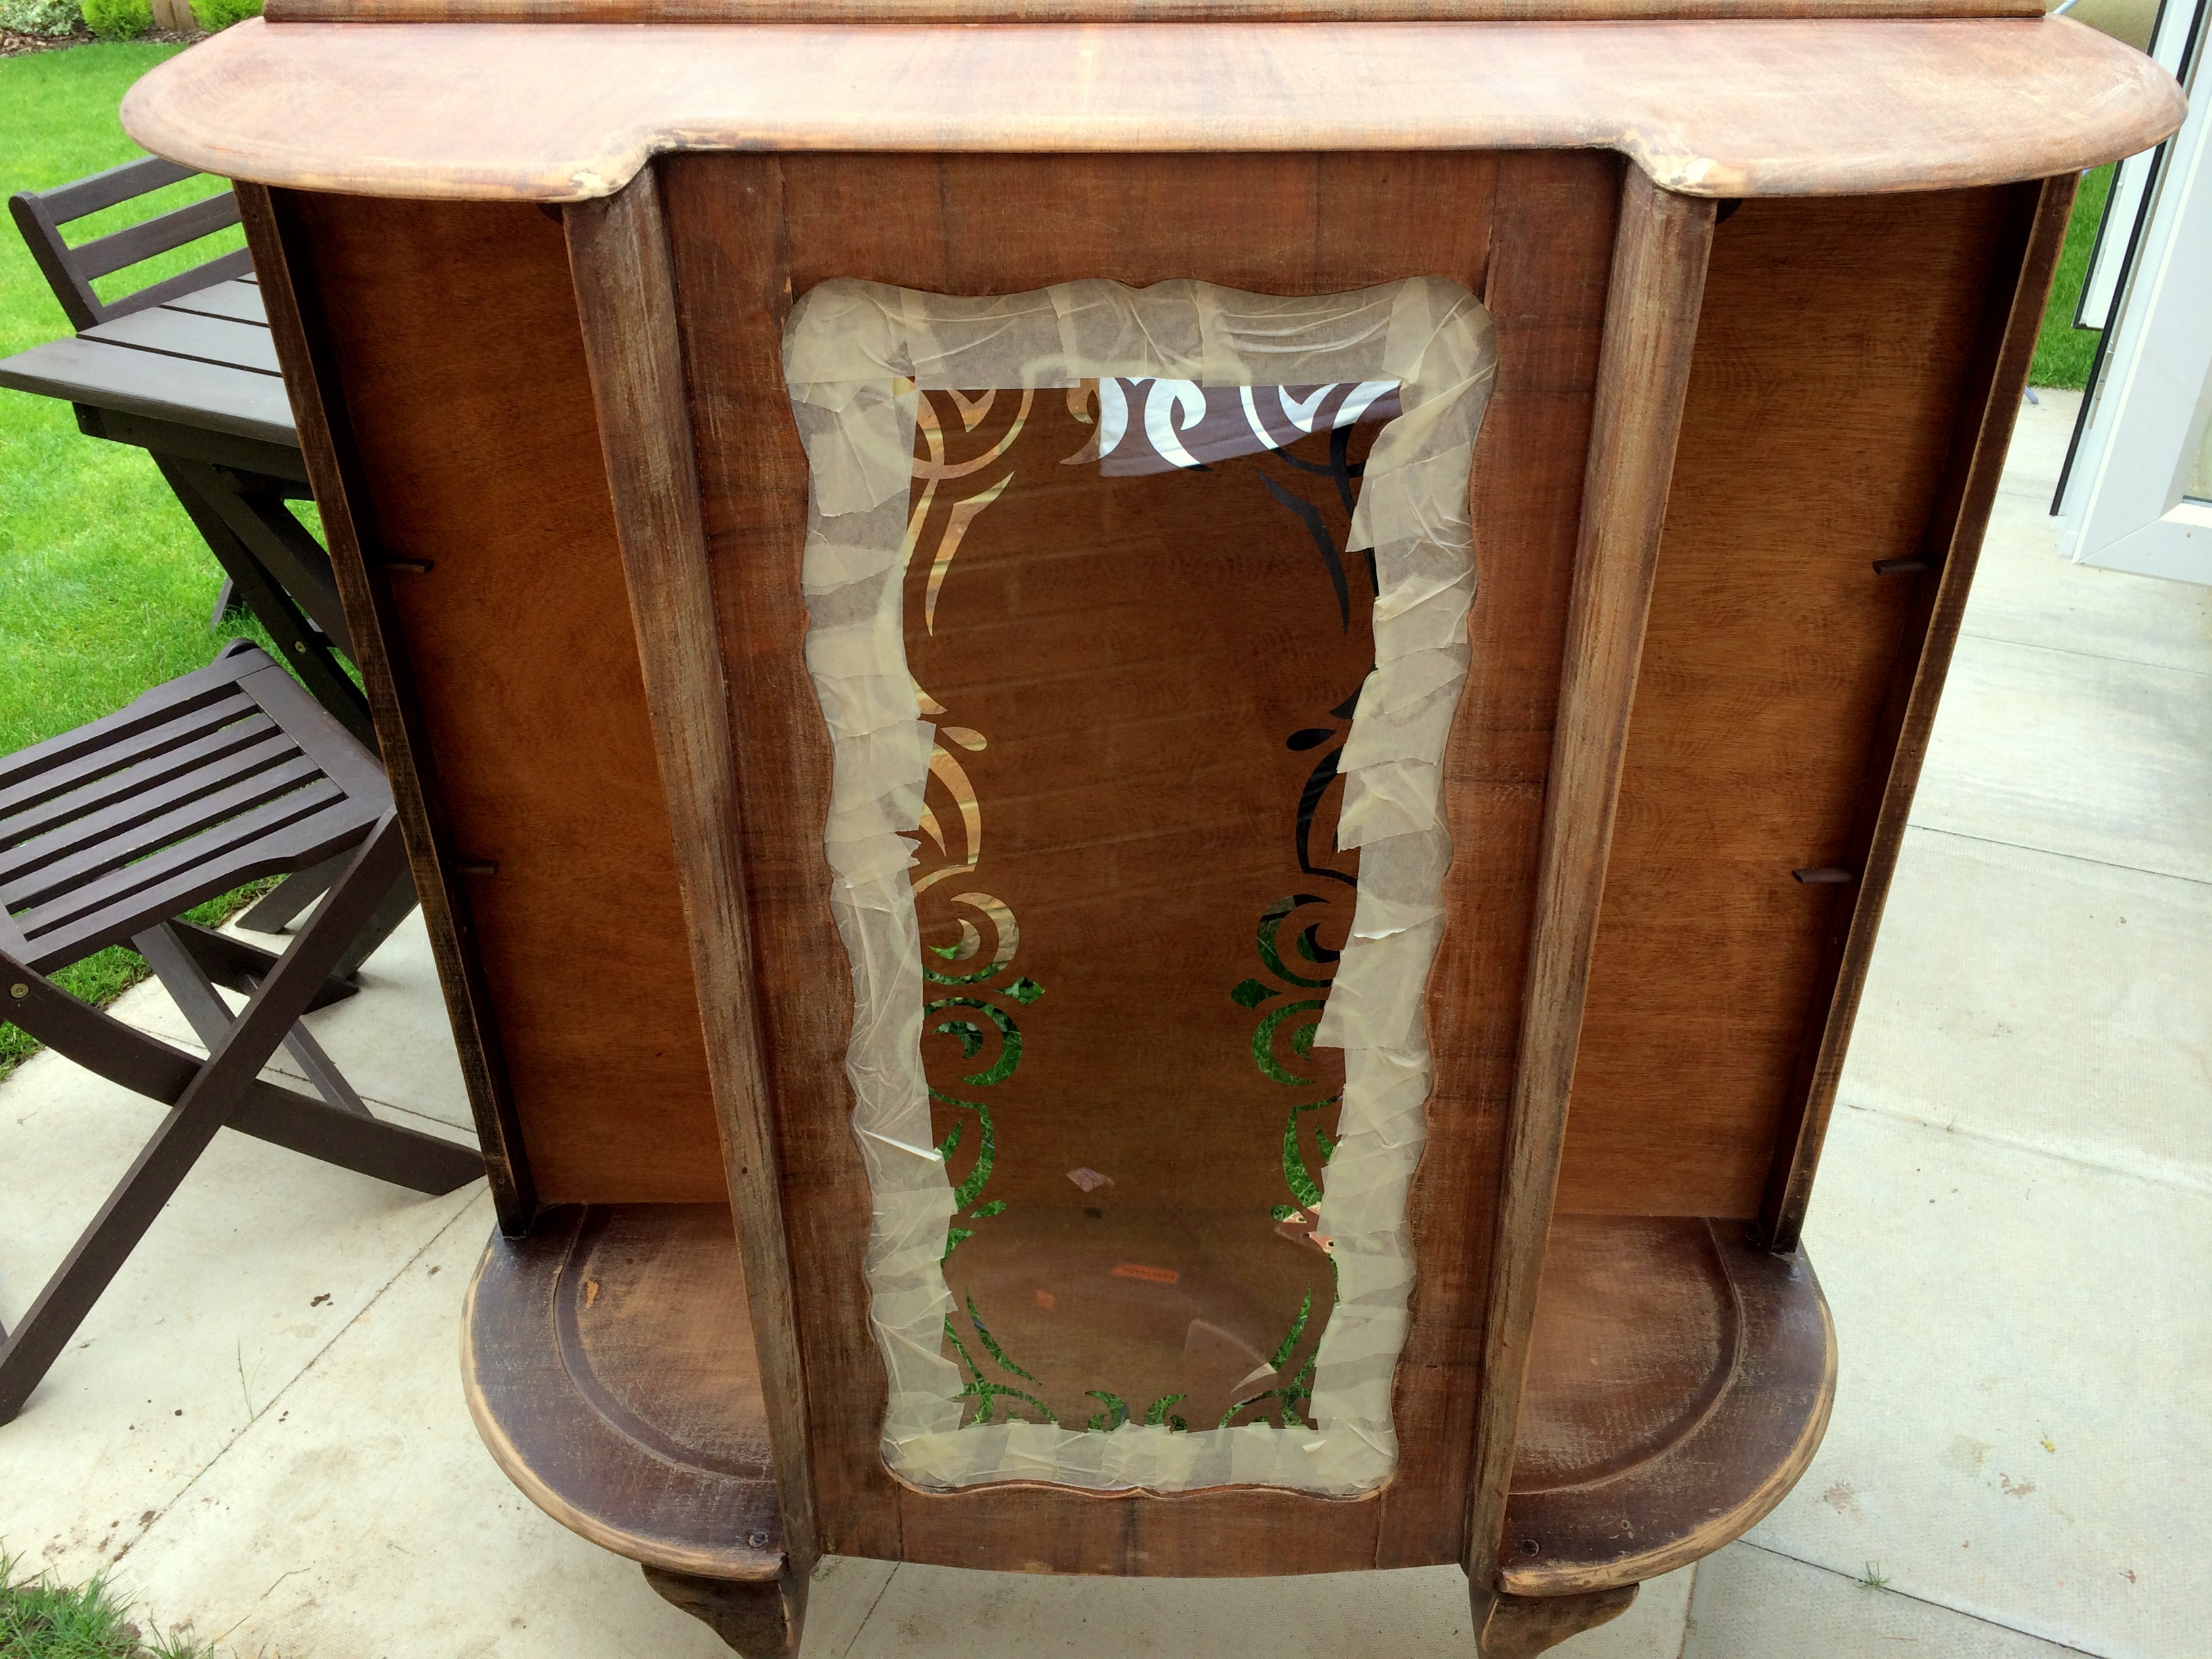
The cabinet was lacquered therefore we had to sand it down in order for the new paint to stick (don’t worry- you don’t have to sand the lacquer off completely- just give it a good brush). I sanded both doors (inside and out) using sand paper and a sanding block. Do it in the garden or in the garage, DON’T sand at home- unless you love to dust.
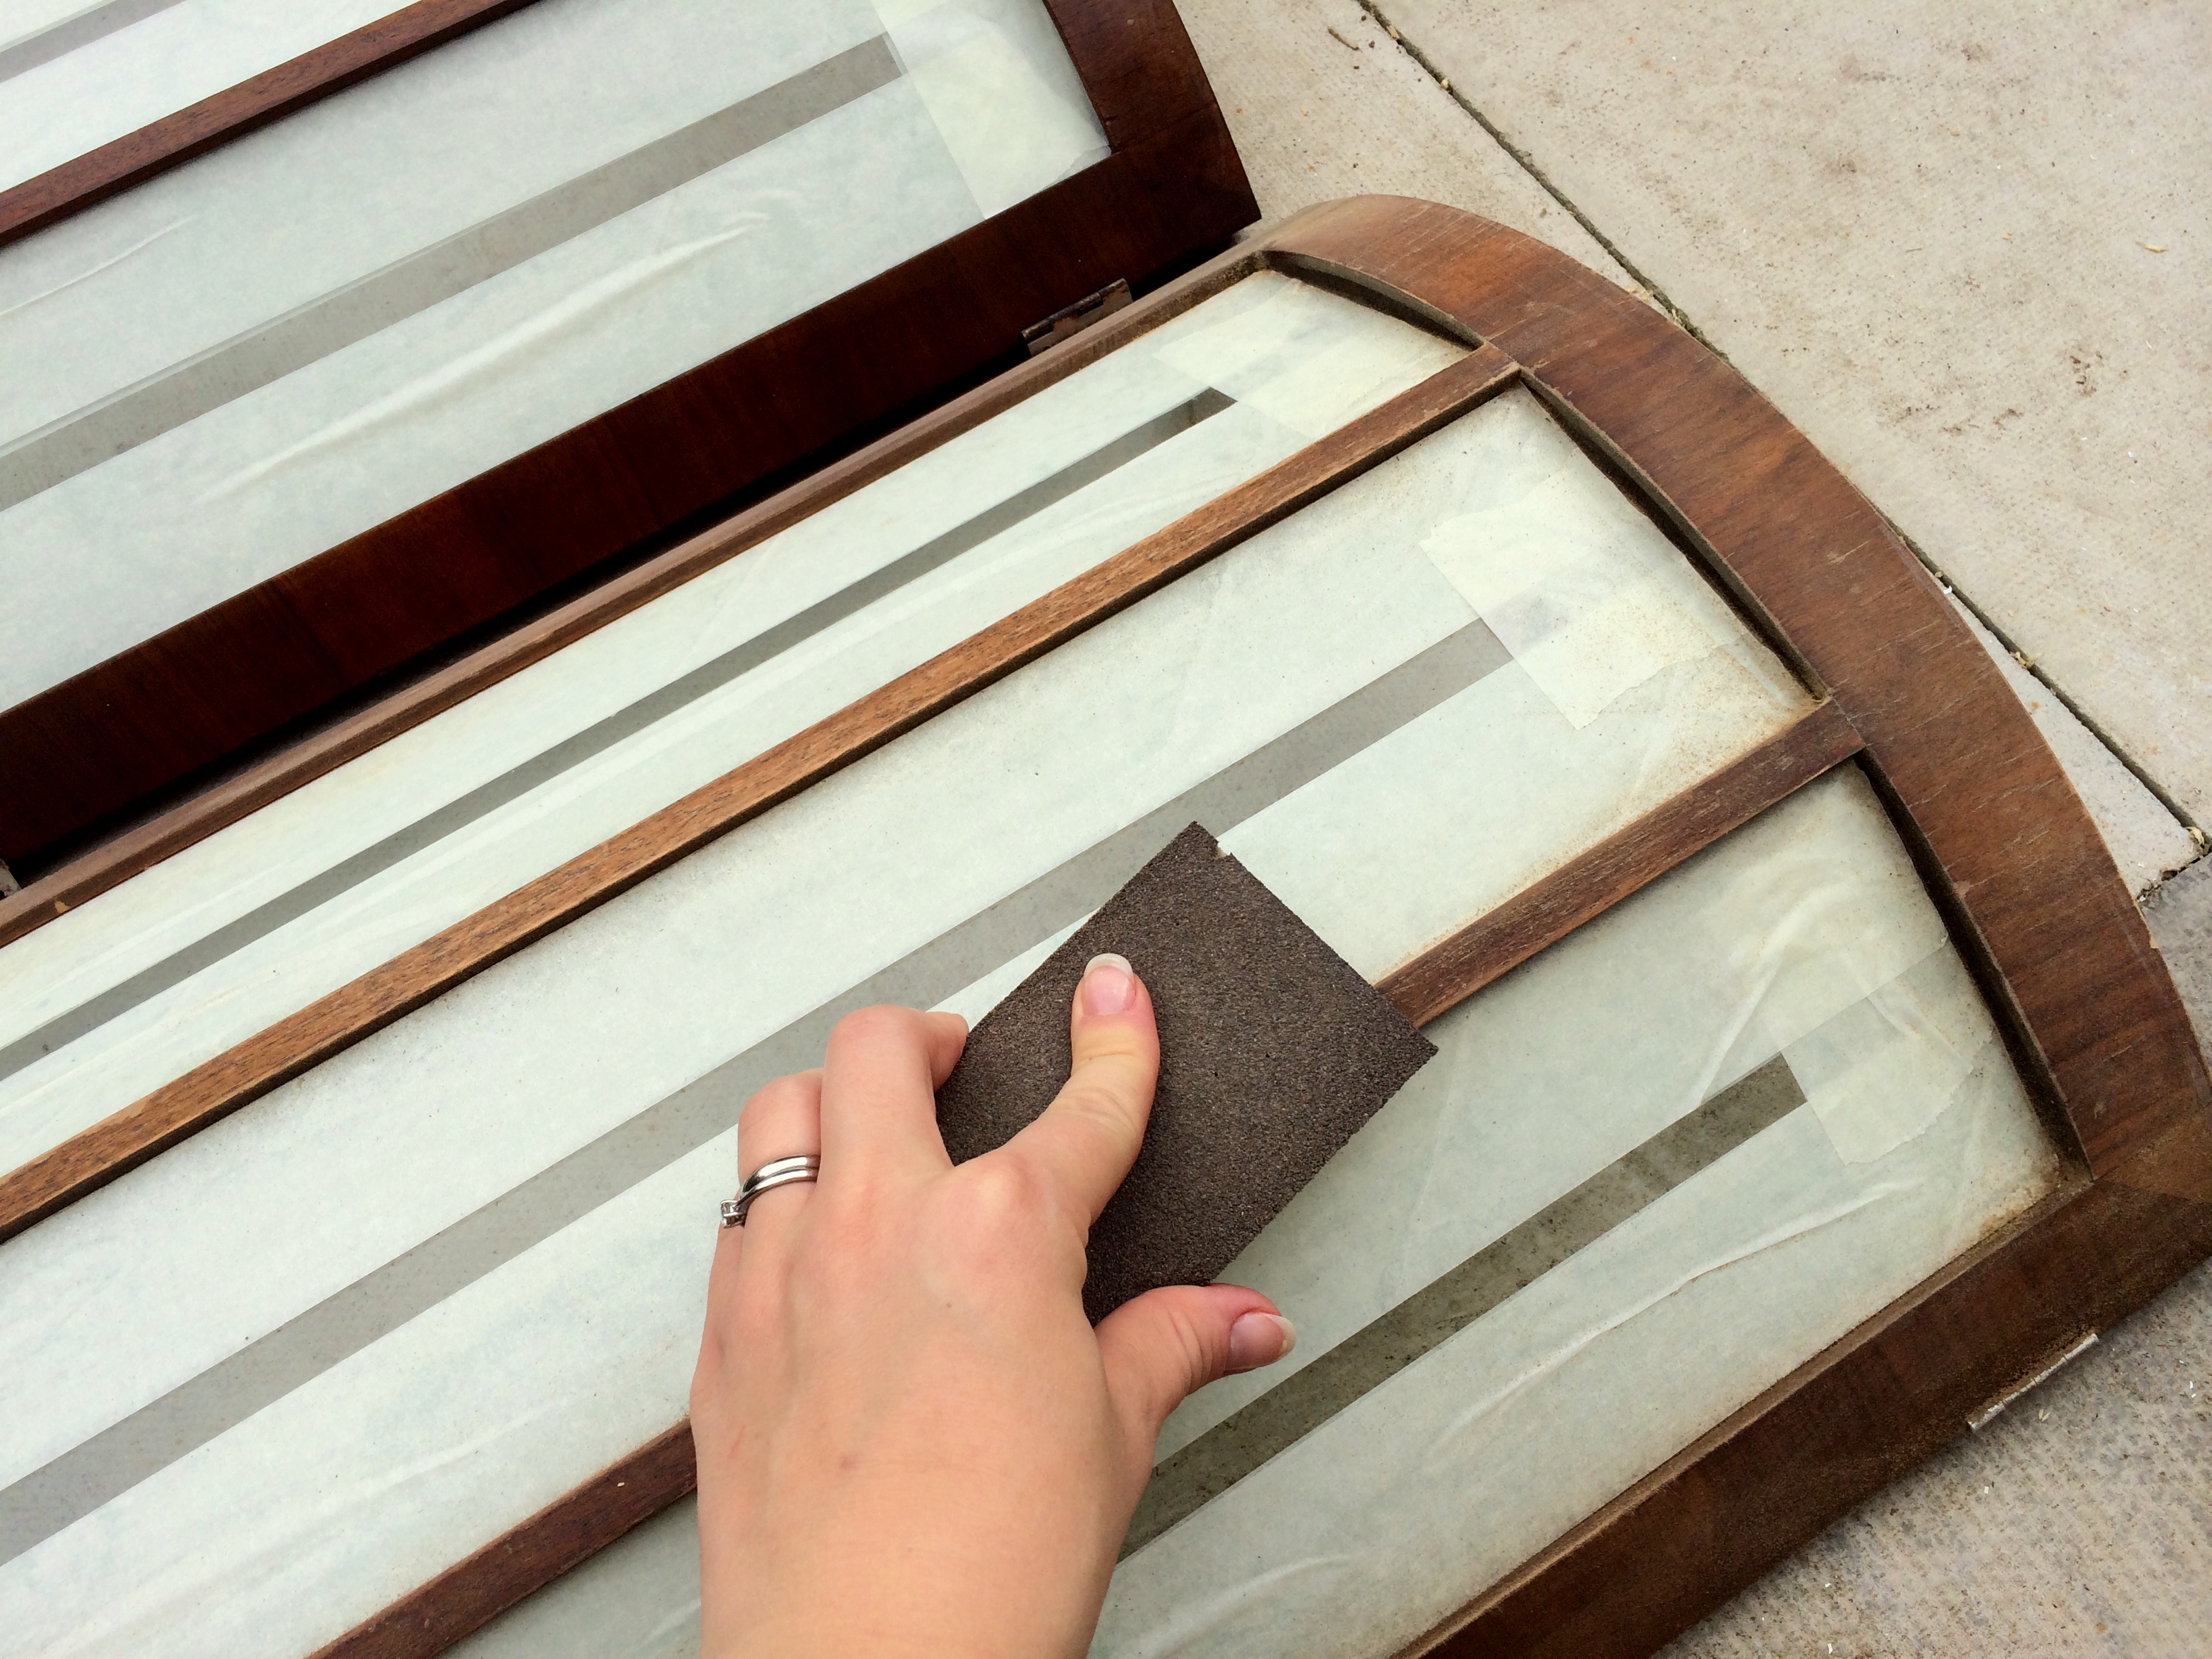
In order to sand the rest of the cabinet I used small electric sander. If you don’t have one- don’t worry, good old sand paper and sanding block are ok too.
 After sanding use wood filler to fill all the holes.
Prime it
Although we used Rust-Oleum flatt matt antique white ‘no primer needed’ paint, we still primed the cabinet before painting it and I strongly advise you do the same- better be safe than sorry. Allow the primer to dry completely before you start painting. If you want to achieve fine, smooth look you can lightly sand the surface of the cabinet again once the primer is dry. We didn’t bother to sand it after priming because we were after the shabby chi/ scruffy look. It’s entirely up to you.

Paint it
As I mentioned above we used Rust-Oleum Flat Matt Chalk Antique White paint purchased in good old B&Q. We also used soft medium sized brushes to apply the paint. You can use small roller if you want, but I would recommend a brush. Make sure you apply as little paint as possible each time to avoid bleeding. Allow the paint to dry before you re-apply. We usually wait full 24hrs before re-coating. Always follow instruction on the tin.
 Wallpaper It
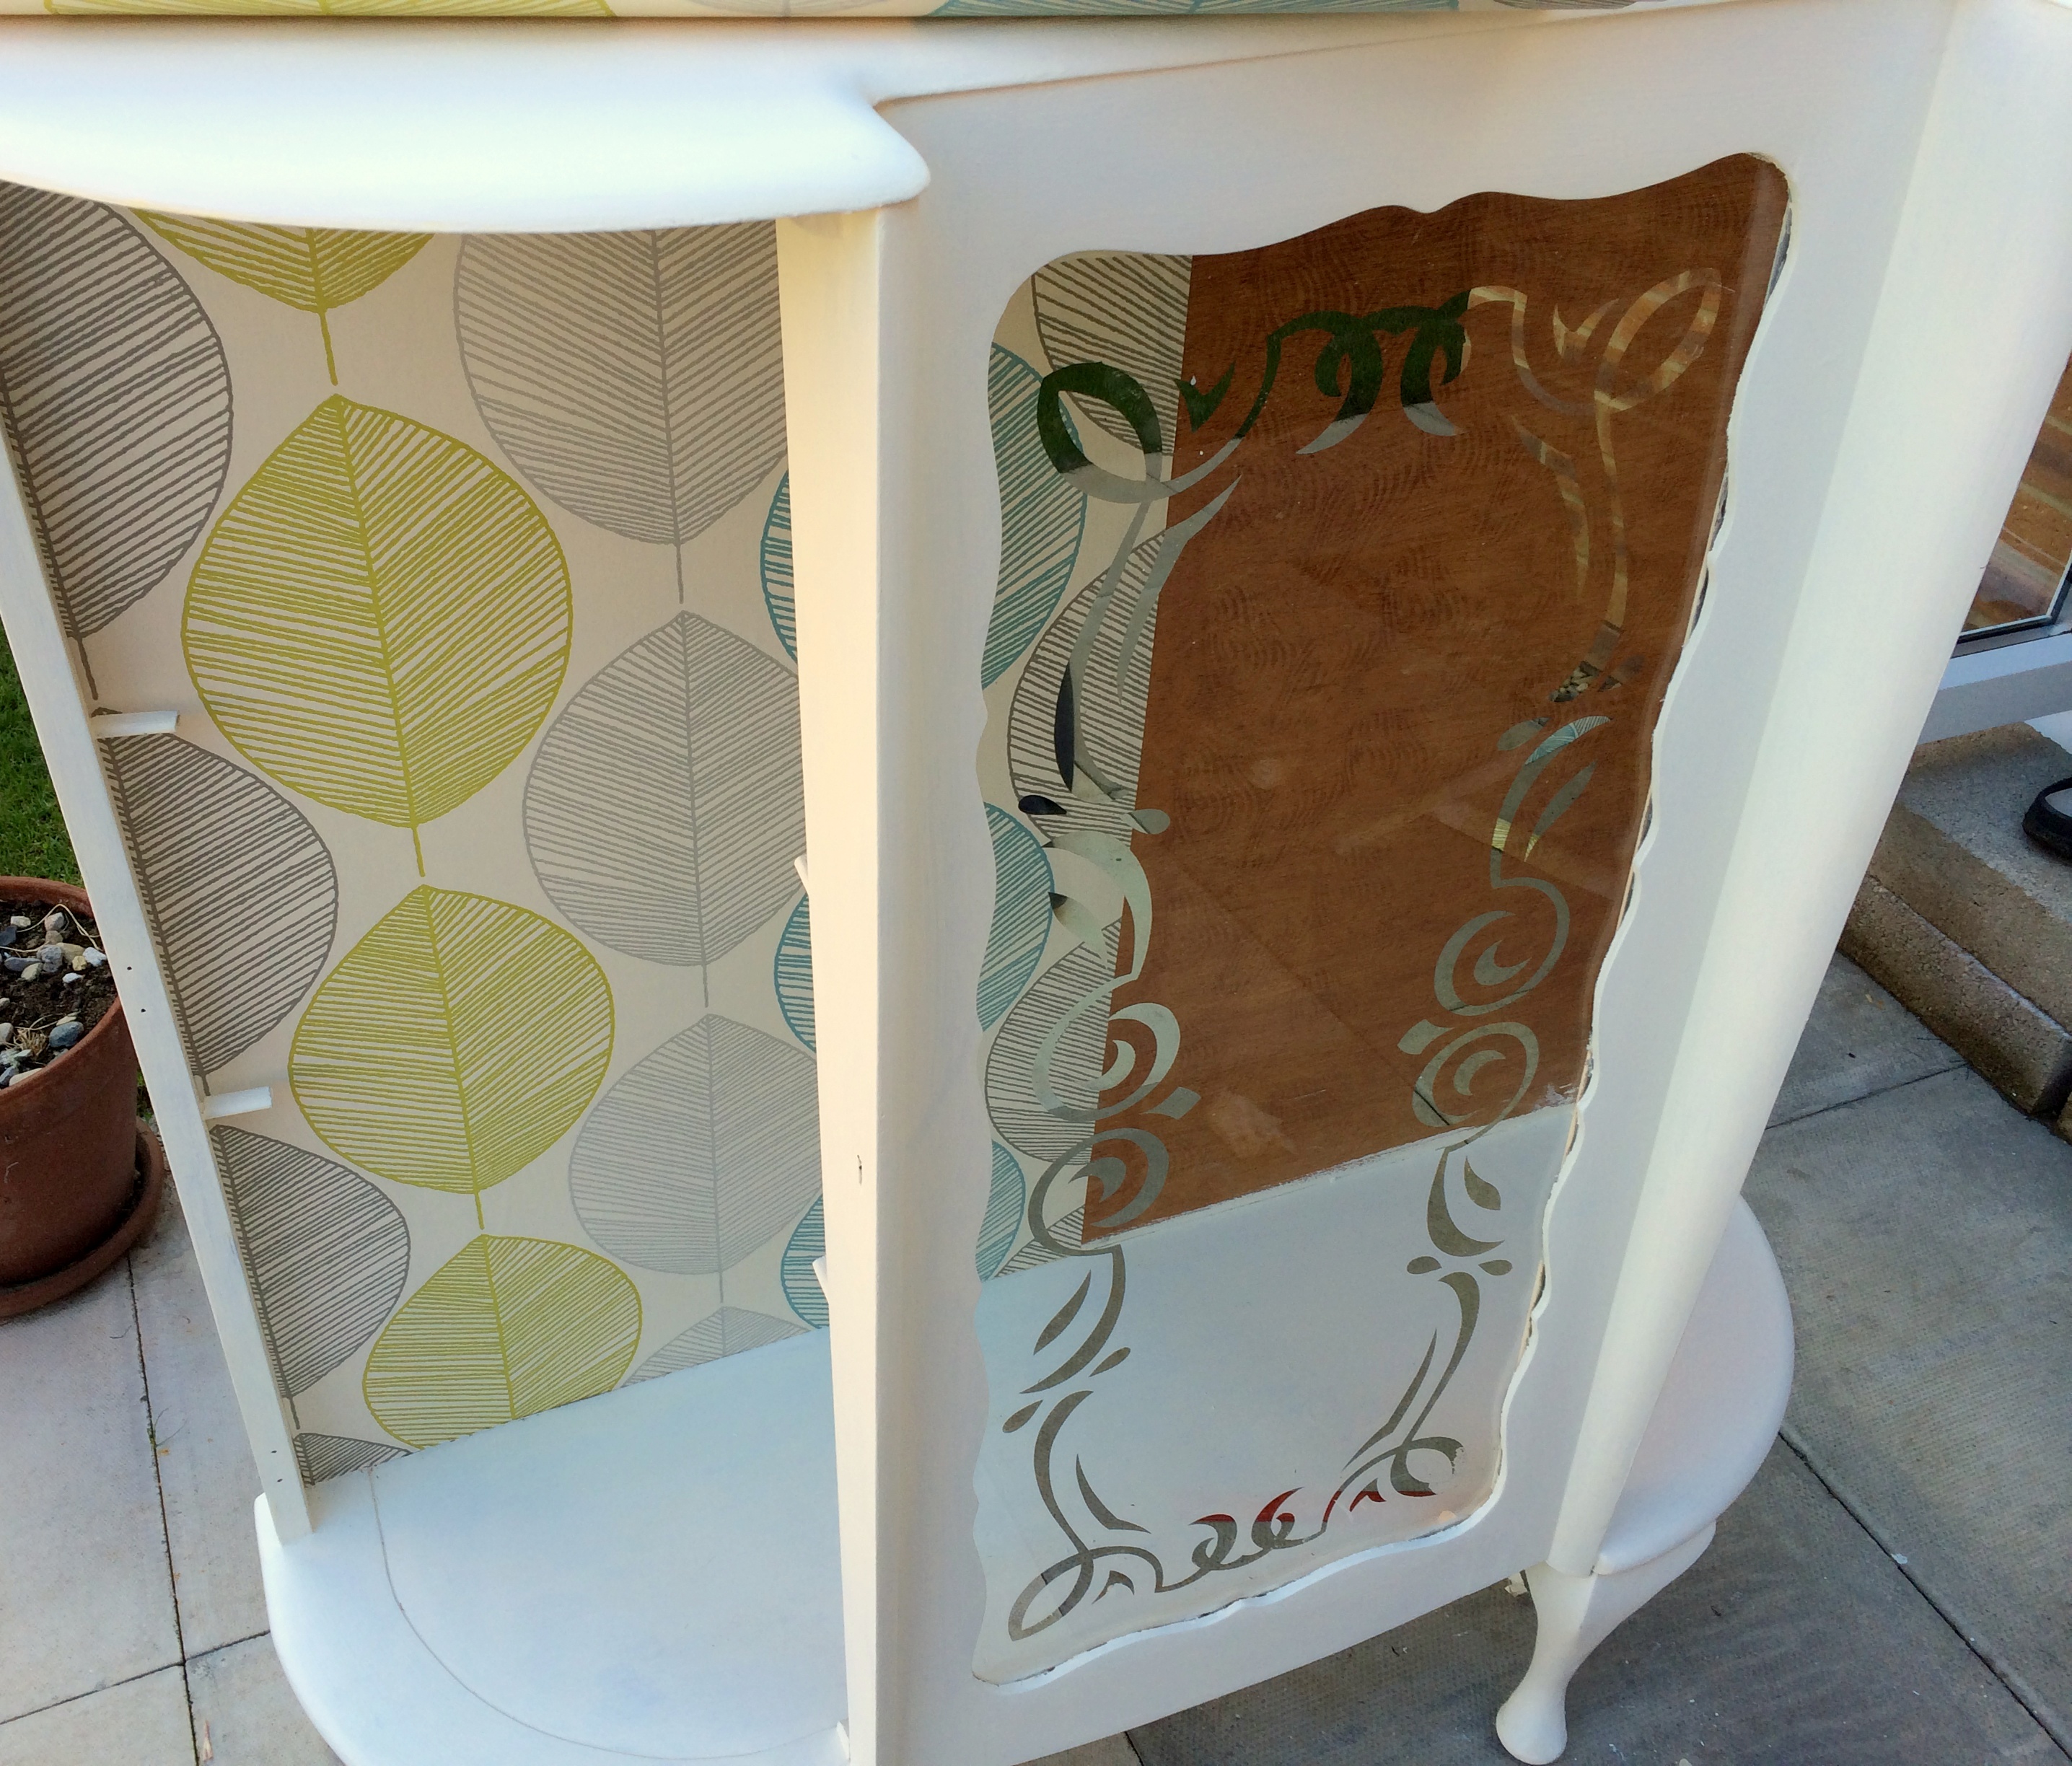
Wallpapering the back of the cabinet is not a must, few coats of paint would do the trick too, but I wanted my cabinet to stand out so I chose this leafy retro design. Colours on the wallpaper go really well with the colour scheme in our kitchen (Dulux gooseberry fool paint, white kitchen cabinets, grey sofa and solid wood floors). don’t feel pressured to buy a new roll of wallpaper you can always use a leftover from your latest house refurbishment (we all have those knocking about in our sheds and garages). Or go really quirky and use old newspaper cut-outs, pictures, bottle labels etc. The sky is the limit.
I purchased my wallpaper on eBay for £10.99 and I already used it for another DIY project. 🙂
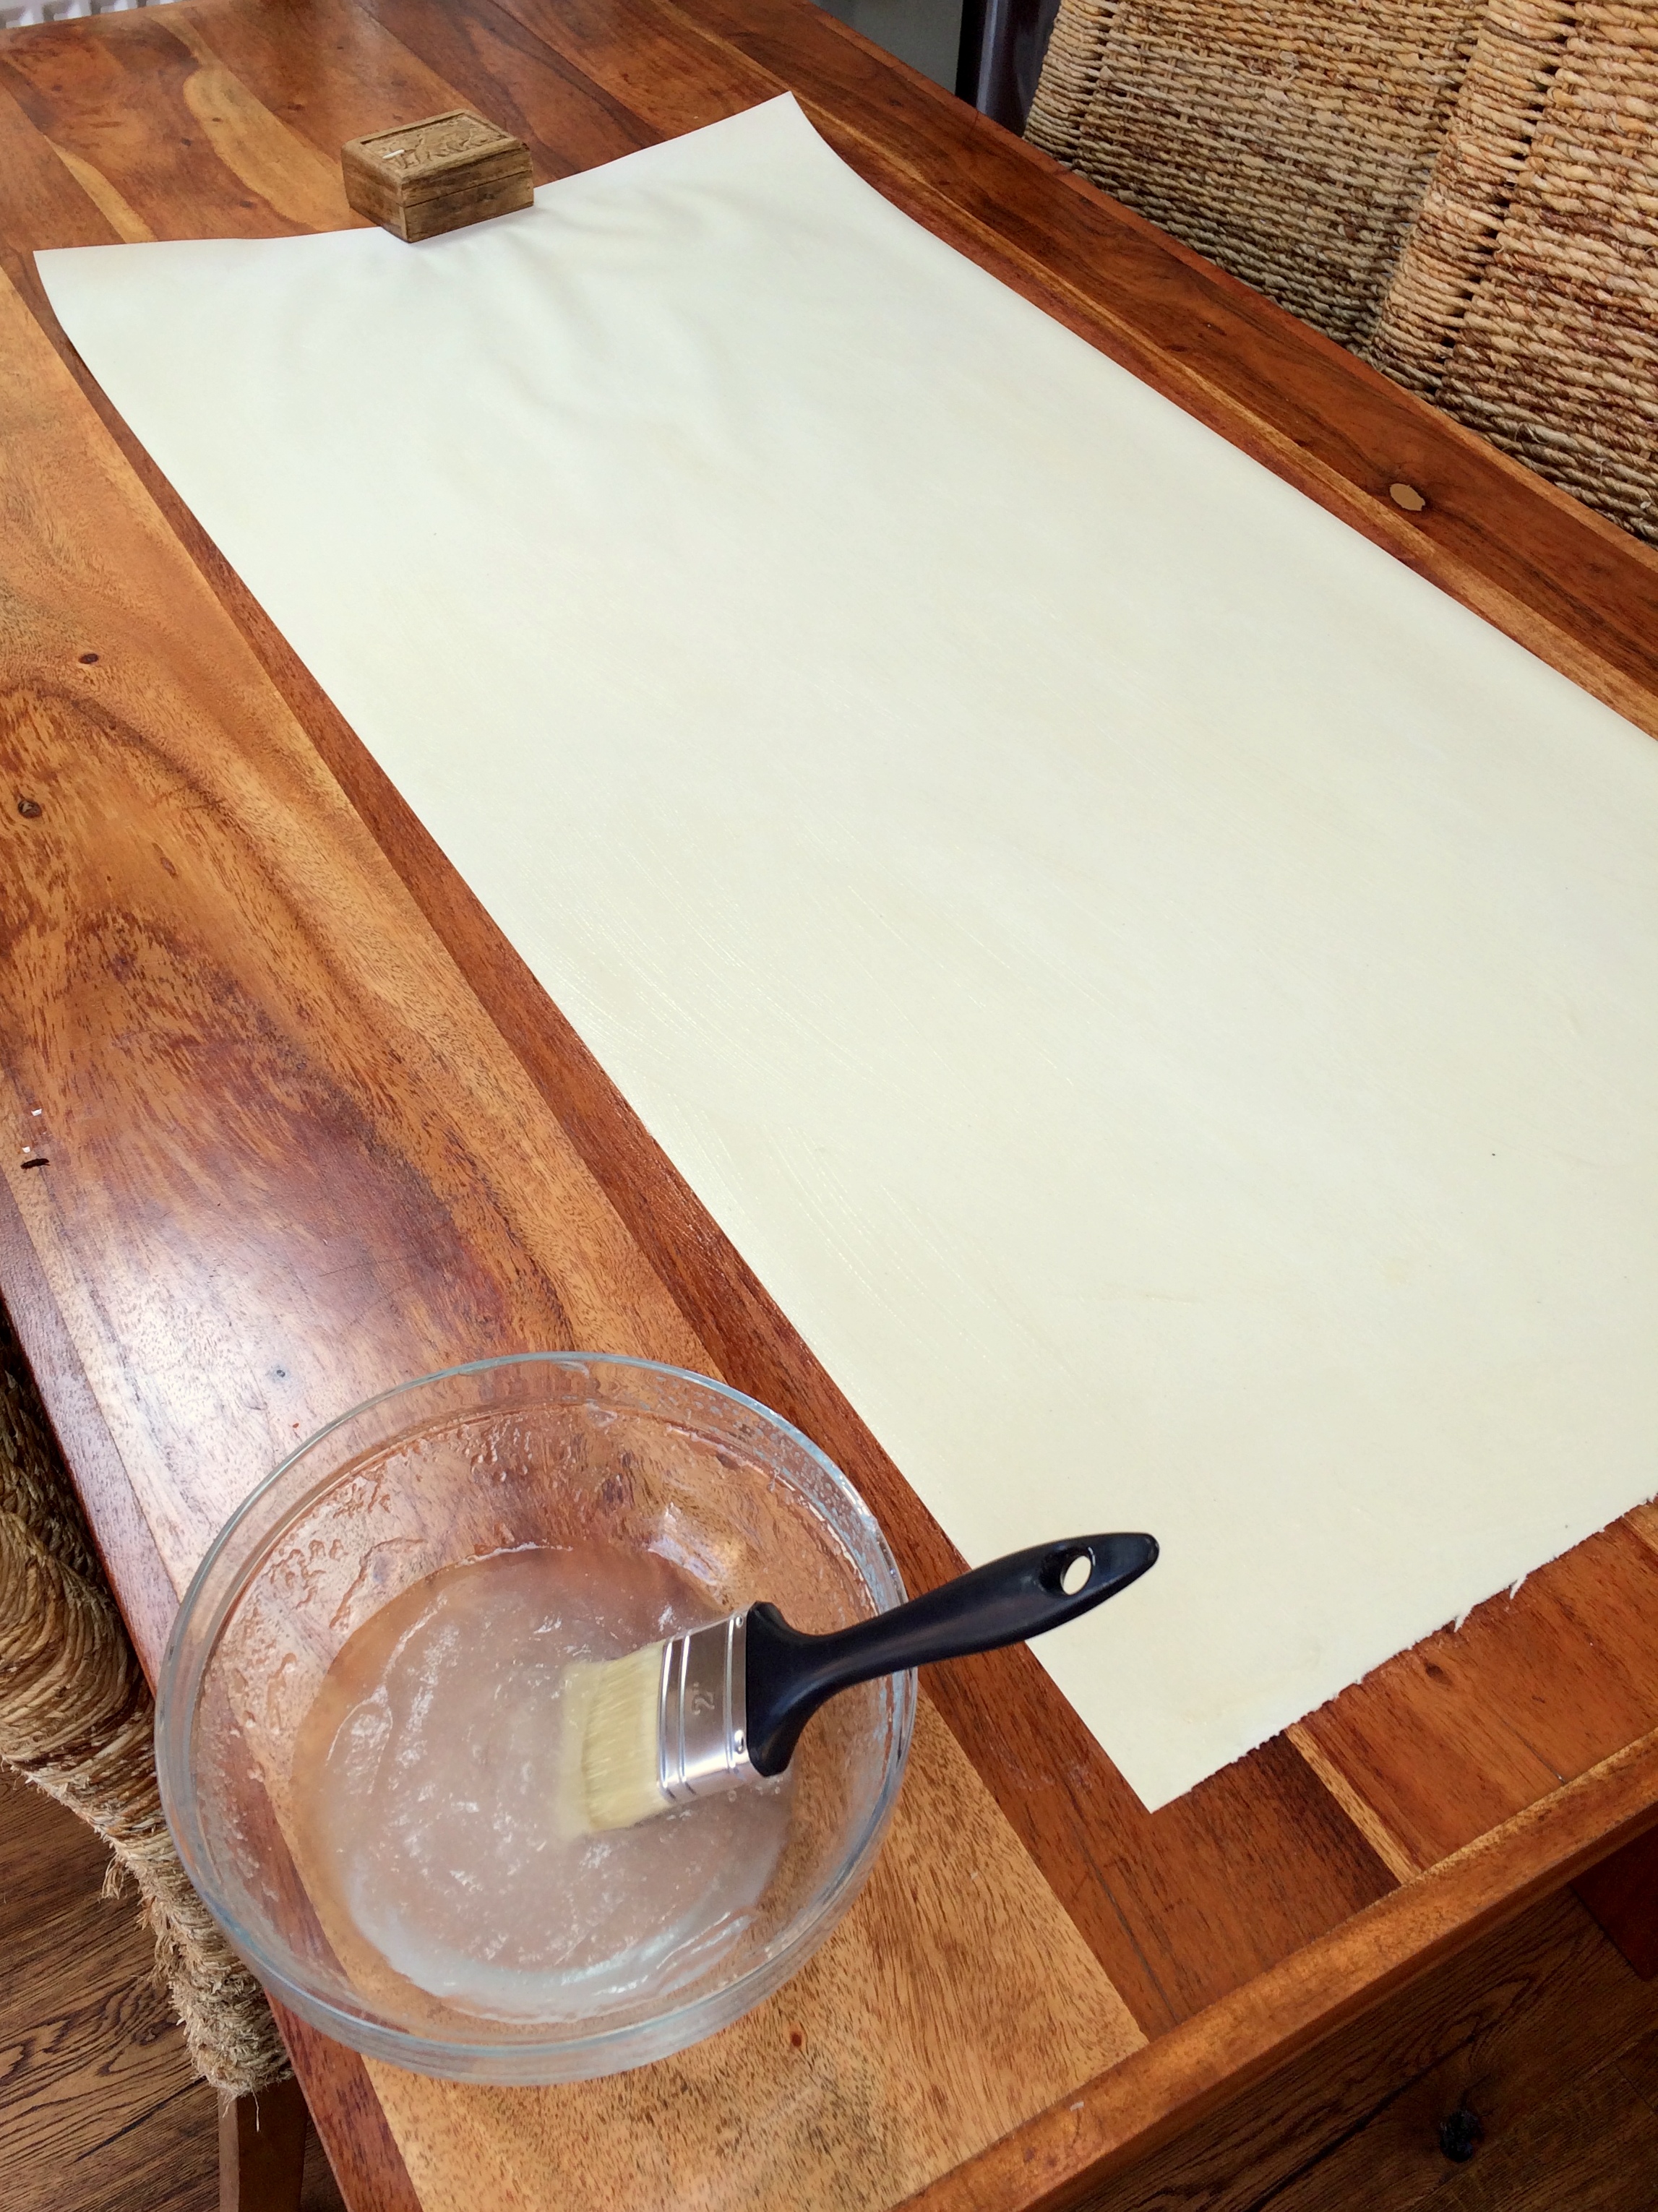
To hang a wallpaper you will need a wallpaper paste, I bough the smallest available pack from B&Q. For the best effect always follow manufacturer’s instructions on the pack. Measure how much you need first then cut the wallpaper to size, lie it on the flat surface and apply the paste all over it with a brush. Let the wallpaper soak the paste for about 3 minutes before hanging it. Repeat the process with the second strip.


Distress It
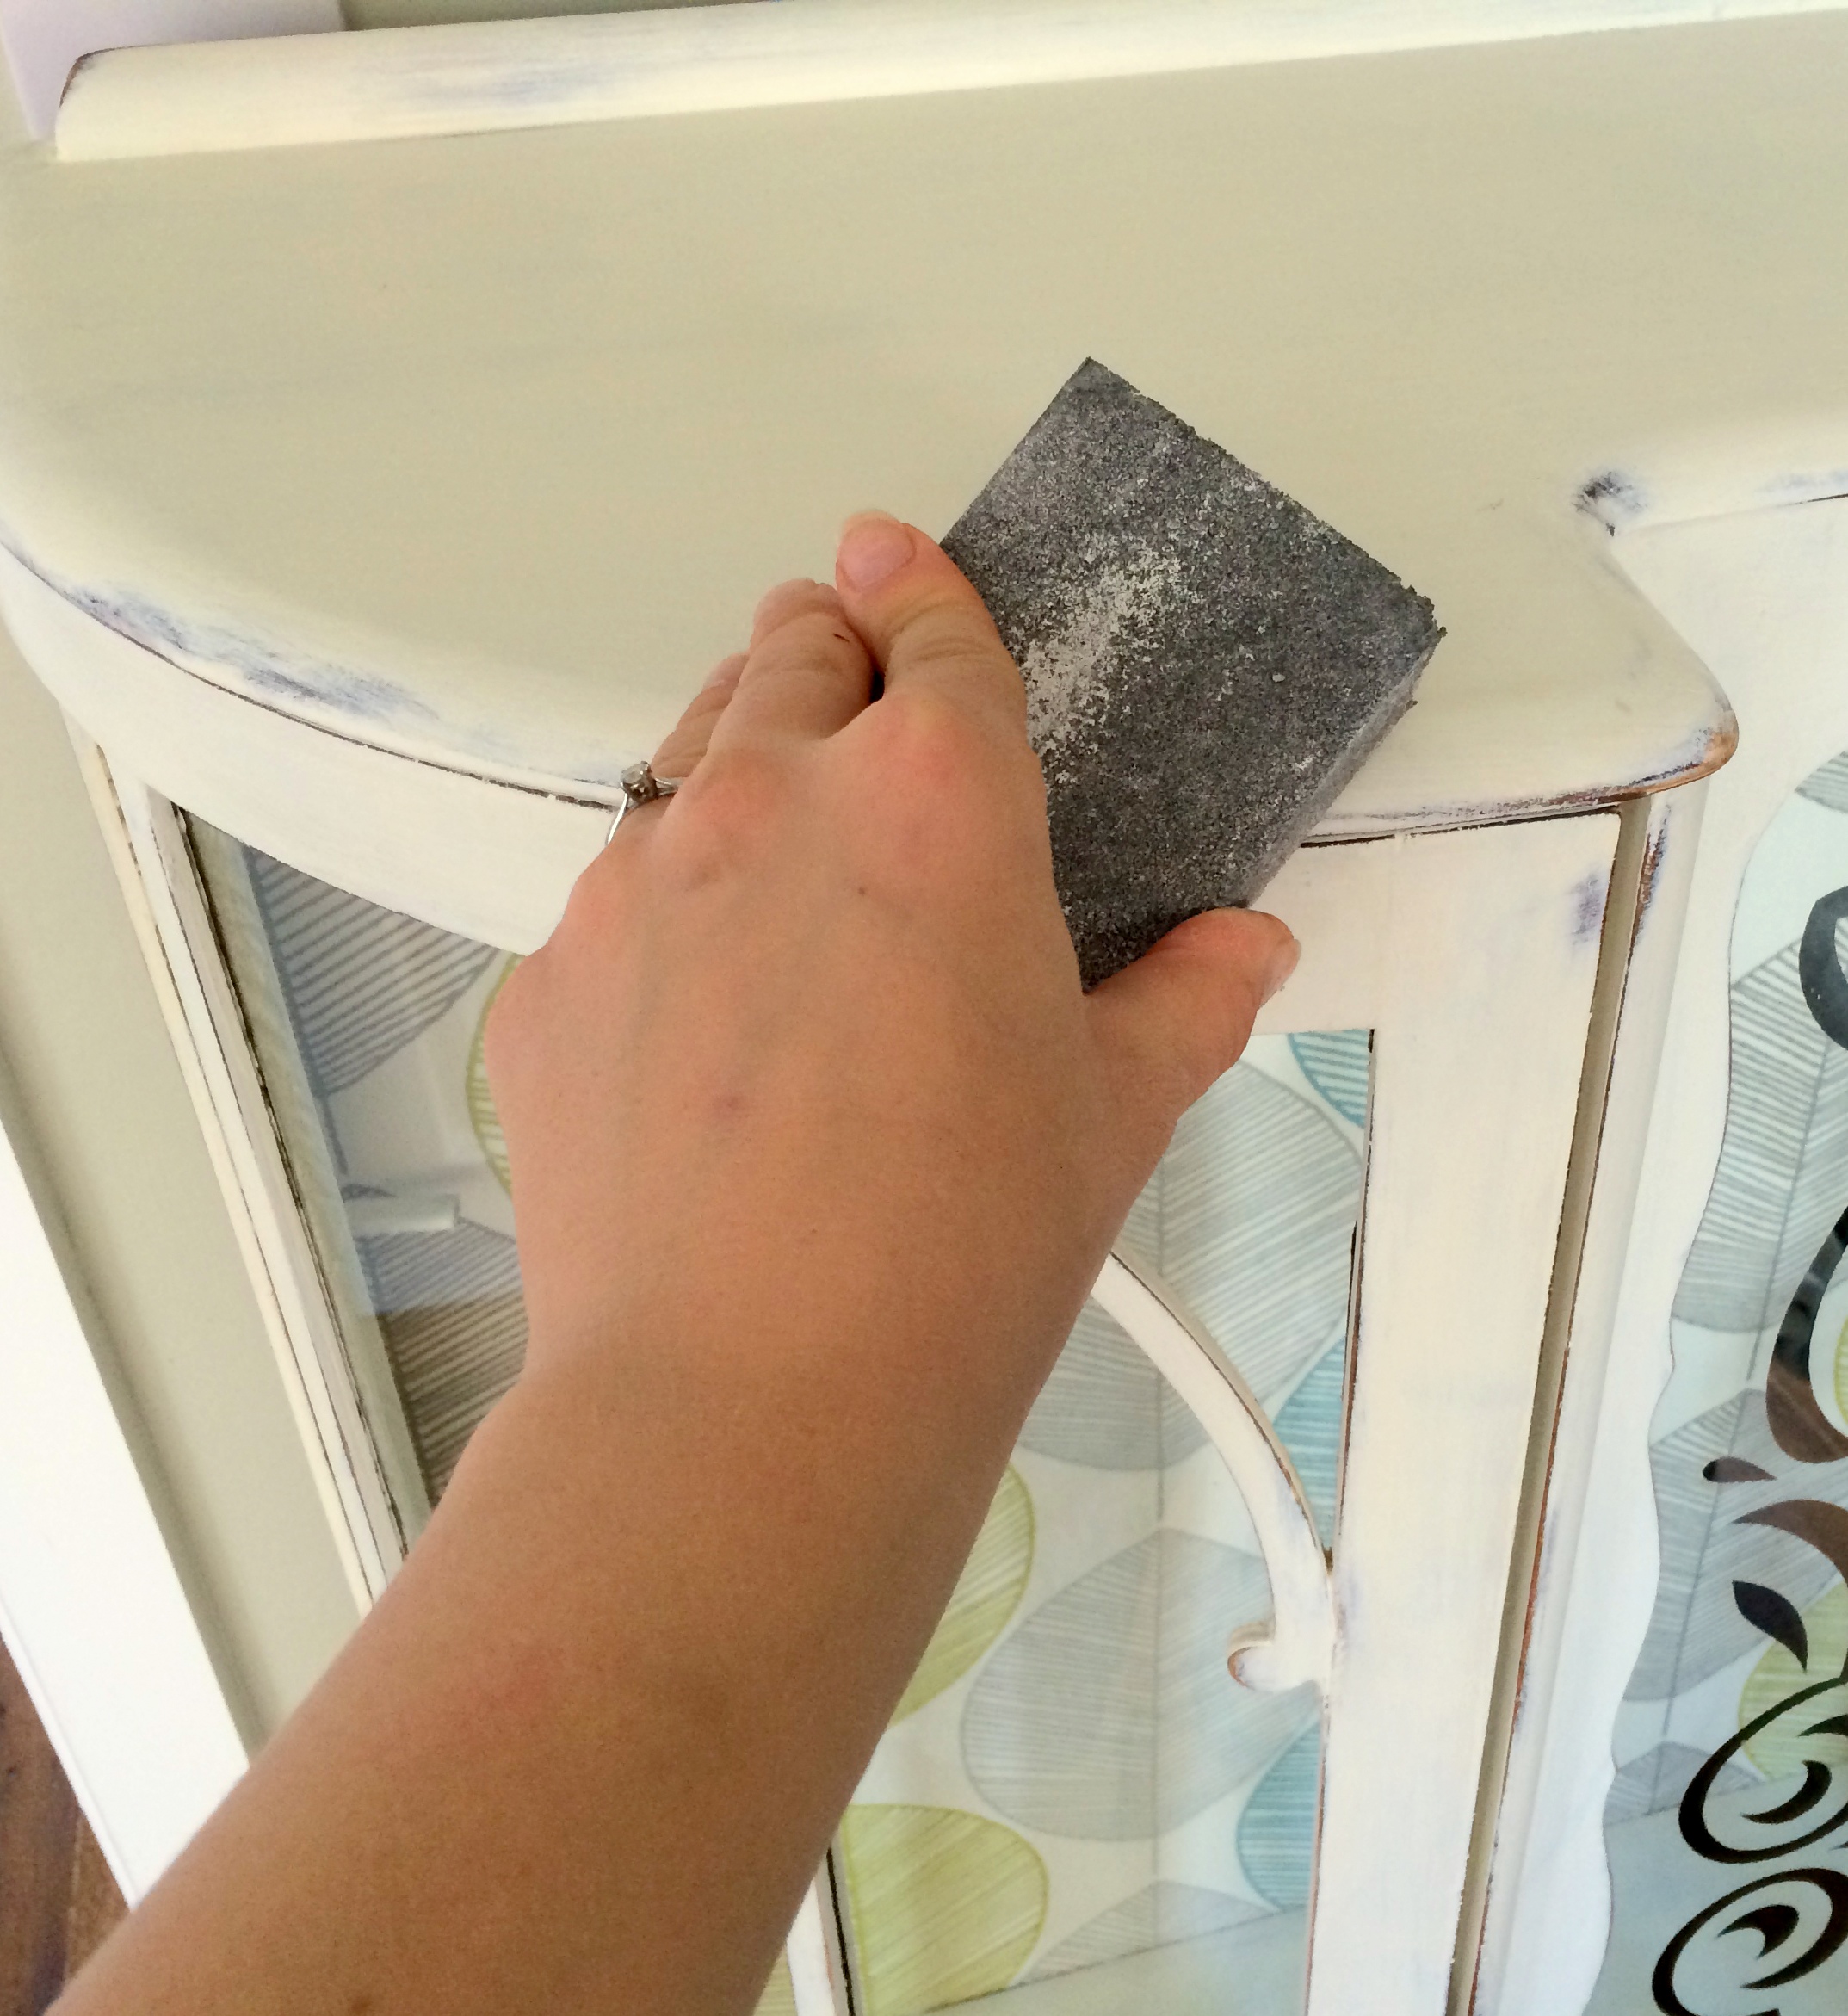
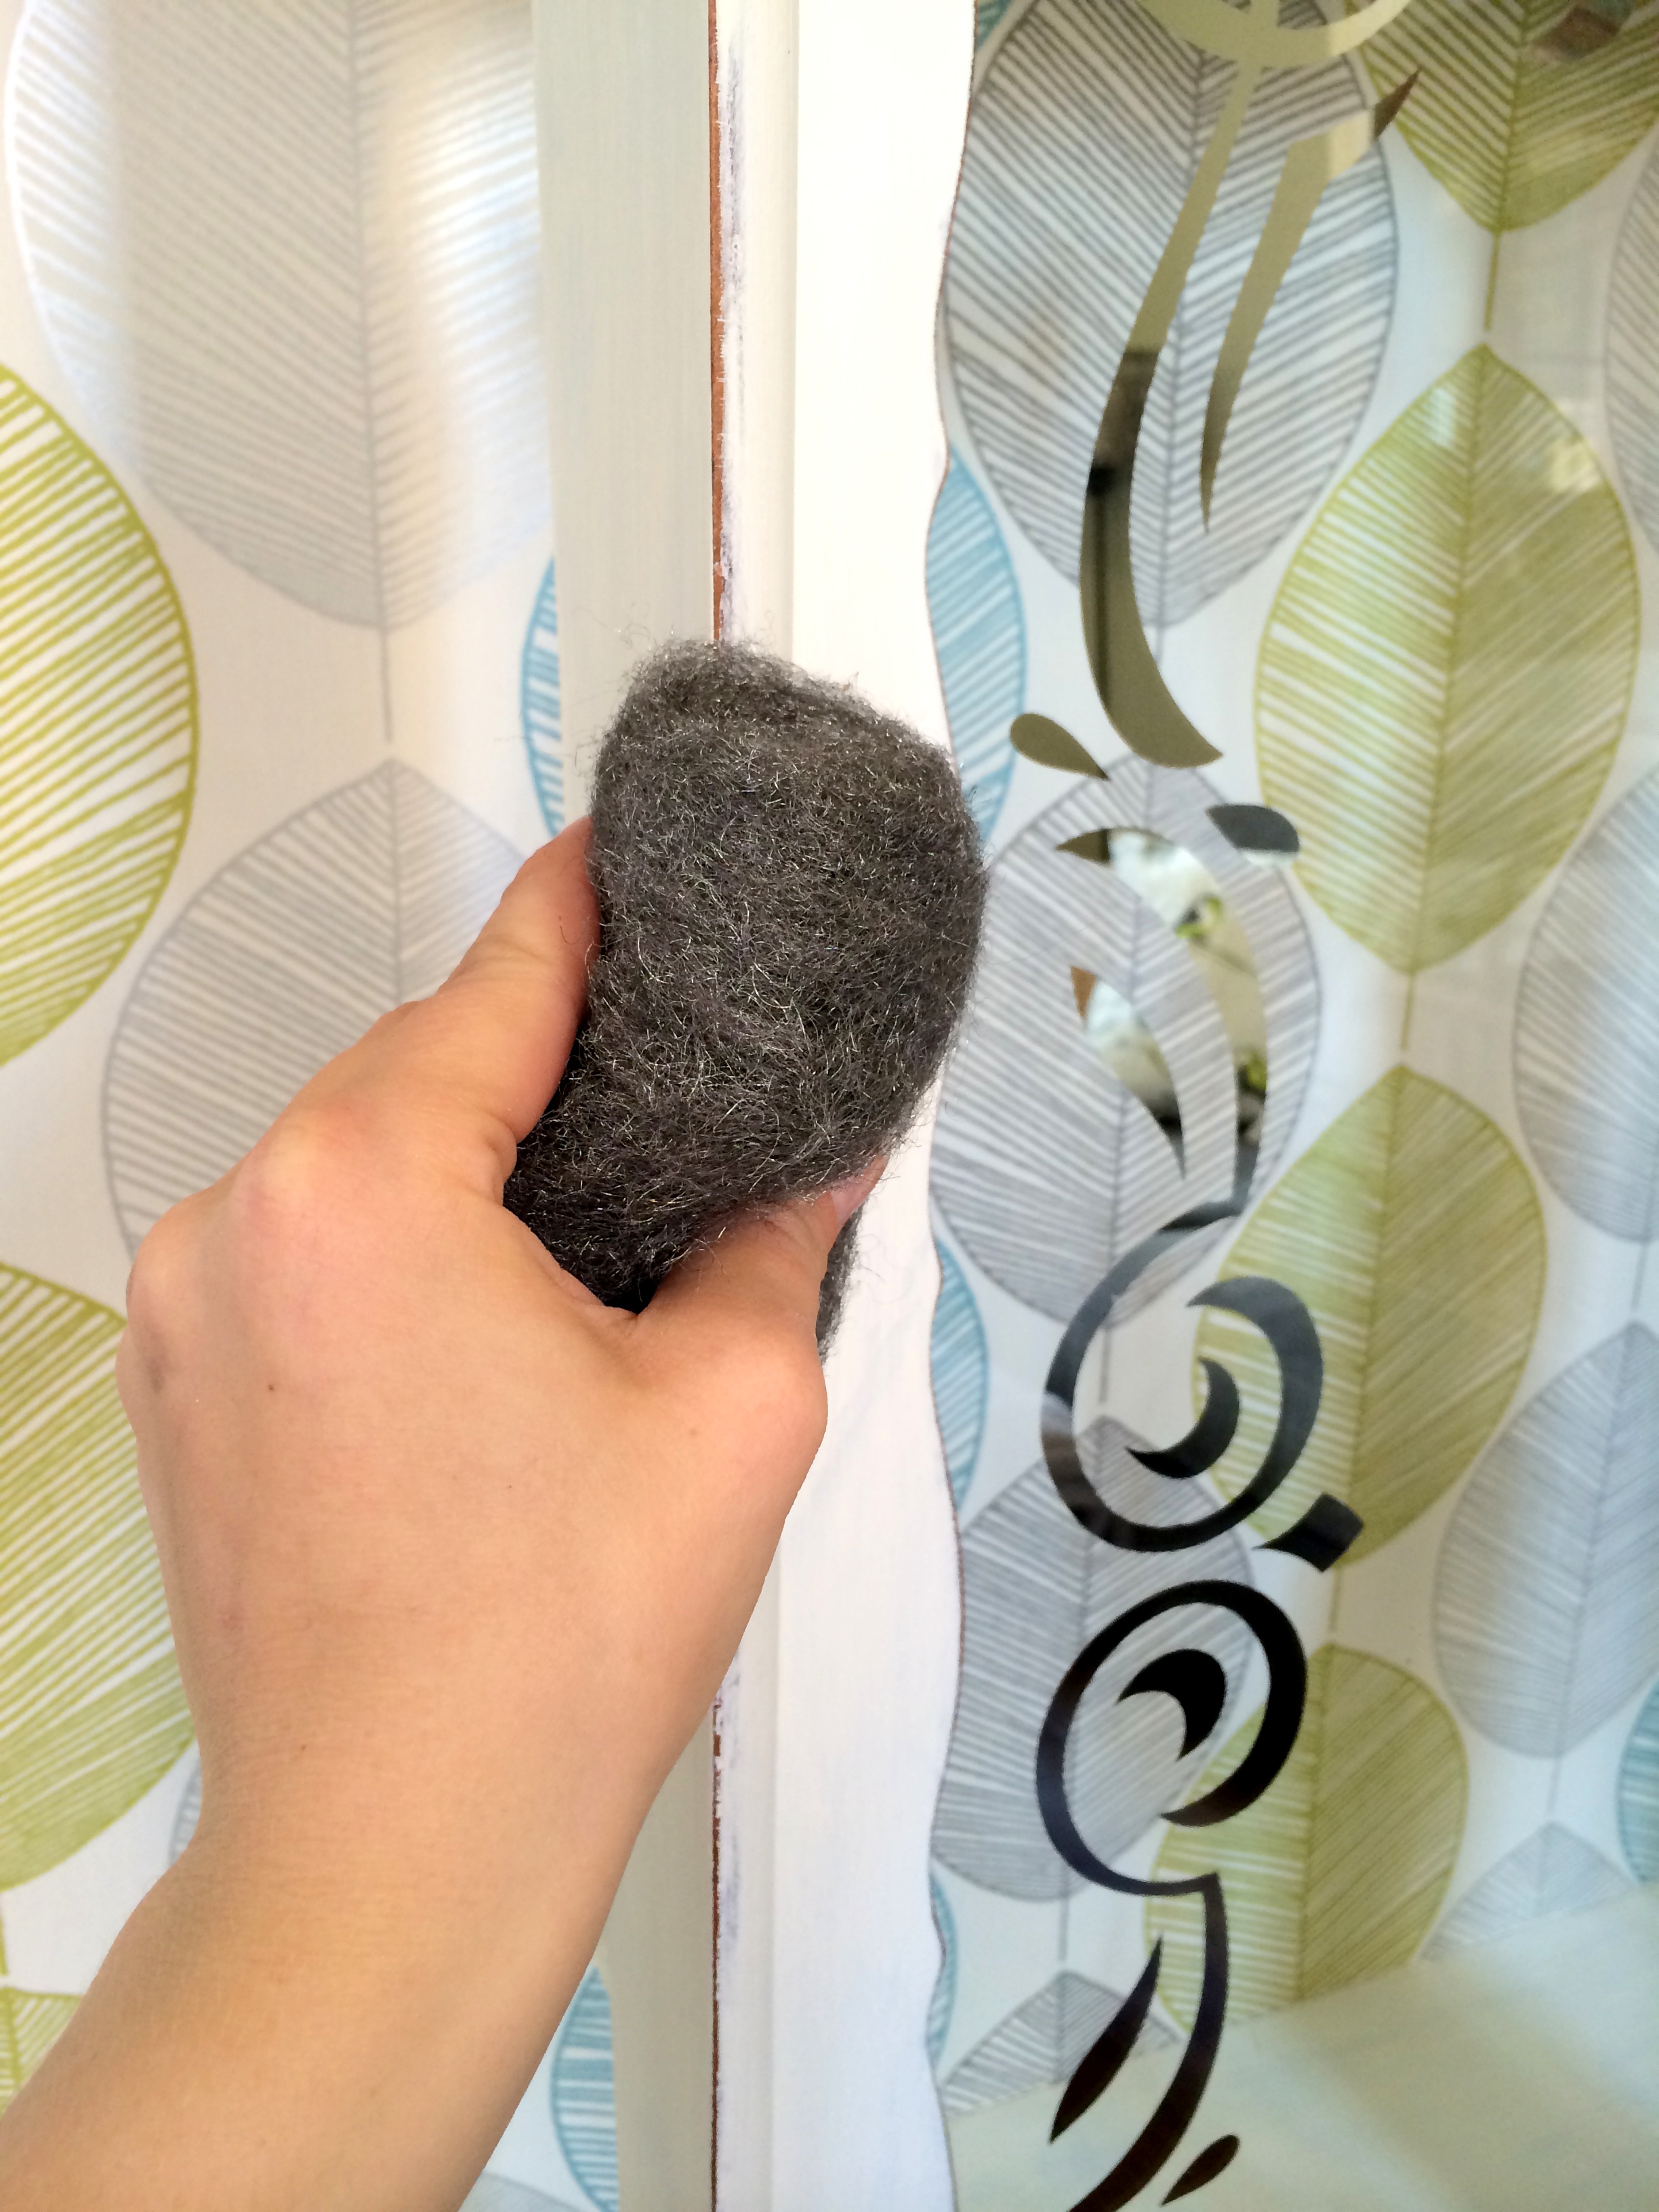
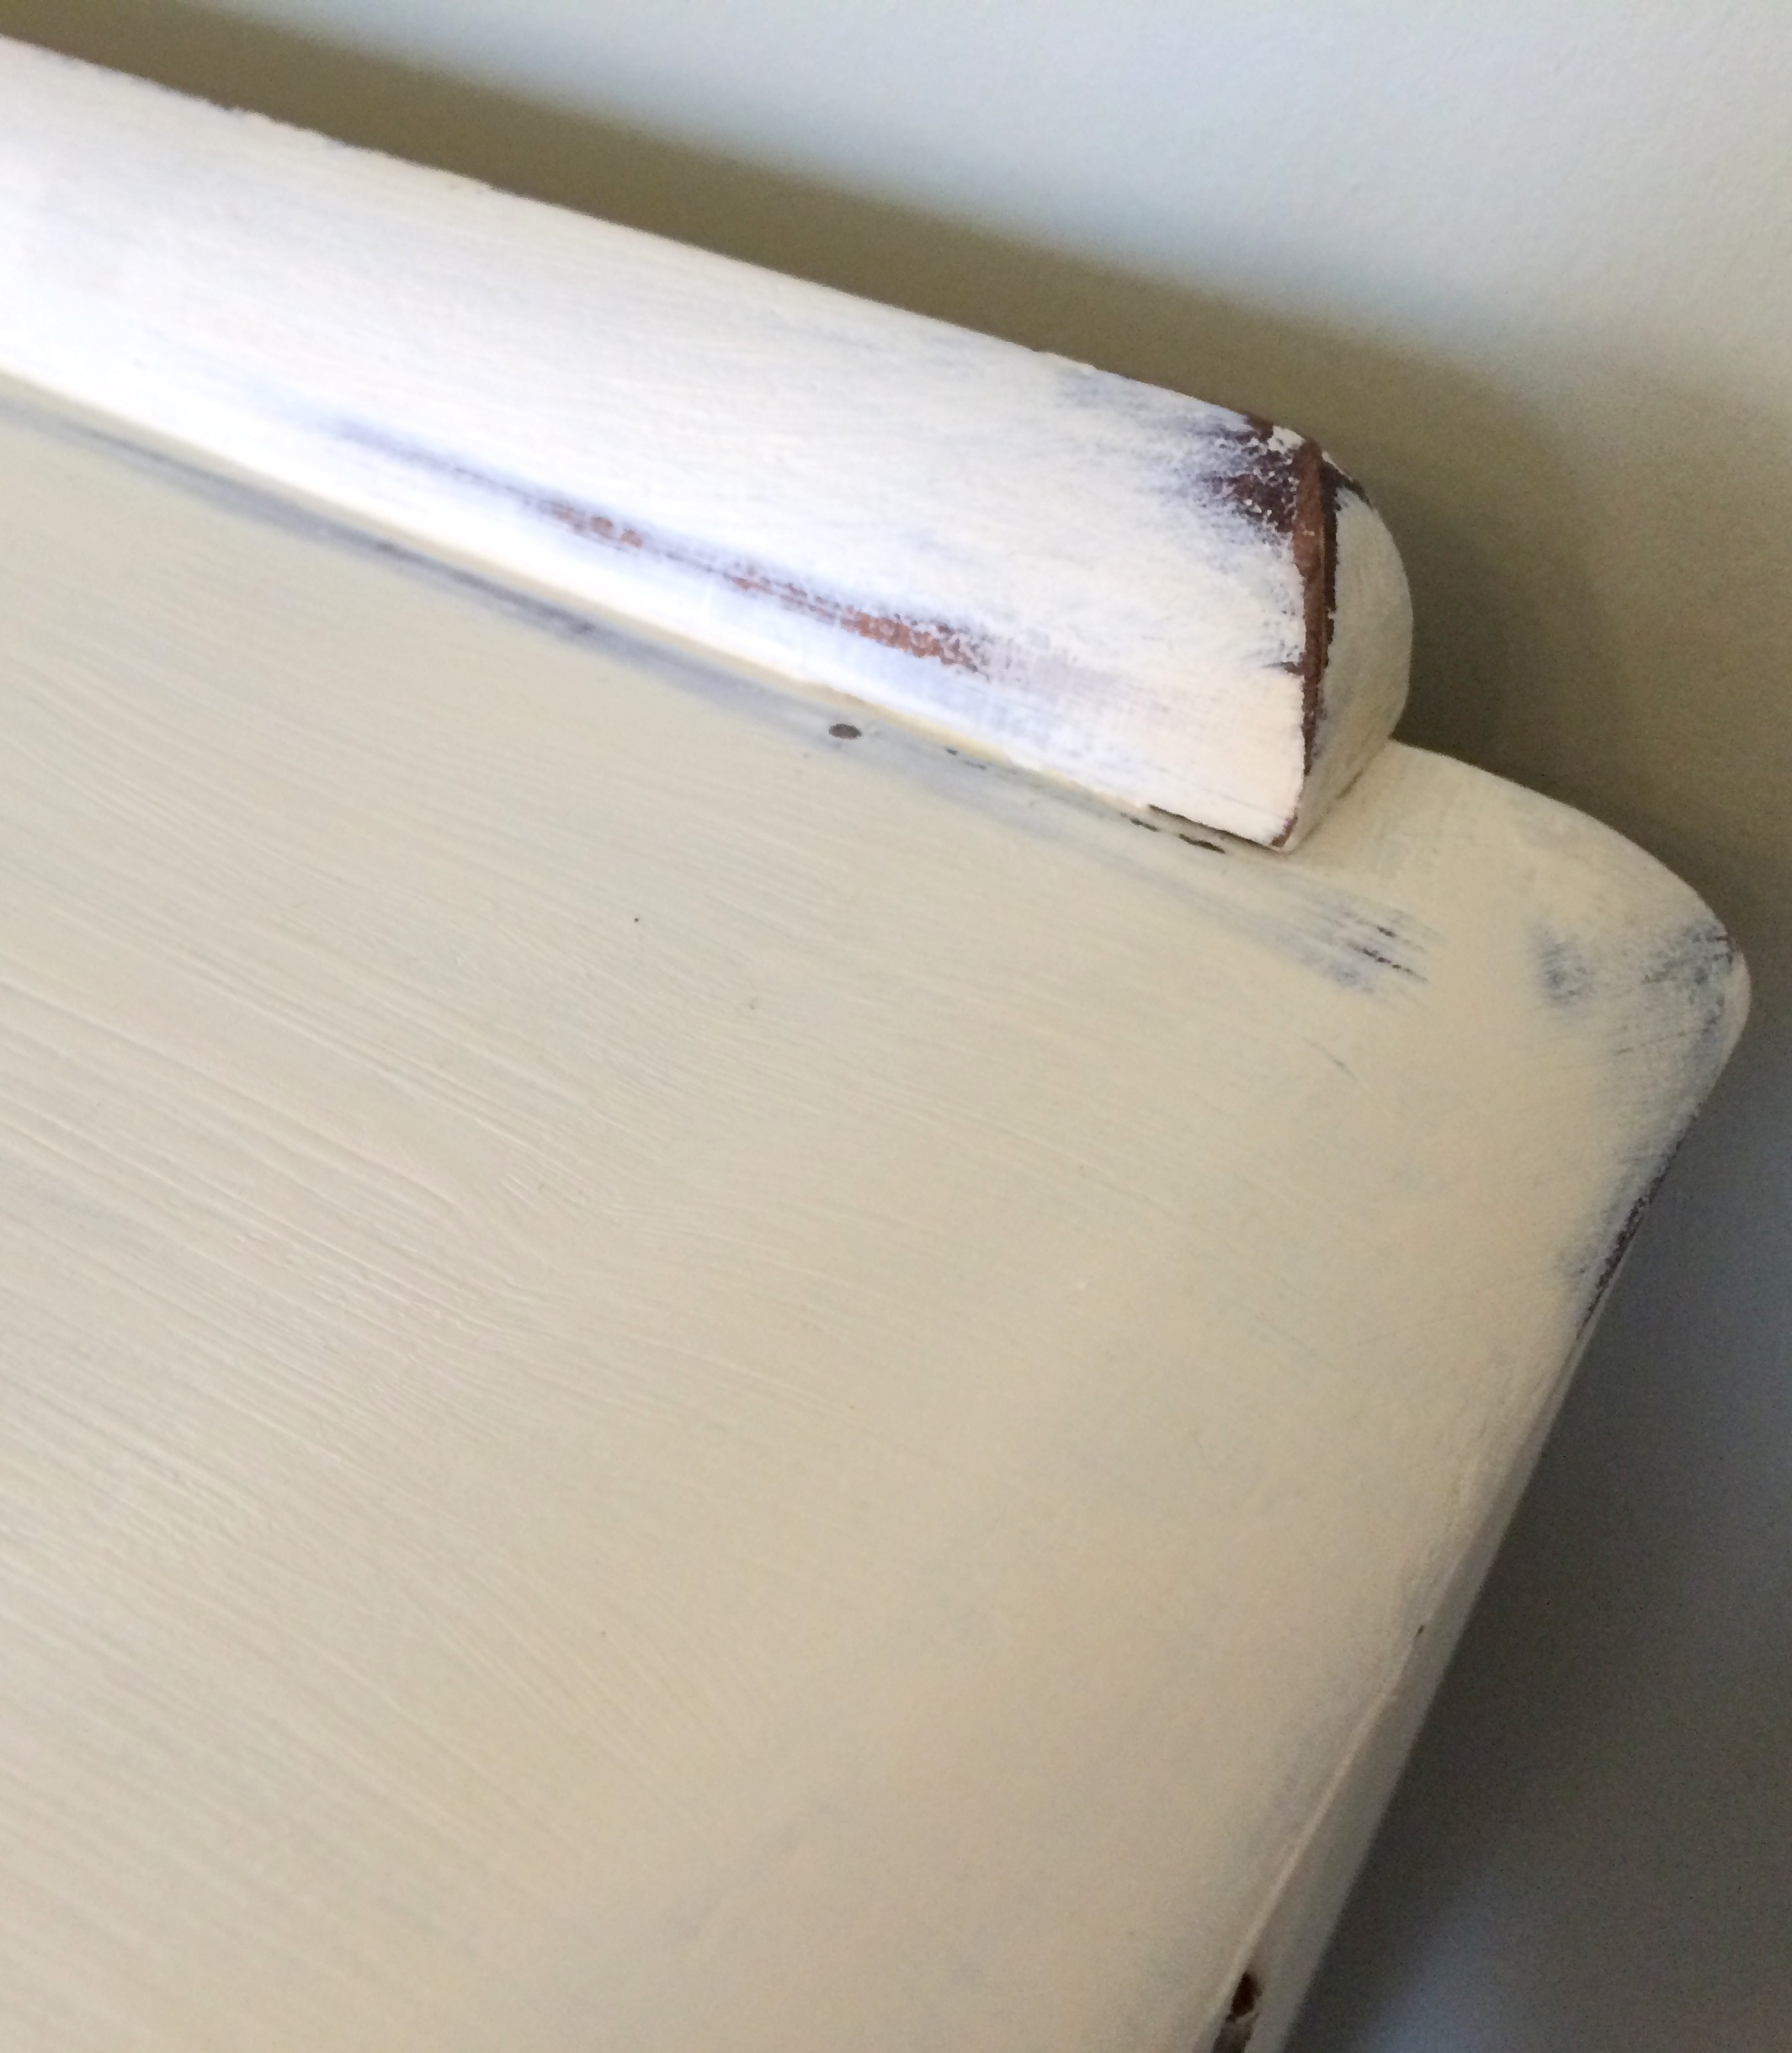
For those of you who are not so keen on waiting 50 years to have a beautifully aged piece of furniture we have good news- sand paper and steel wool will help you distress any type of furniture really fast!
It’s entirely up to you how distressed you want your piece of furniture to be. There is no right or wrong way to do it; just grab a piece of sand paper or steel wool and go over the top and over the edges, don’t be afraid- get off that paint!! Think where the obvious signs of wear usually occur and sand the paint off from these spots. You can go as wild as you want at this stage of the makeover. We personally went for the ‘edges only distress’.


Add Finishing Touches
Wax
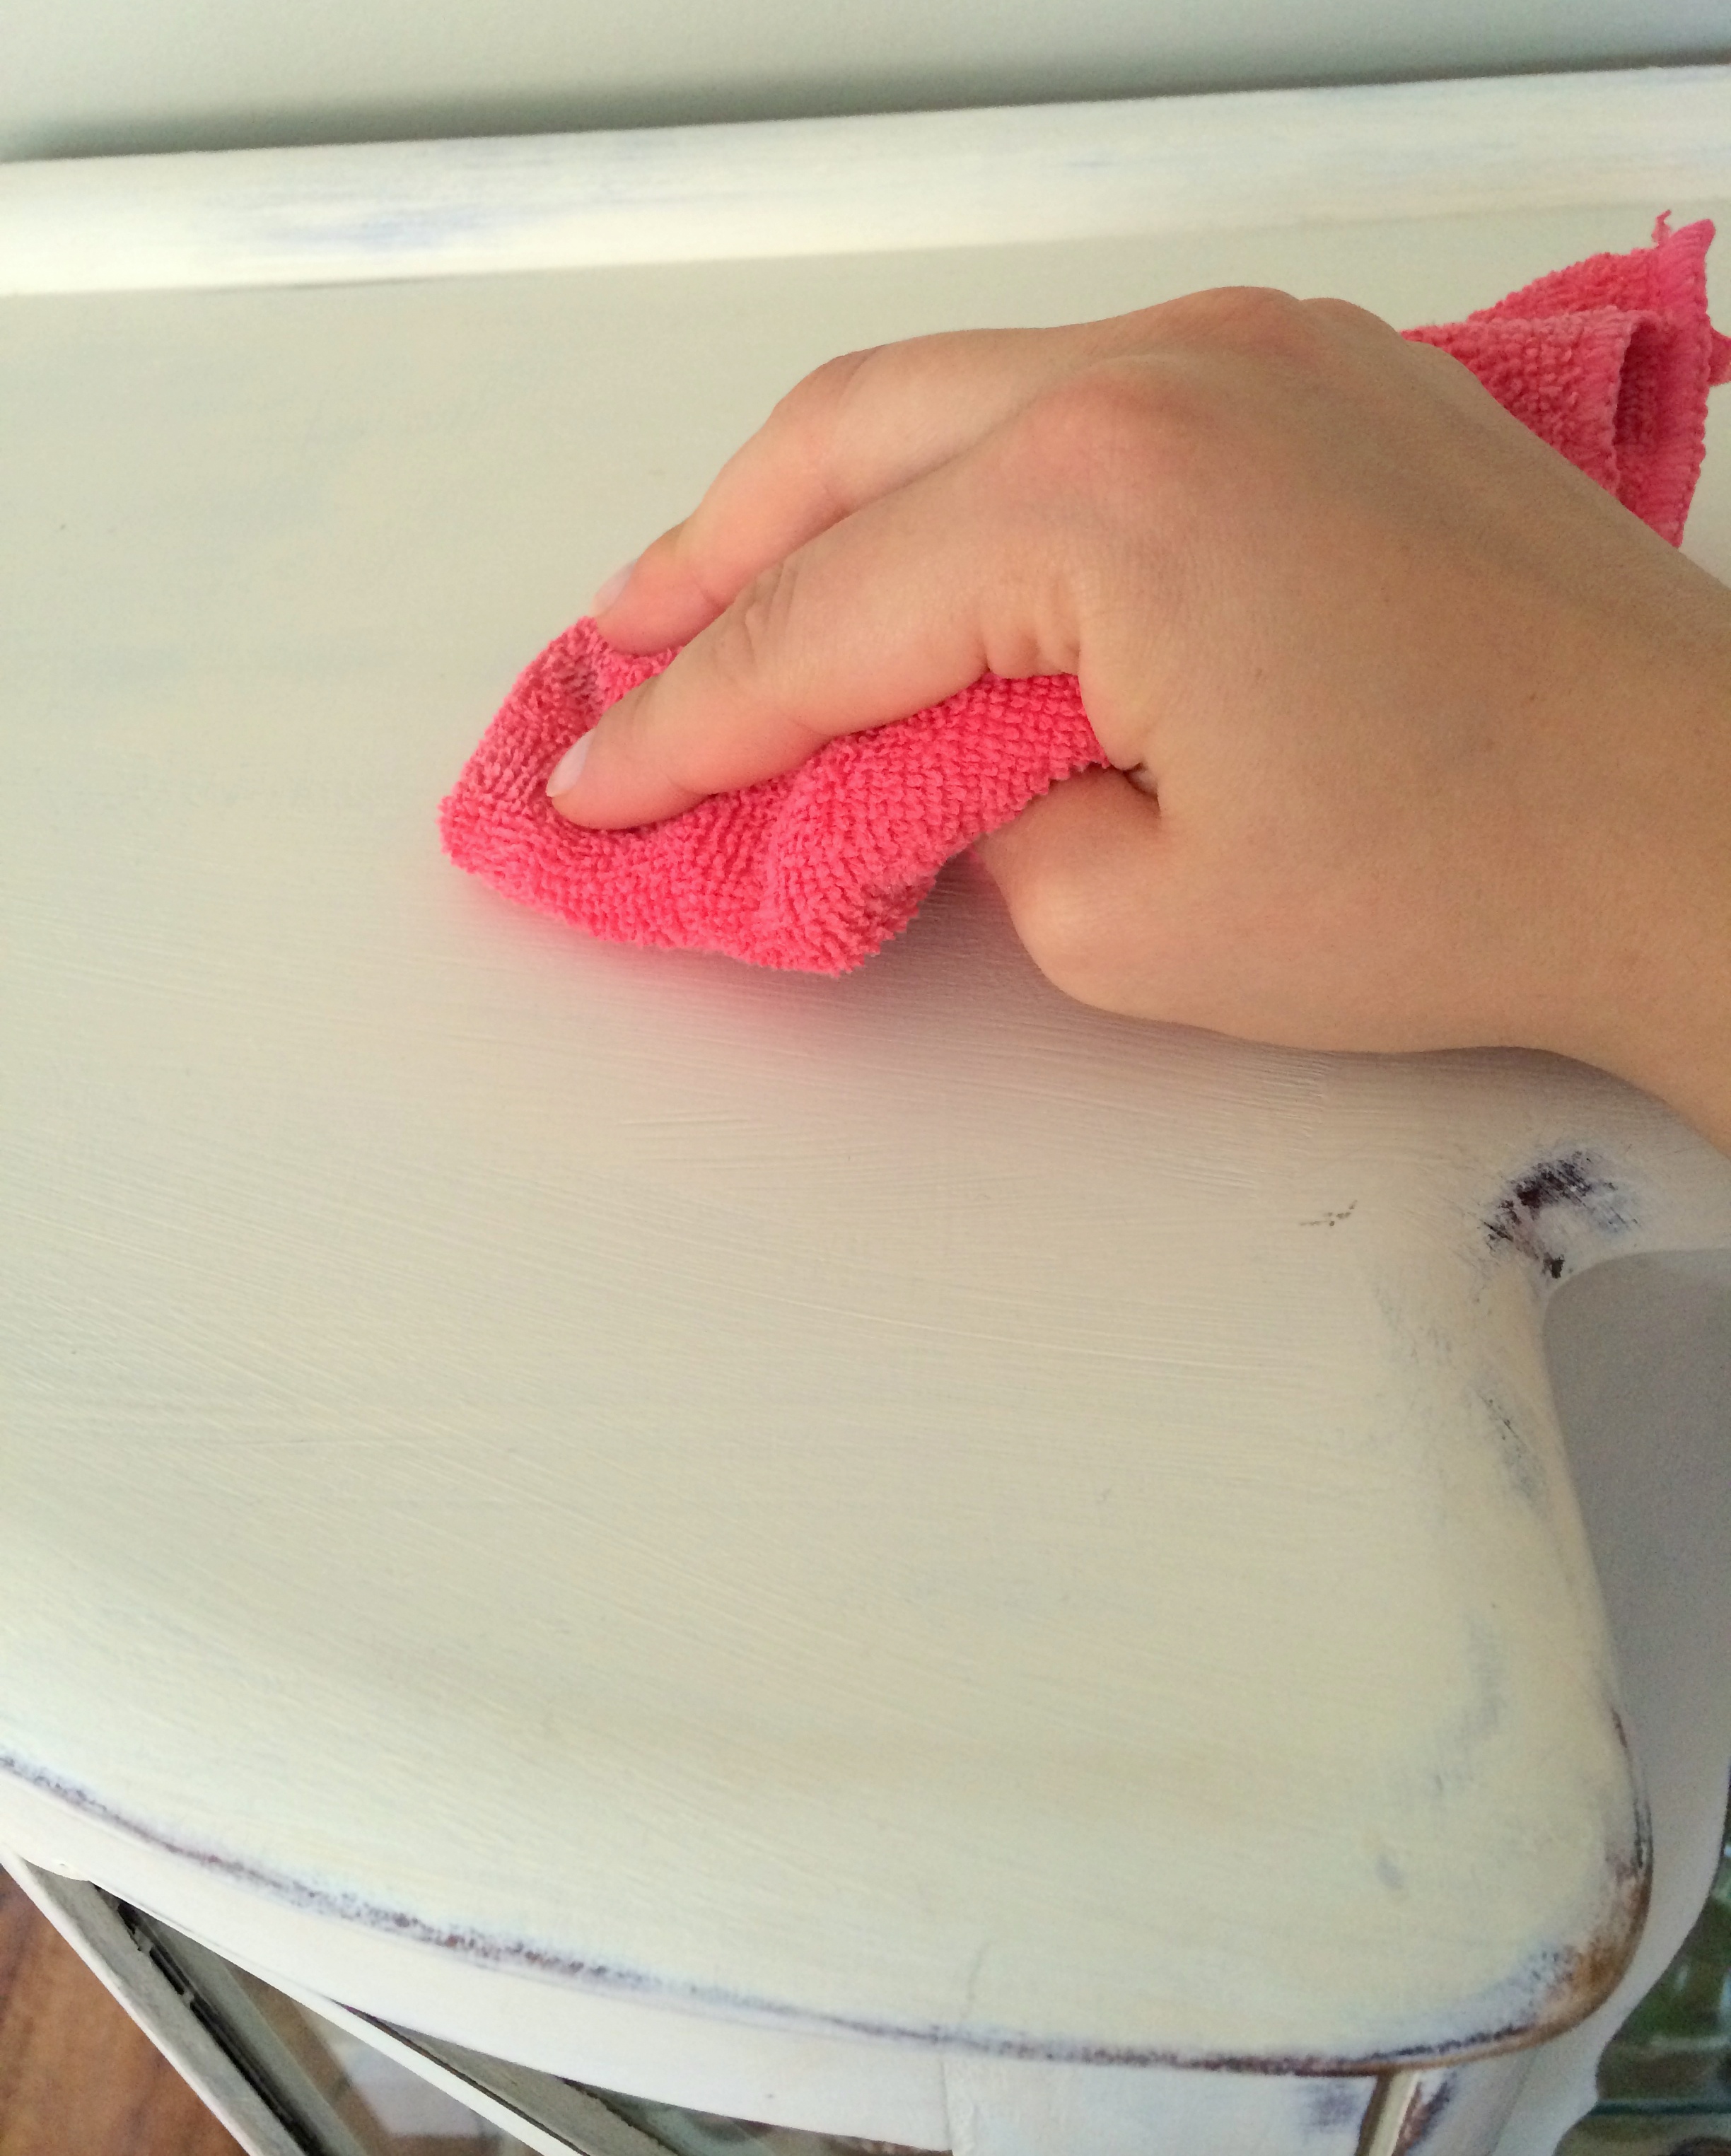
Unfortunately chalk paint requires sealing. I sealed it using clear beeswax form B&Q. Wax is a cheap, effective and easy to use sealant. Using a clean cloth apply a generous layer of wax over your piece, leave it to dry for an hour and then buff it up. Yes, waxing is time consuming, but well worth the elbow grease because the results are simply stunning. Remember that chalk paint will always go slightly darker after waxing- its good to remember it at the beginning of your project when it comes to selecting paint colours.

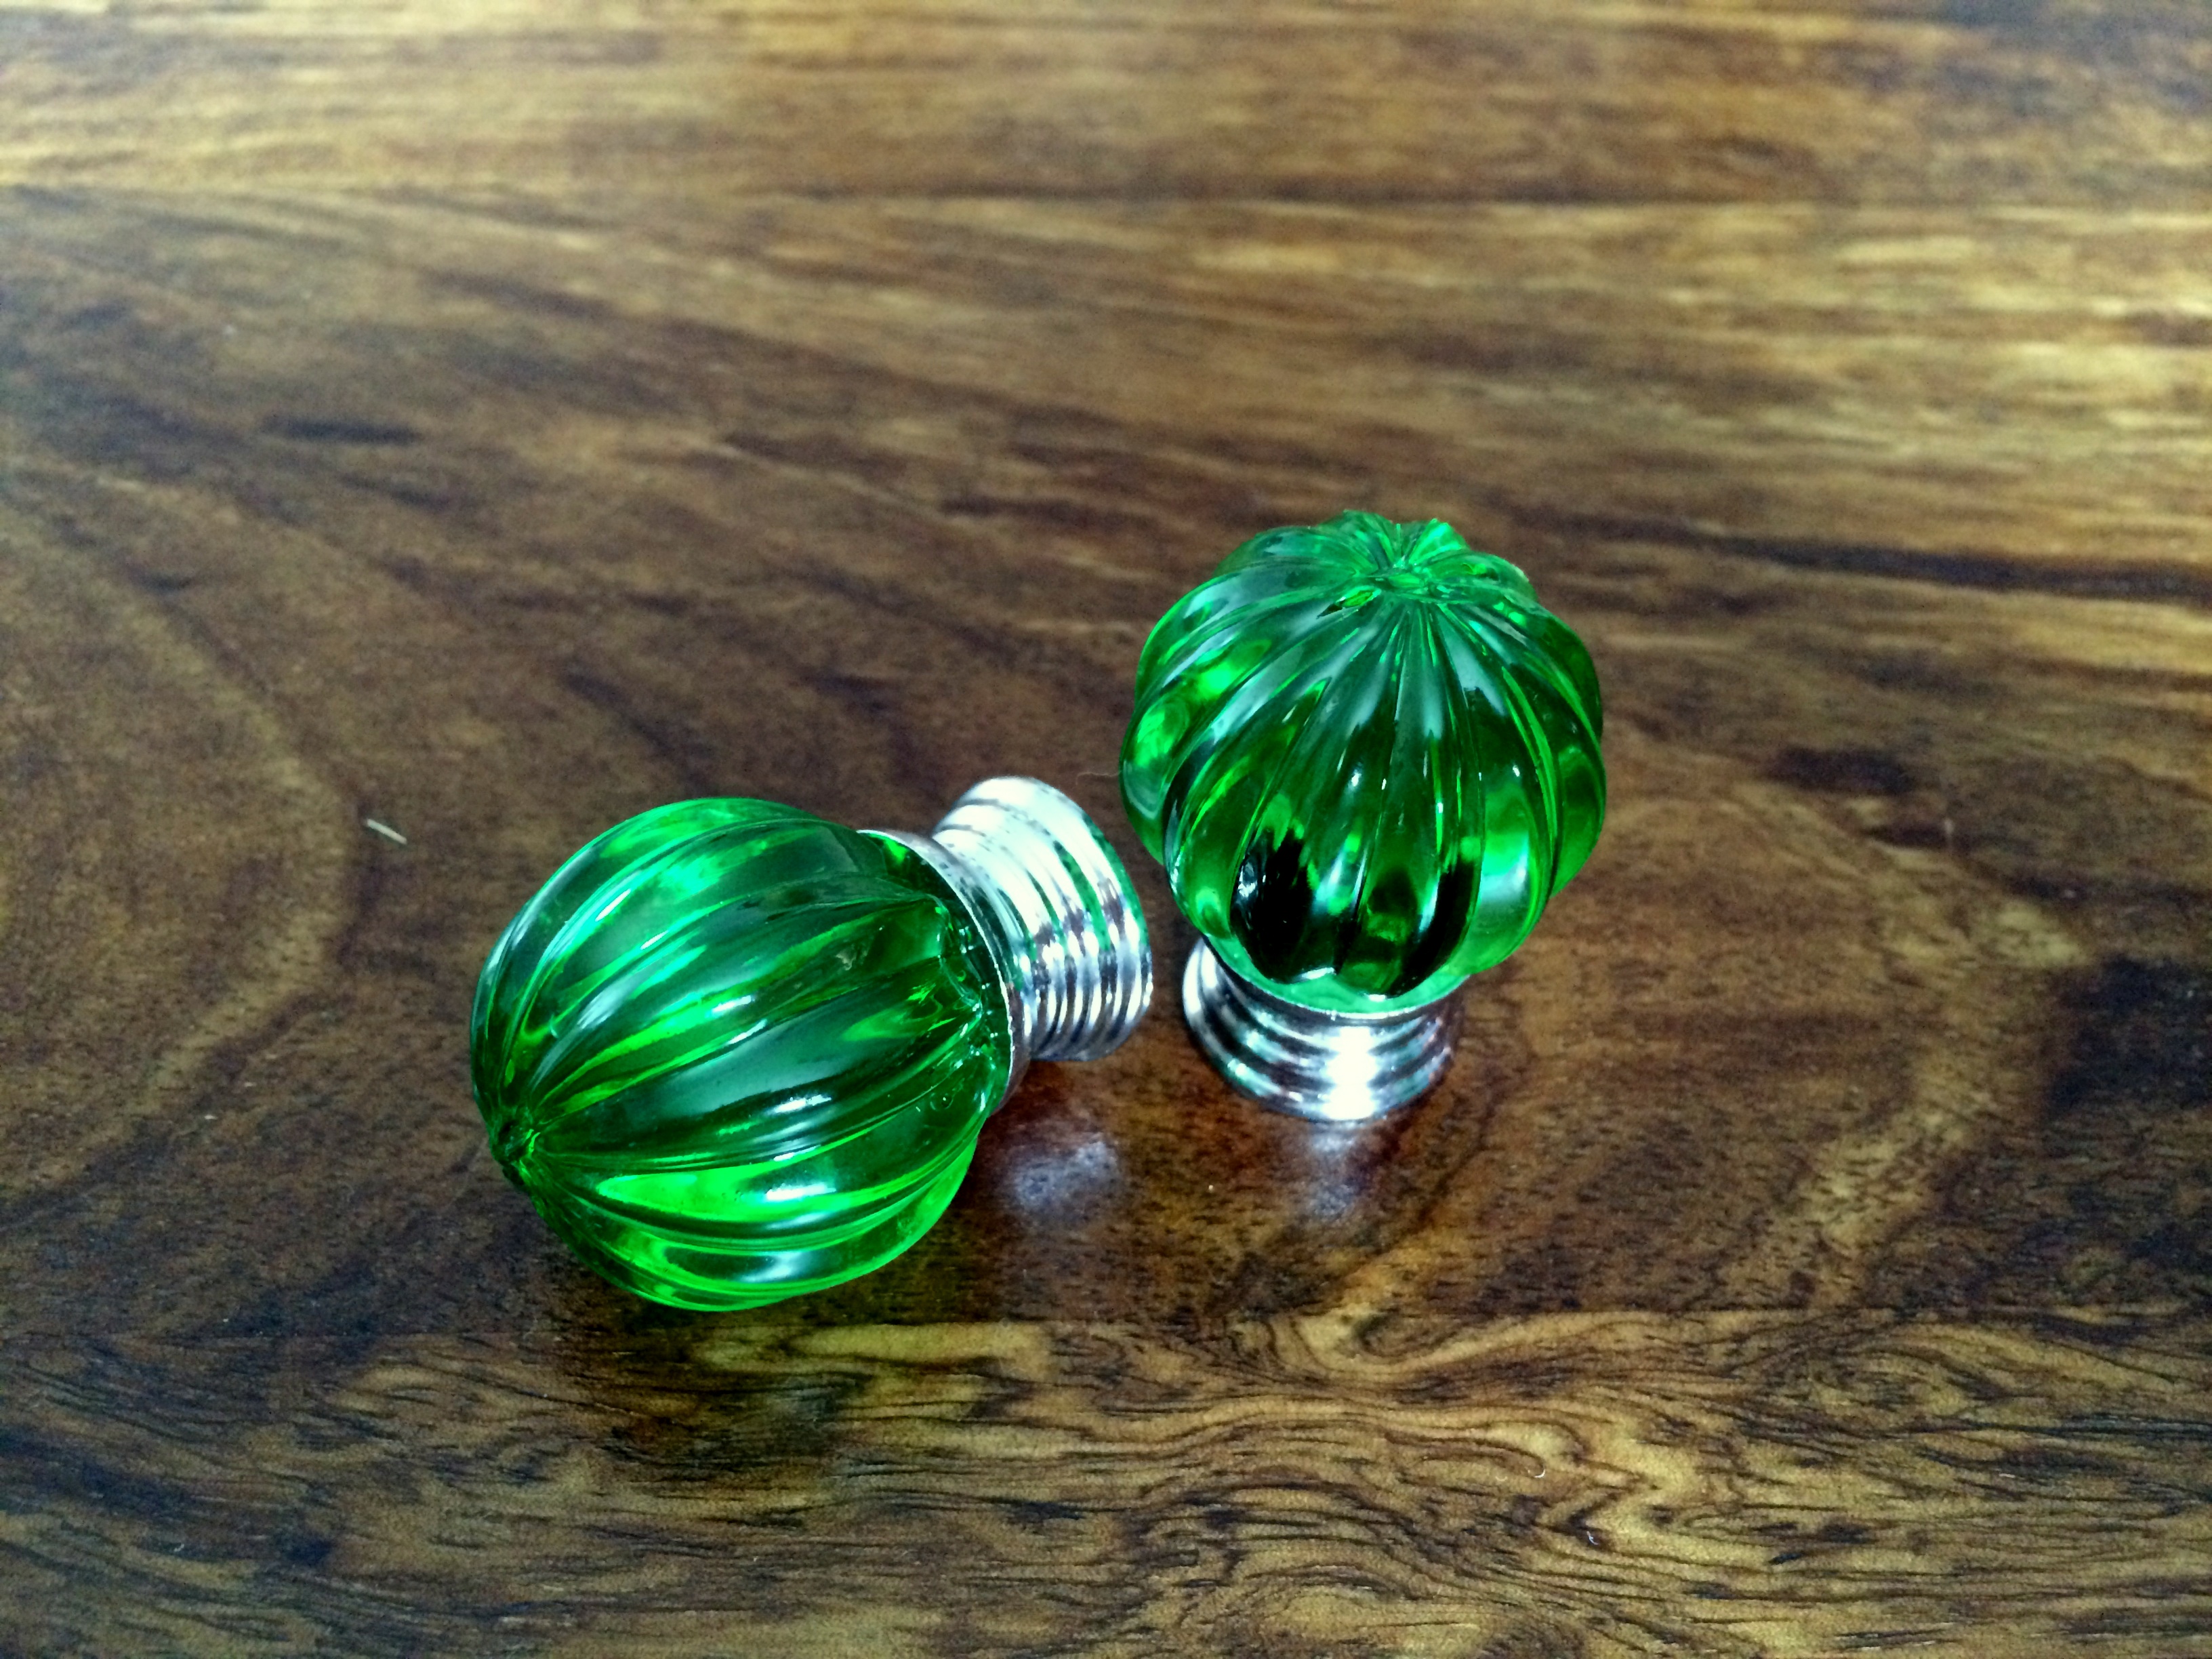
Door knobs
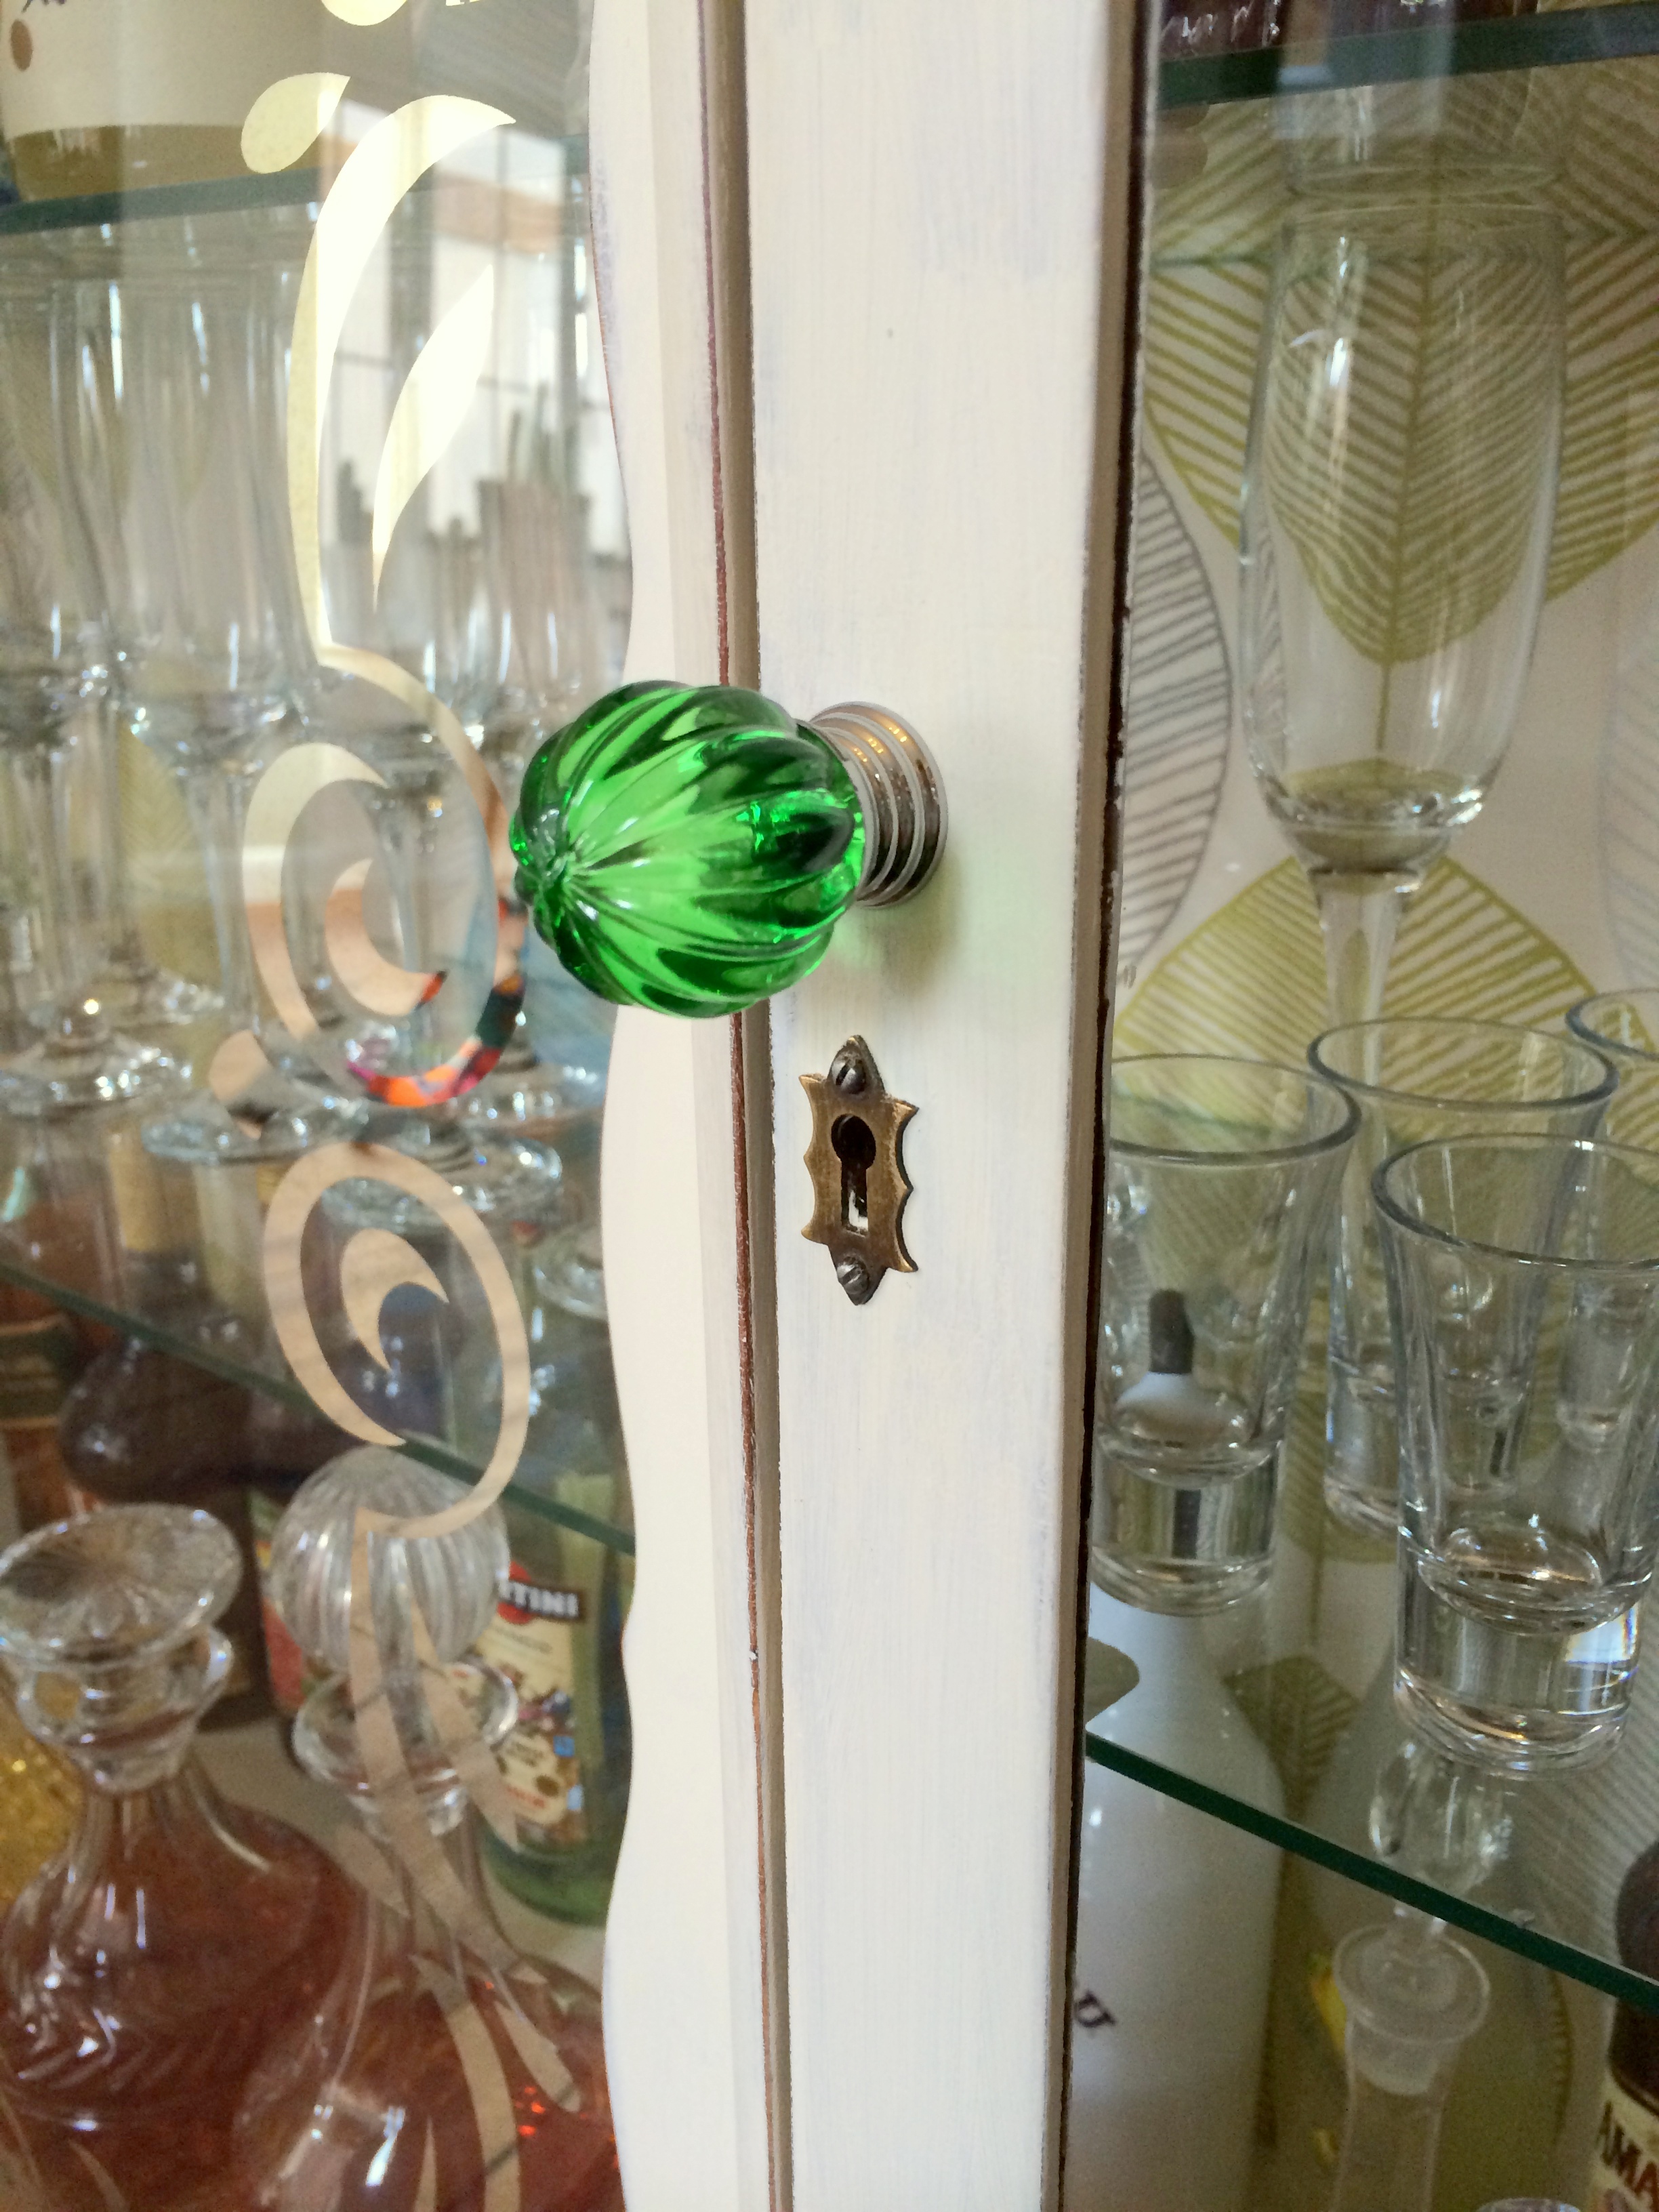
Why not? Glass, porcelain or acrylic, colourful door knobs are SO shabby chic!!! I purchased few on eBay a while back and I decided to utilise some of them for the purpose of this makeover. It was a brilliant move, with two green glass knobs our cabinet finally looked complete.
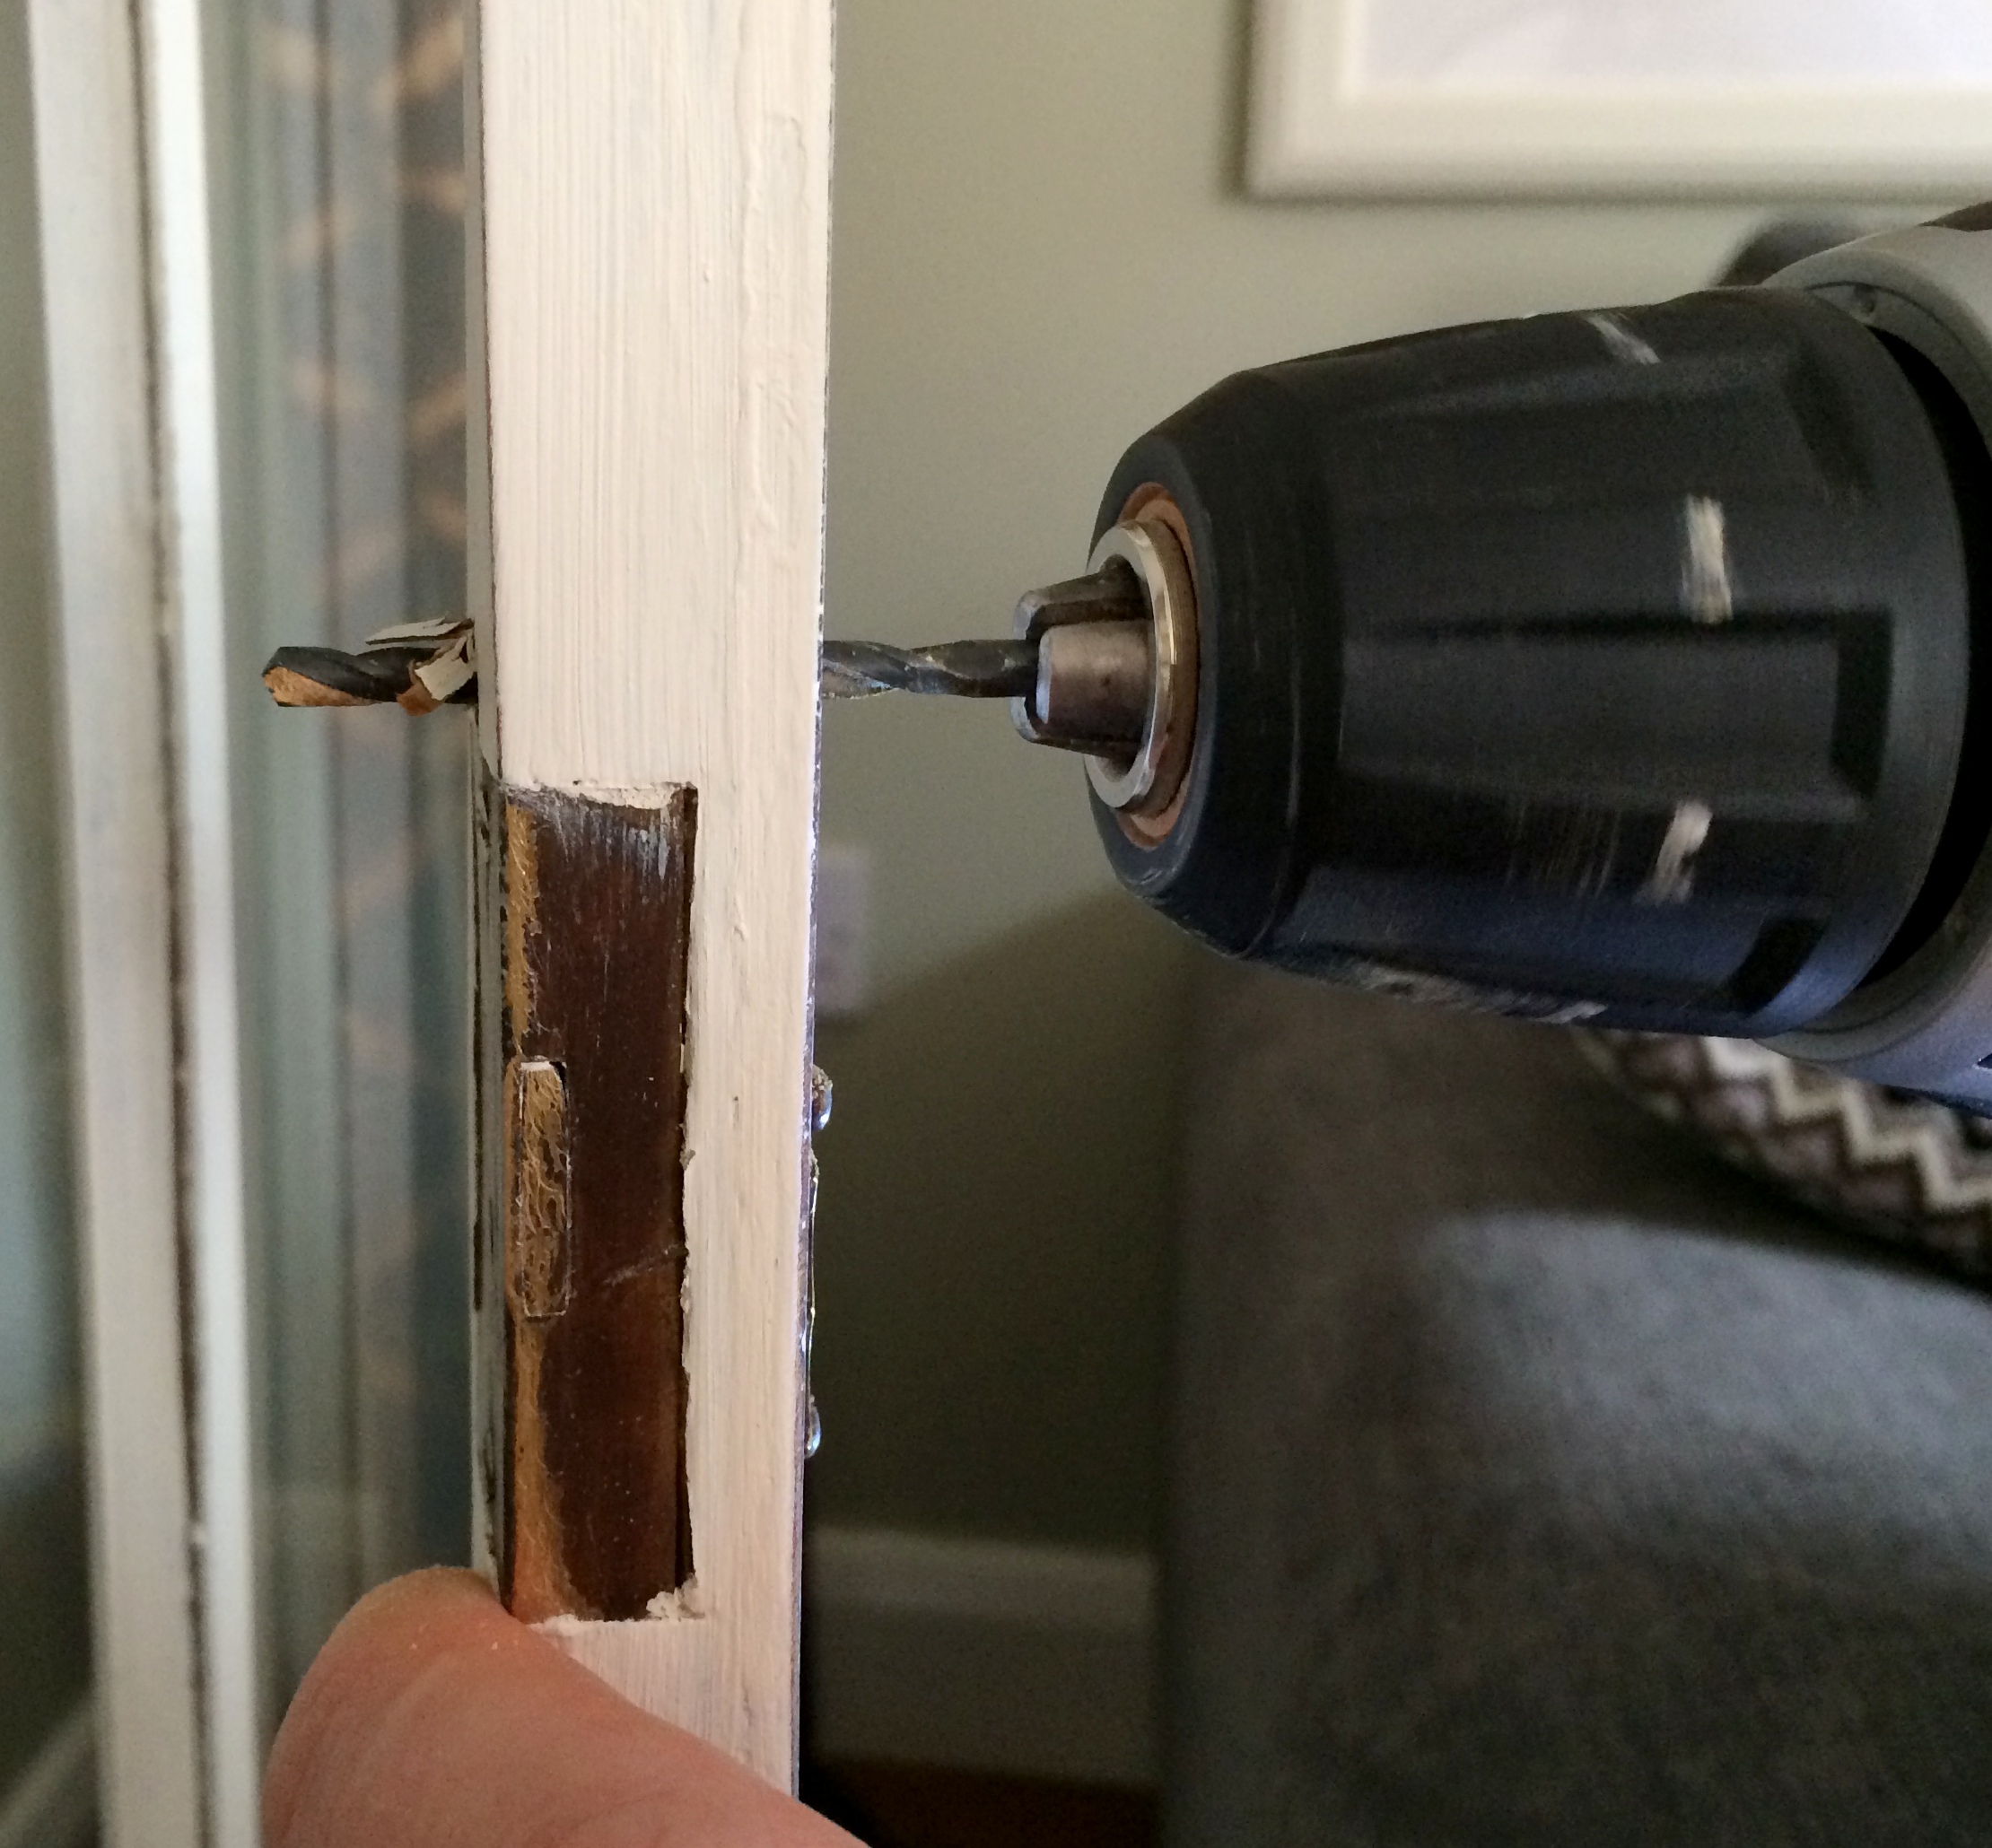
It’s dead easy to install cabinet knobs. Mark where you want them, make sure both sides are levelled. Using a drill bit that is the same diameter as the screws you plan to use to fix the knobs drill a hole through the door; do it very slowly so you don’t splinter the wood. Always compare the size of the screw with the size of the drill bit. If you are not sure what size to use, it’s better to start with the smaller drill bit and then go one size bigger if necessary. Insert the screw in the hole from the inside while holding the door knob over the hole on the other side. Using a screwdriver screw it through the door and into the knob. Done!


And this is the end result of our DIY Shabby Chic Liquor Cabinet makeover:
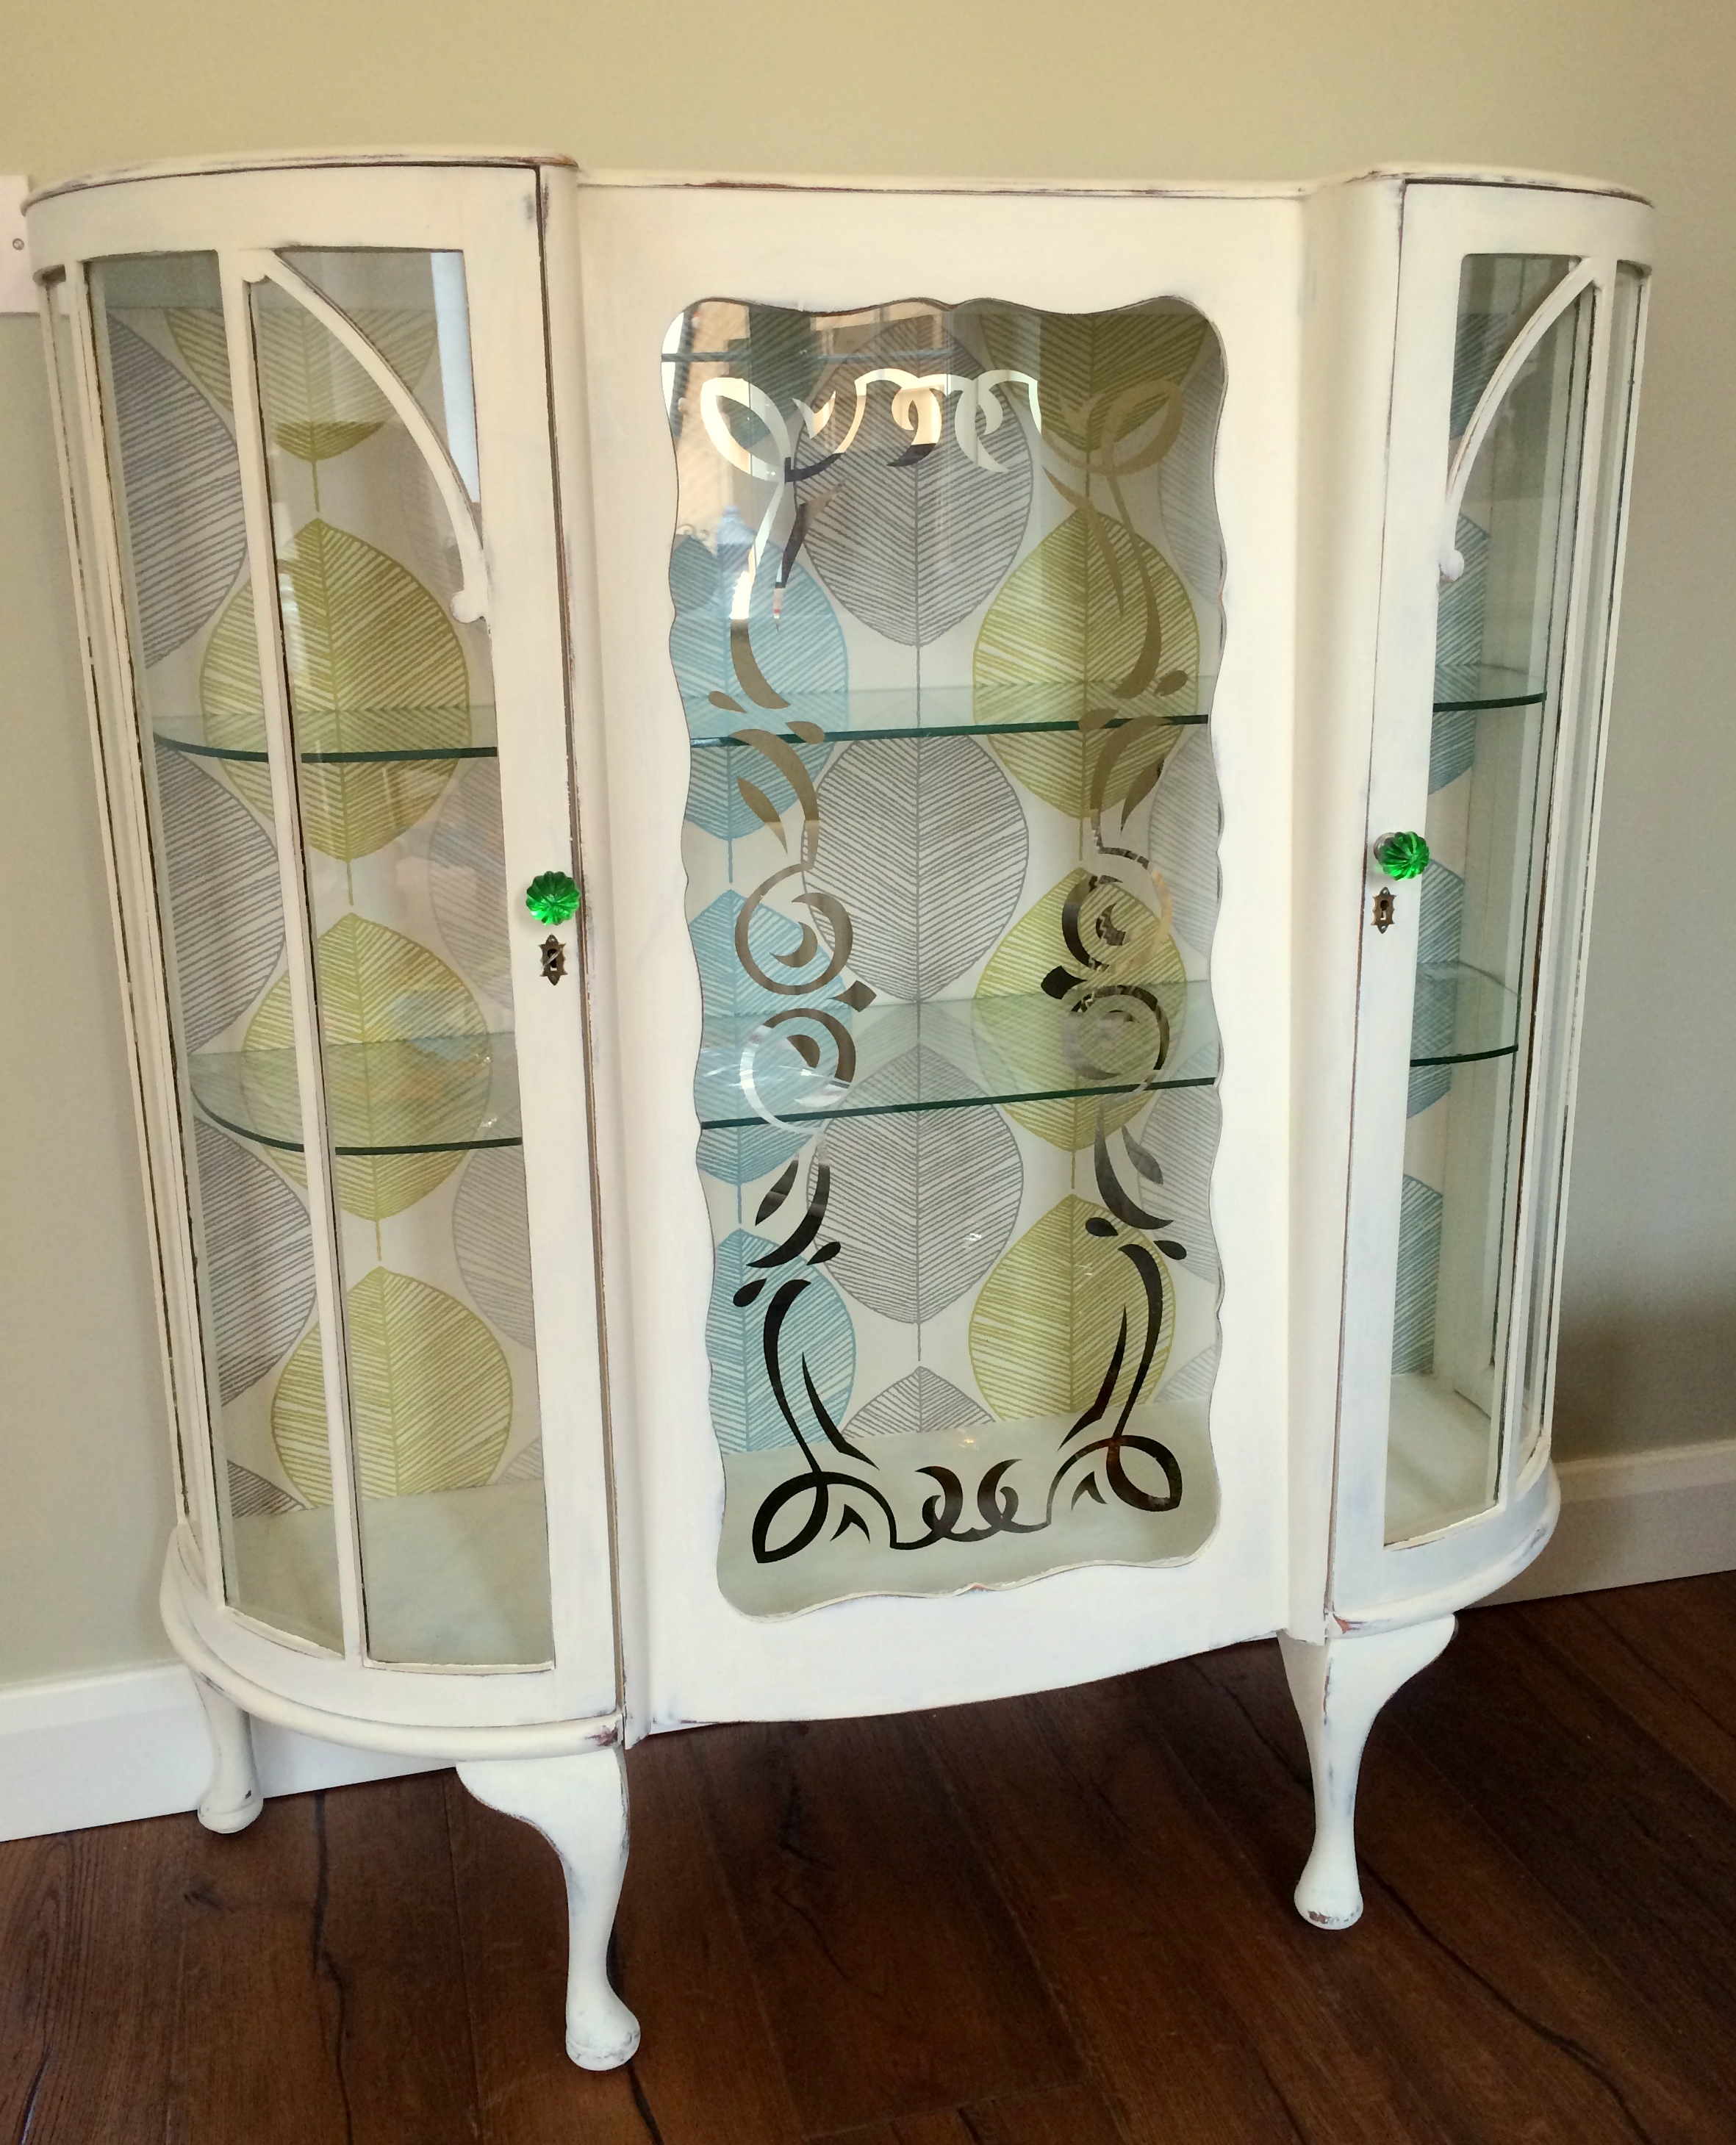


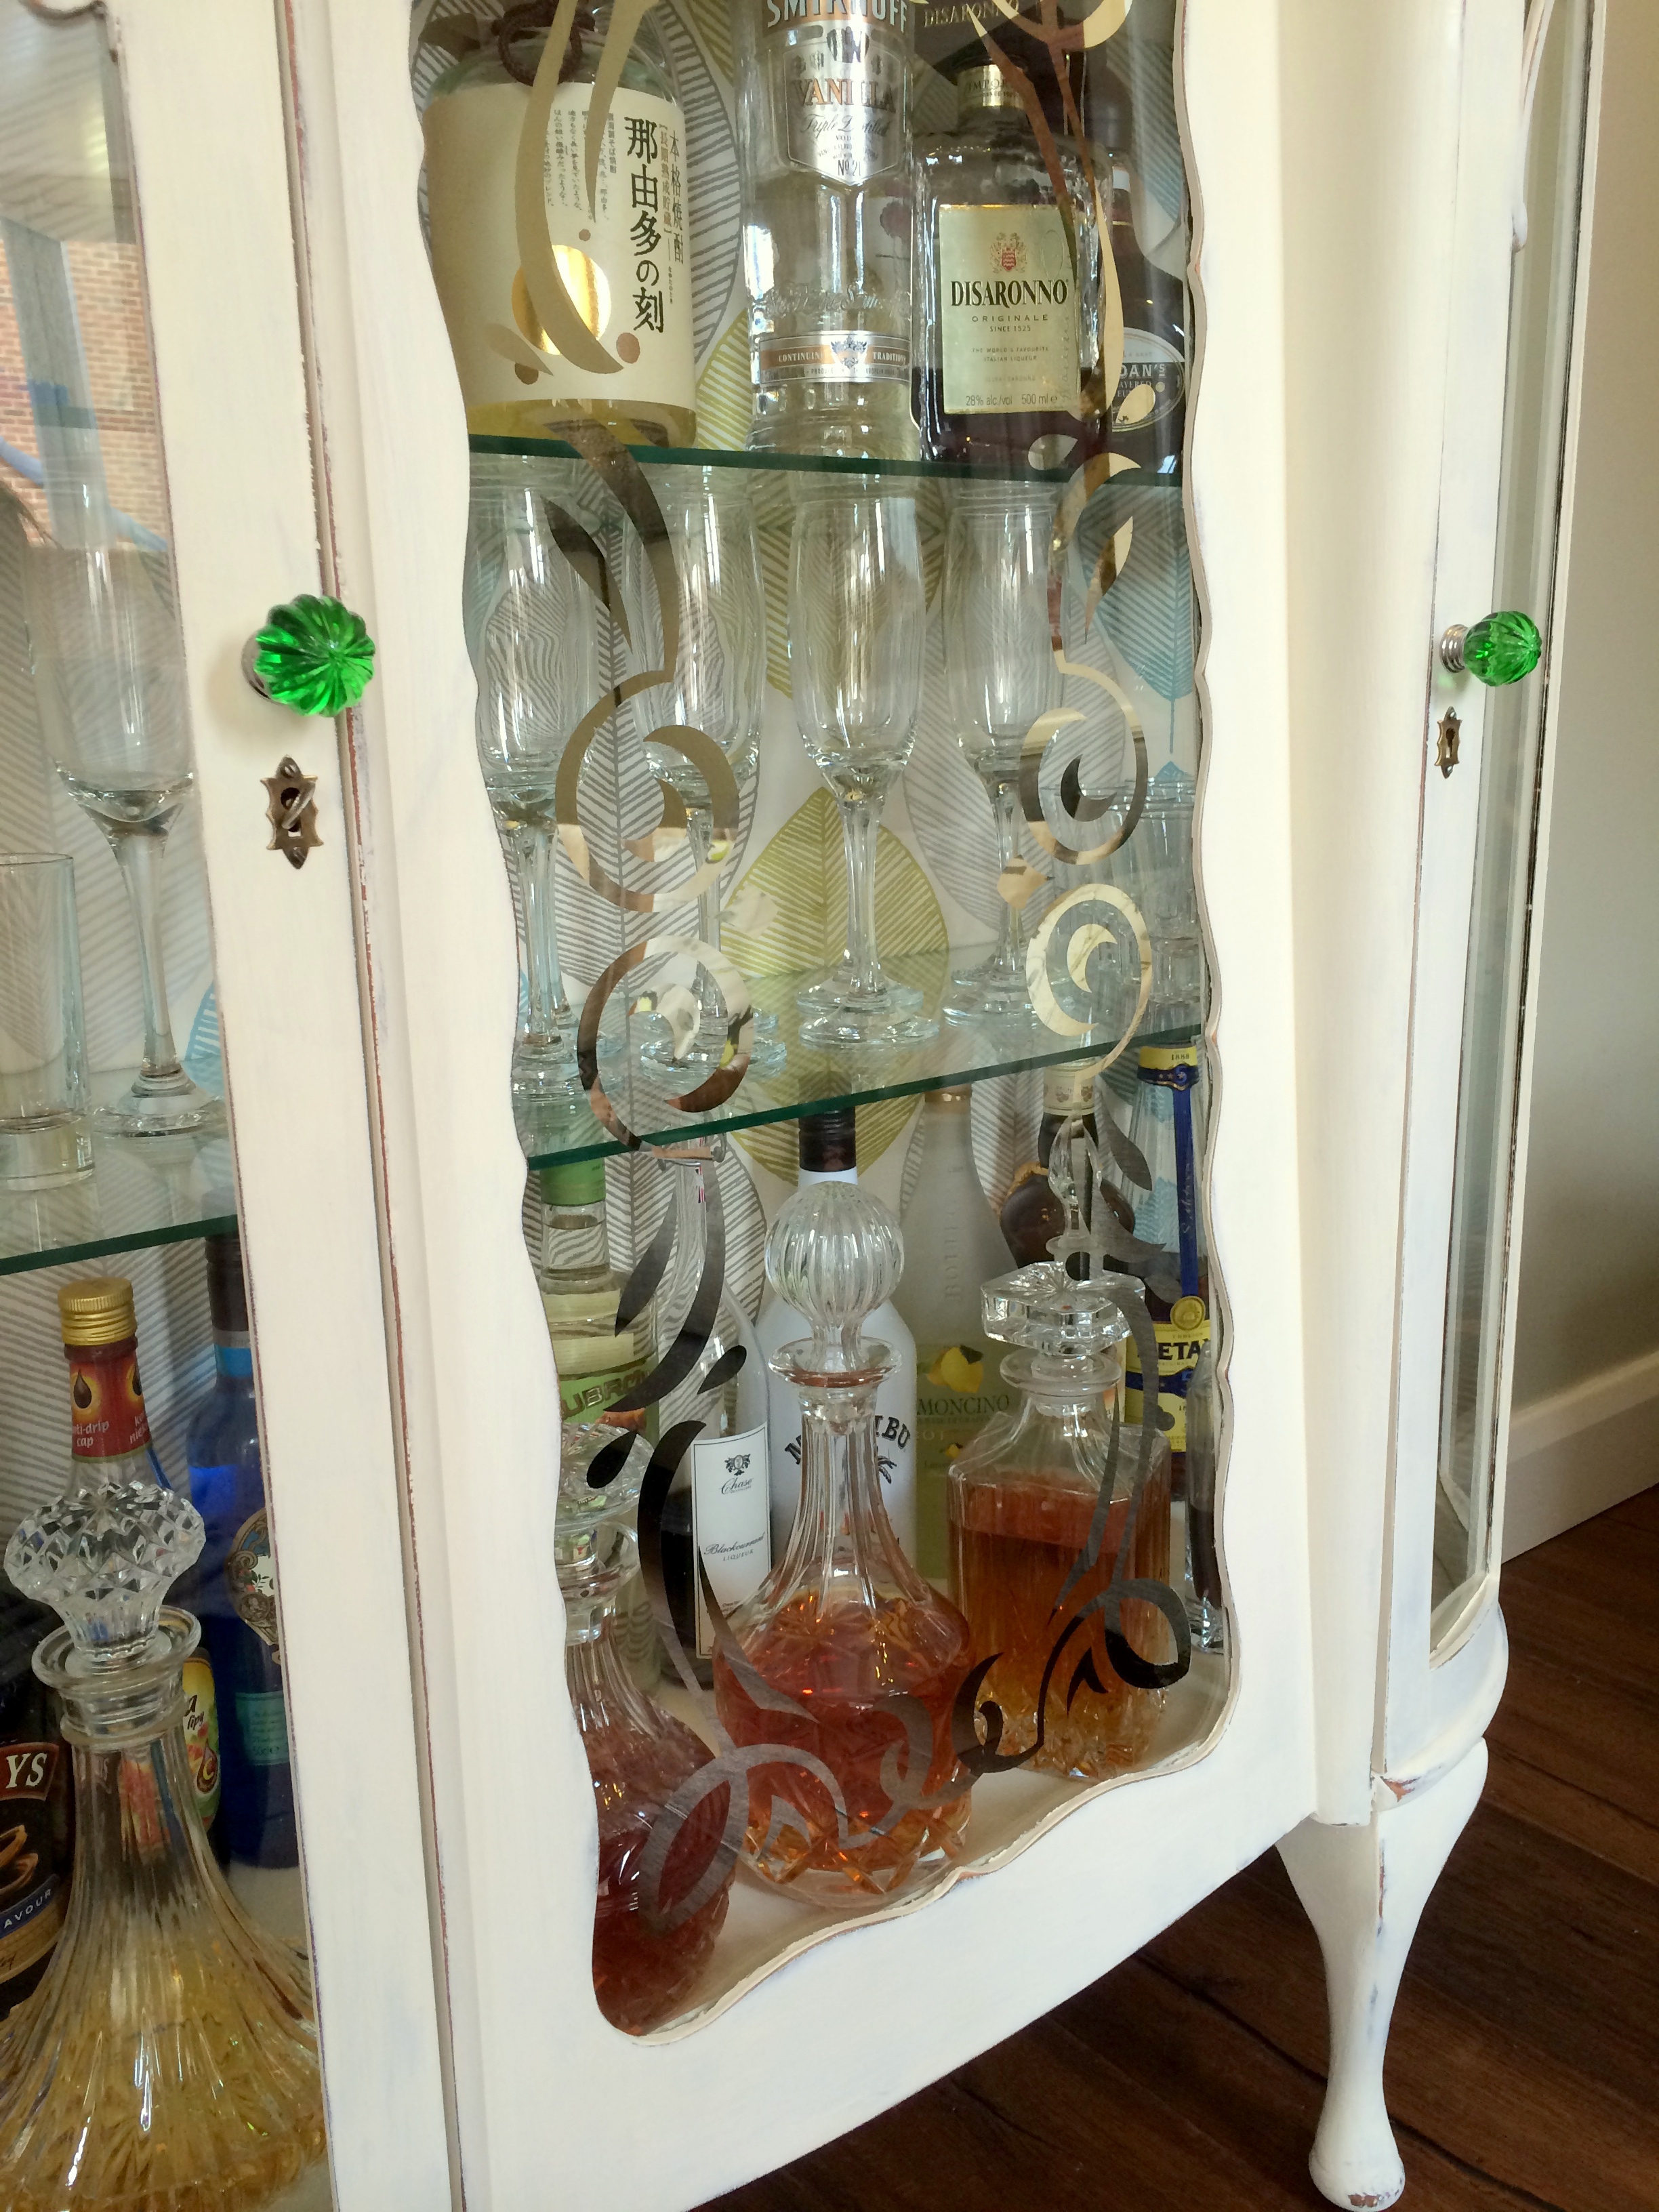

love it !!!