
I am posting my nautical alphabet tutorial like I promised to do so few weeks ago . The alphabet is very easy to do and you can use whatever colours you desire. Follow these three easy steps below to create your own colourful alphabet.
step 1 Prepare
Preparation is a key to every successful DIY project, so before you start painting your own alphabet you will need these few things:
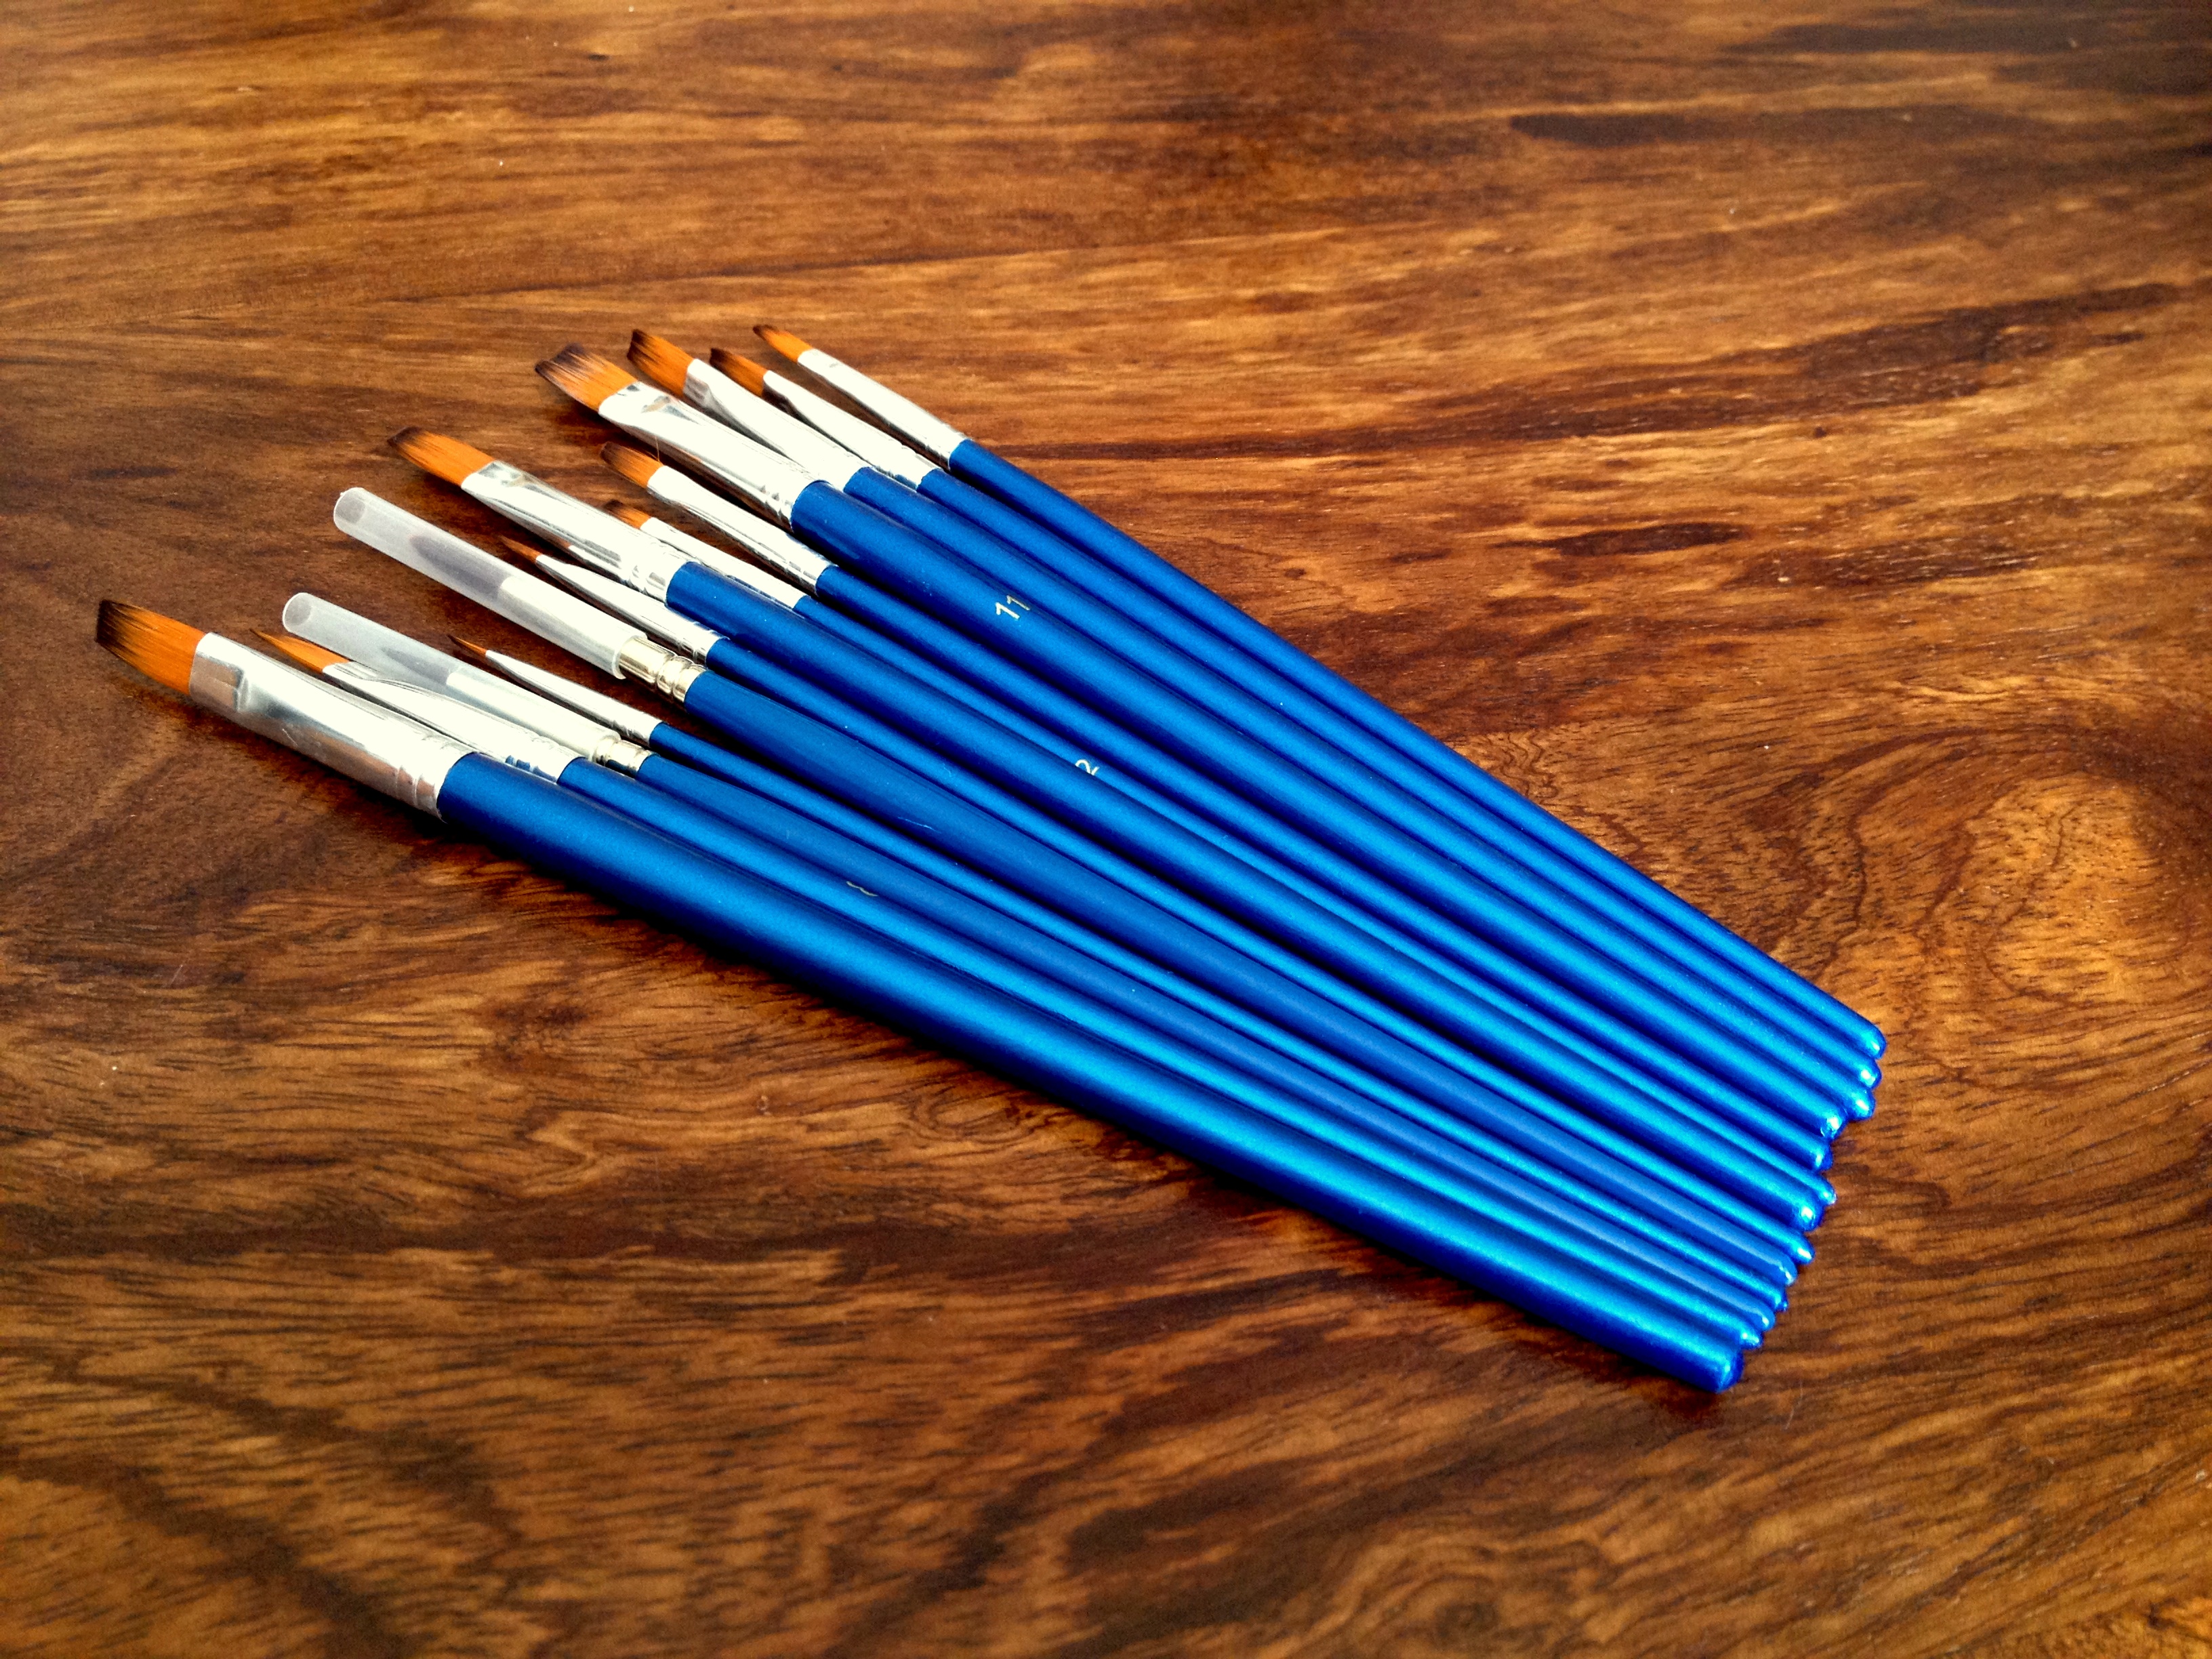
Paint brushes & glass of water
I got mine from Hobby Craft, but you can get a set from Staples or any other supermarket. Fill a glass with warm water- you will need it to clean your brushes.
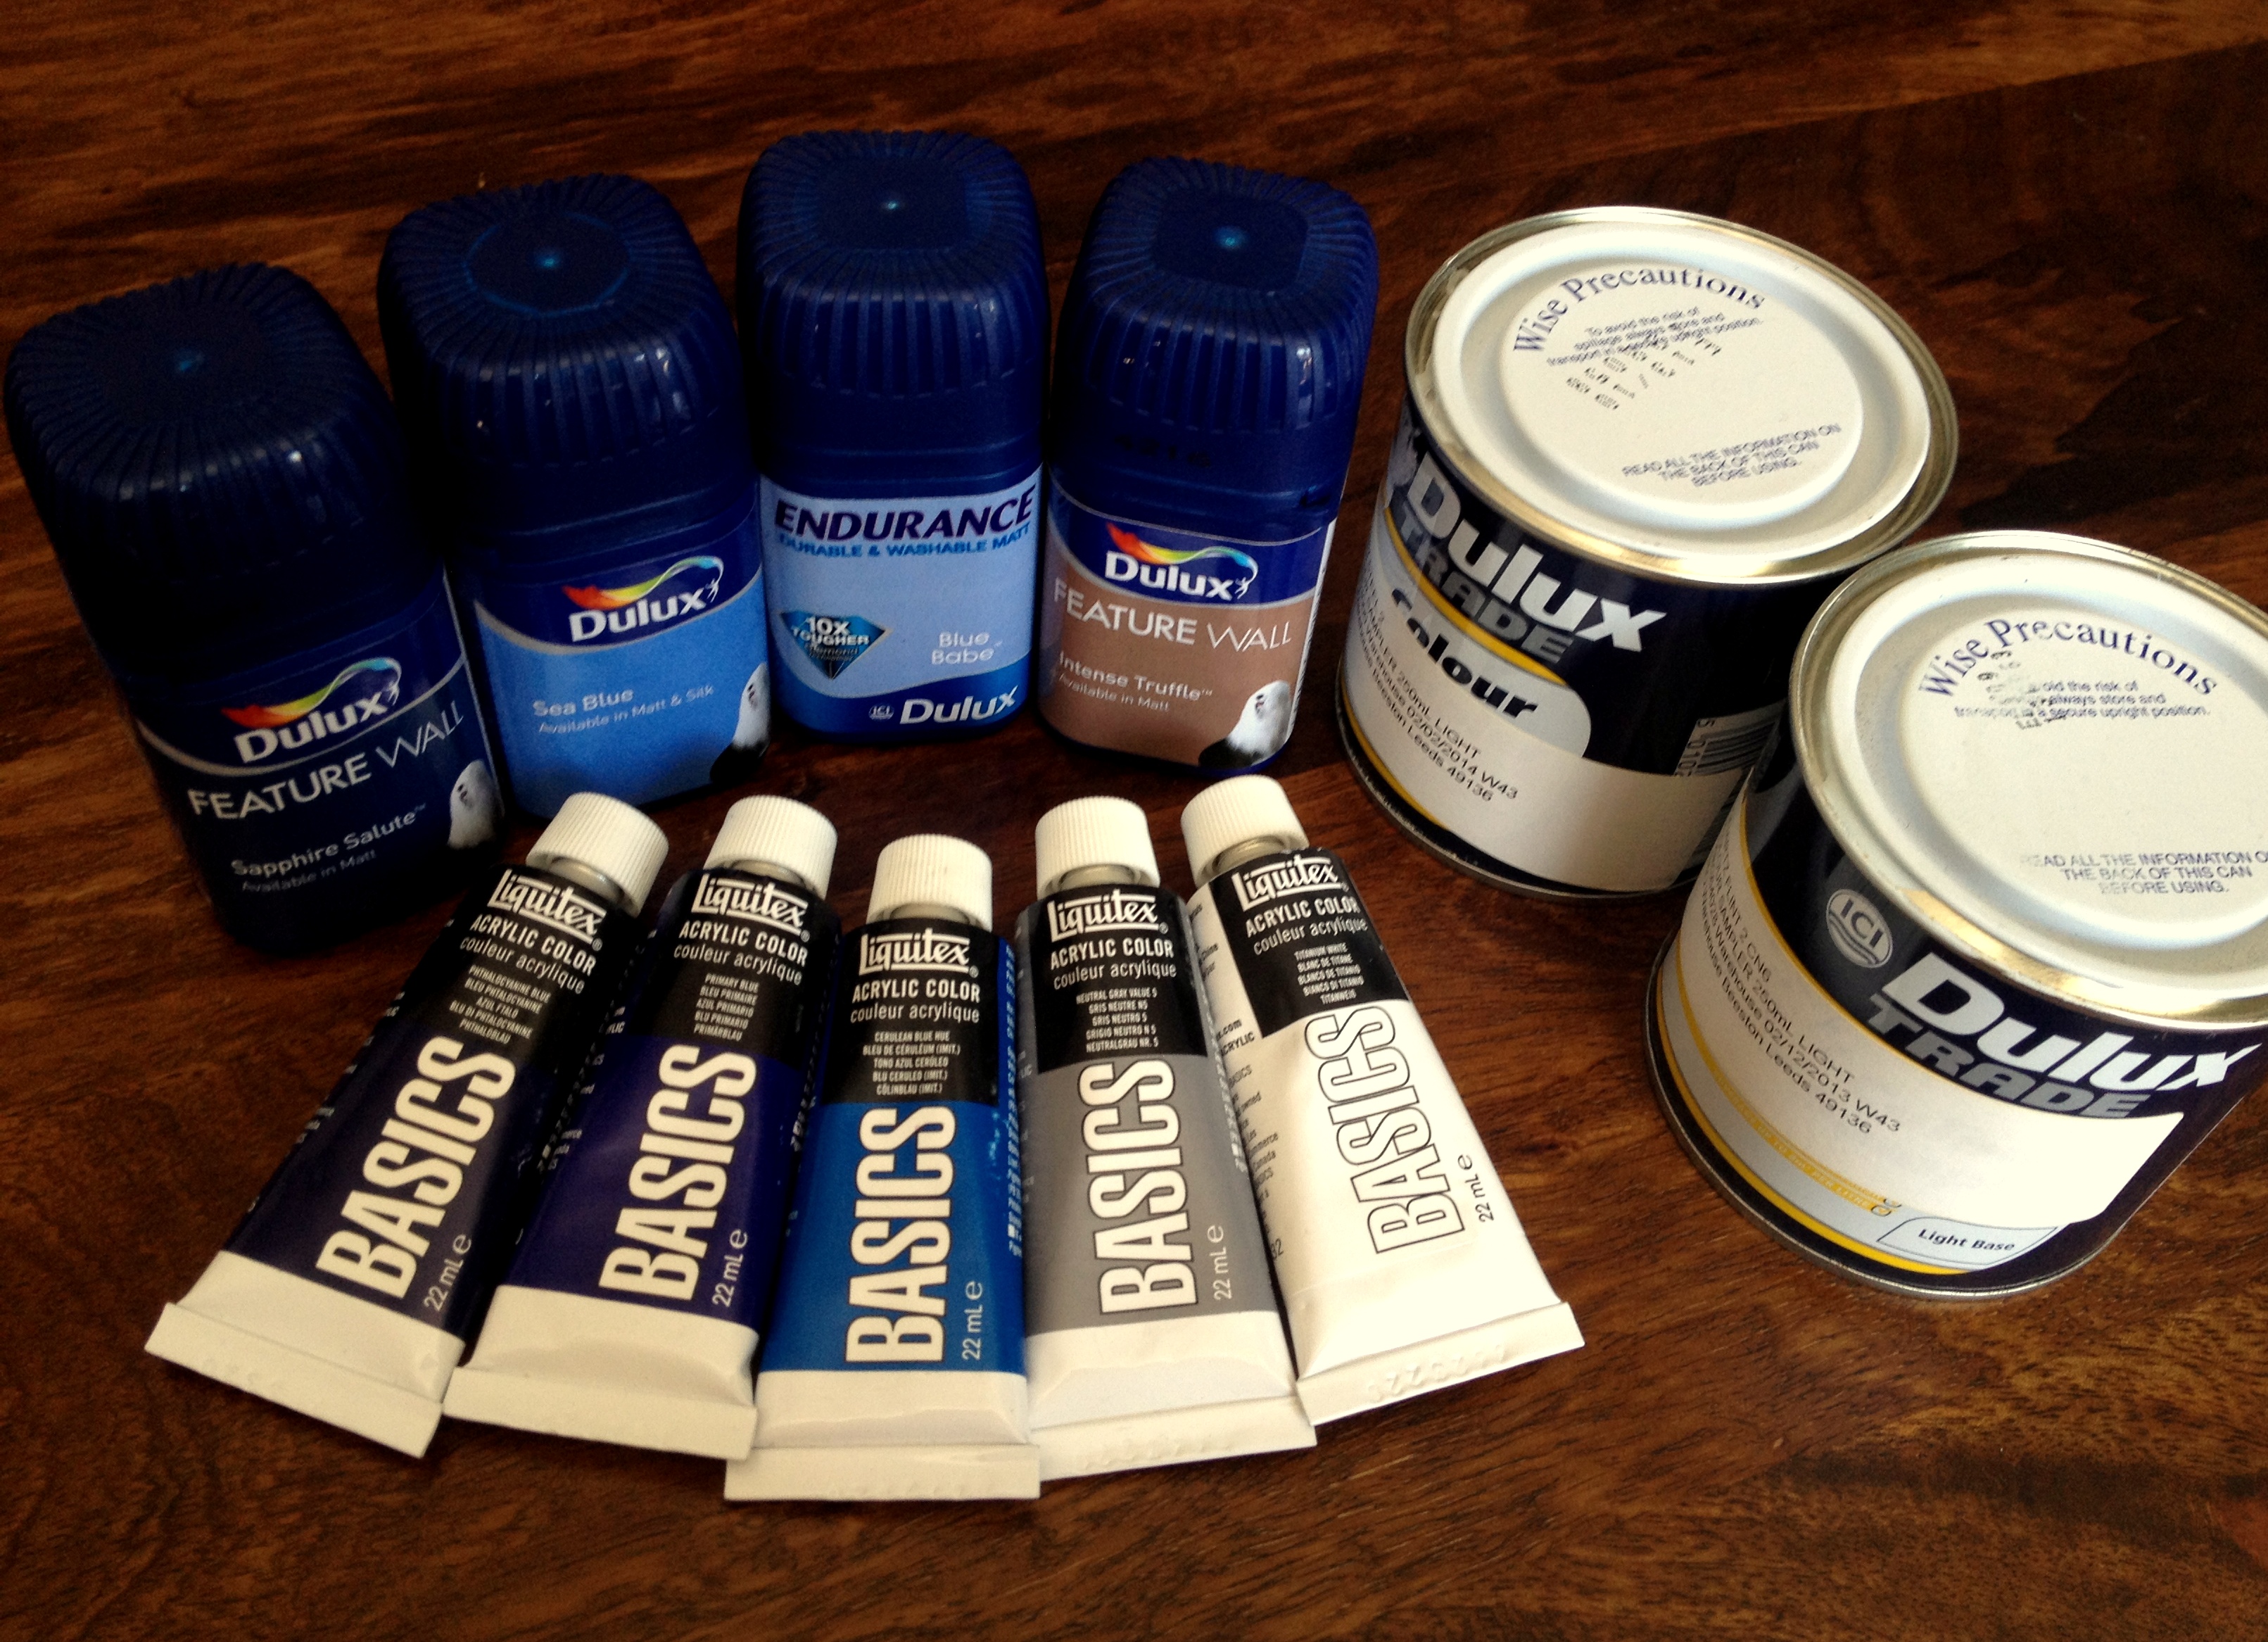
Paint
I already had some acrylics so I used those to paint the letters, but I also made use of some greys and blues we have used to paint different rooms in our house. On top of that I also bought few Dulux samples in B&Q.
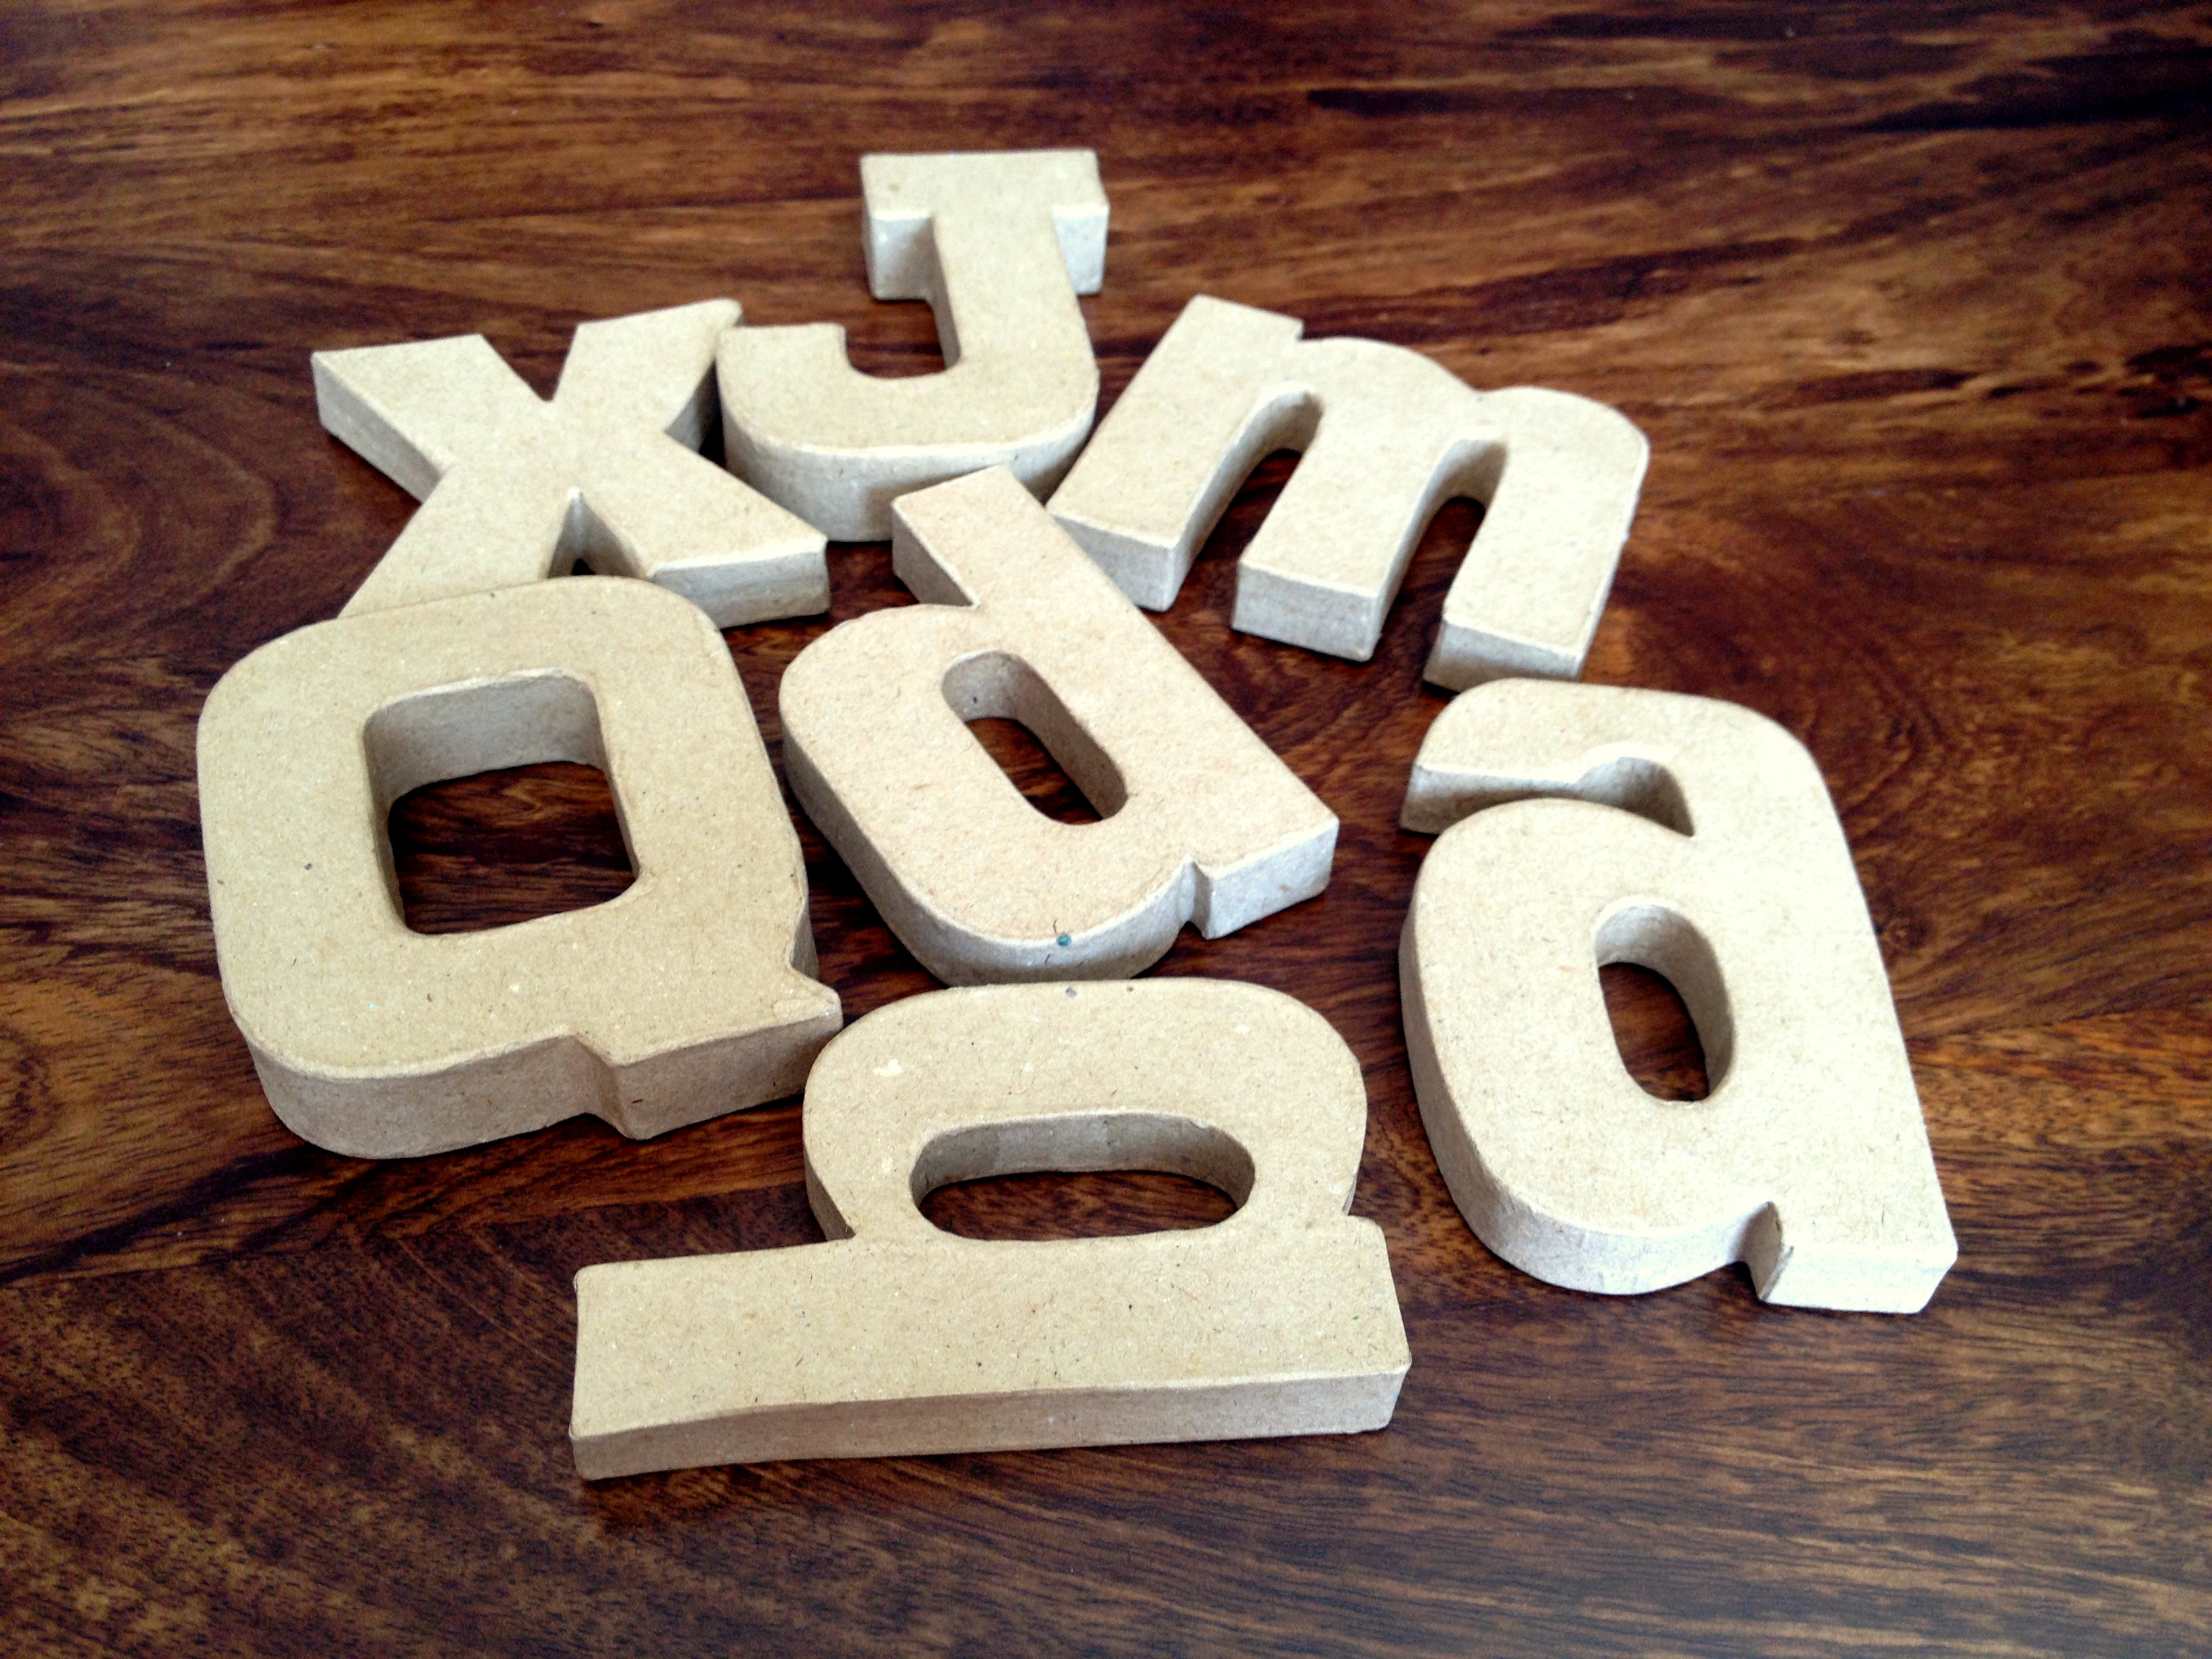
Letters
I bought mine in Hobby Craft, I decided to mix and match small letters with big ones. The letters I picked where made from cardboard not wood.
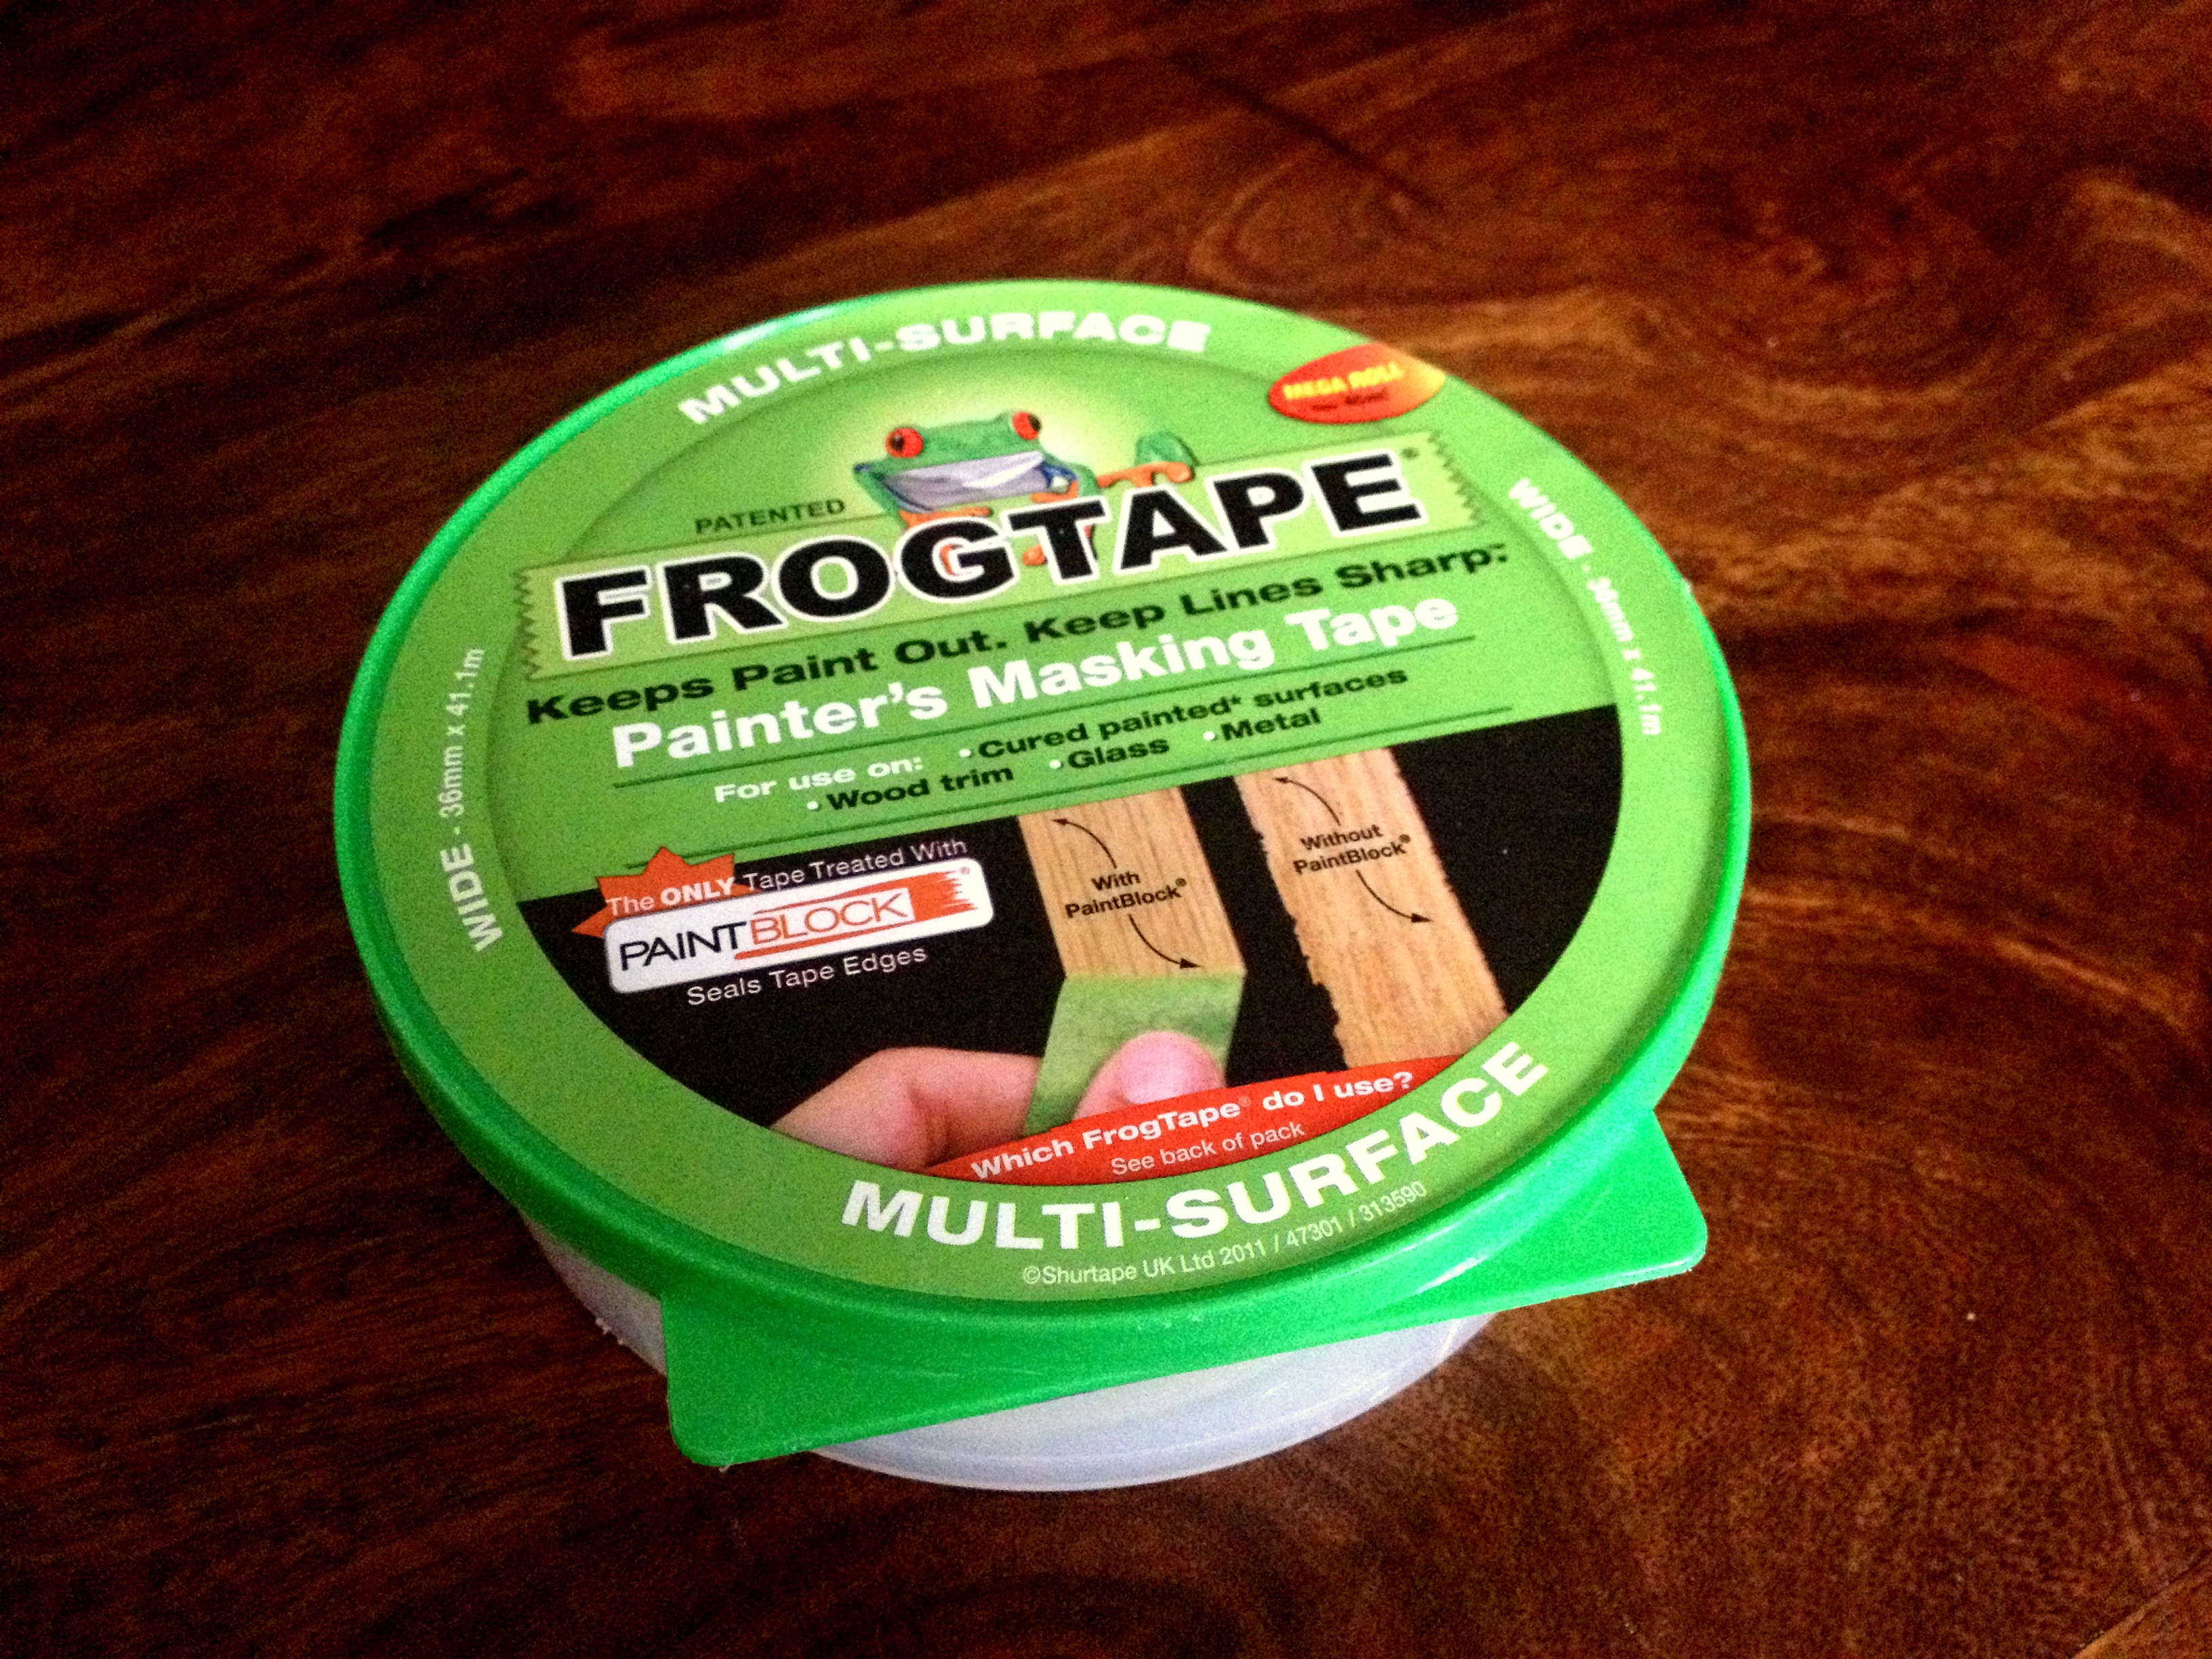
Old Newspapers & frog tape
Use old newspapers to protect the surface of the table while painting the letters. The frog tape will help you to create straight lines of a different colour on the already painted letter.
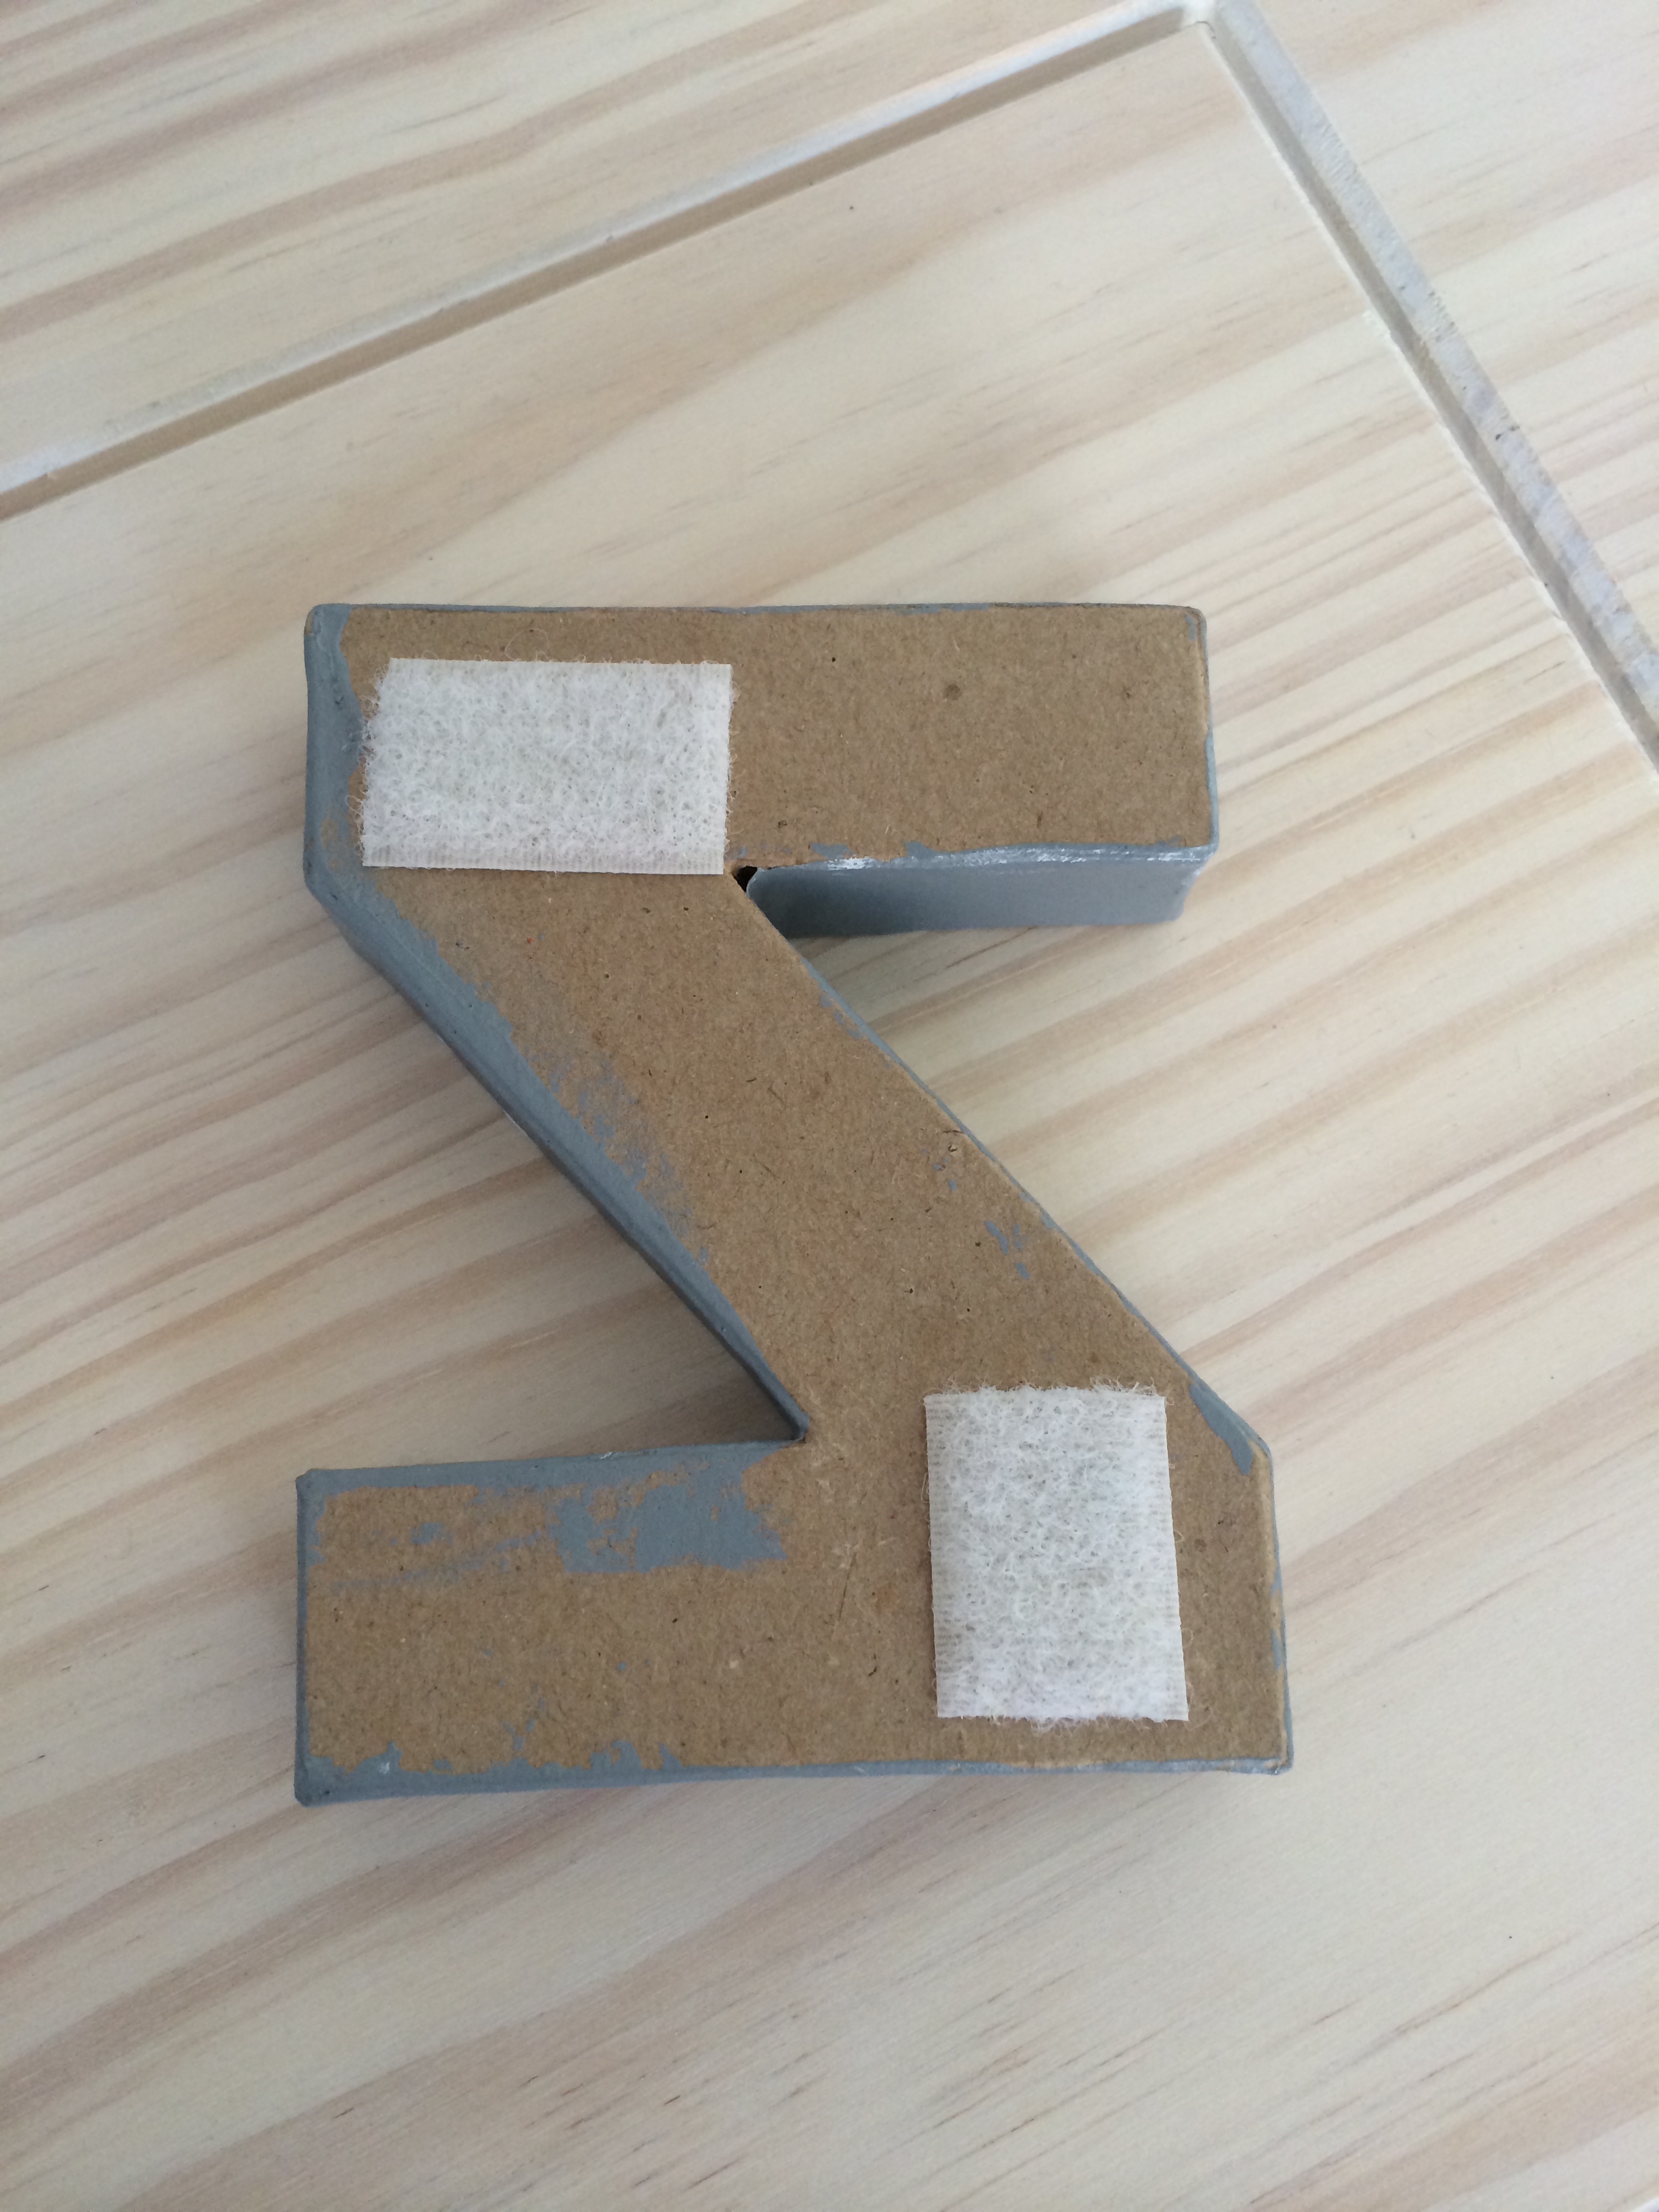
Velcro stick on tape
To hang letters on the wall I used the sticky Velcro stripes- you can get them from any craft shop, I purchased mine in Range.

Step 2 Paint
Its entirely up to you what colours and how many of them are you going to go for. I used at least 8 different colours (red, brown, white, grey and four shades of blue). Have fun and choose your own palette. If you already decorated the room and you want the letters to match the deco, look around the room, write down all the colours you can spot, take few pictures and then go to a local DIY store to pick up the paint- easy! 🙂
In order to paint stripes on your letters use frog tape. Simply place a piece of tape in the desirable direction on the letter and paint over it. Give the letters a lot of time to dry before you start painting the stripes! Once the stripes have been painted allow the paint to dry properly before you peel the tape off to avoid ‘bleeding’.

Step 3 Hang it
Before you hang the letters think how you going to arrange them, so try the design first. Simply place the letters on the floor in order you want them on the wall- this way you wont have to peel them off of the wall to rearrange them. When you are sure of your design simply peel off the protective layer of the Velcro and press the letters firmly to the wall. Done! 🙂

 I hope you enjoyed this tutorial and I am looking forward to reading your feedback and comments. 🙂

One thought on “DIY Nautical Alphabet Tutorial”