This is one of my favoured makeovers we have ever done and I am very pleased I can share it with you lot. It took me good few months to finish it. I had my husband and my father-in-law helping me out with the makeover along the way (I couldn’t finish it myself because I found out I was pregnant, so using varnish remover was a big NO-NO at the time!). This dressing table has sentimental value to me; it’s nearly 100 years old and it belonged to my husband’s grandmother; it was given to her on her wedding day. Nearly 100 years later the very same vanity has been given to me as a wedding present by my parents-in-law. 🙂
I am not going to bore you with every detail of the makeover because I would probably run out of space, so I am going to give you a quick overview of what we have done to complete it.
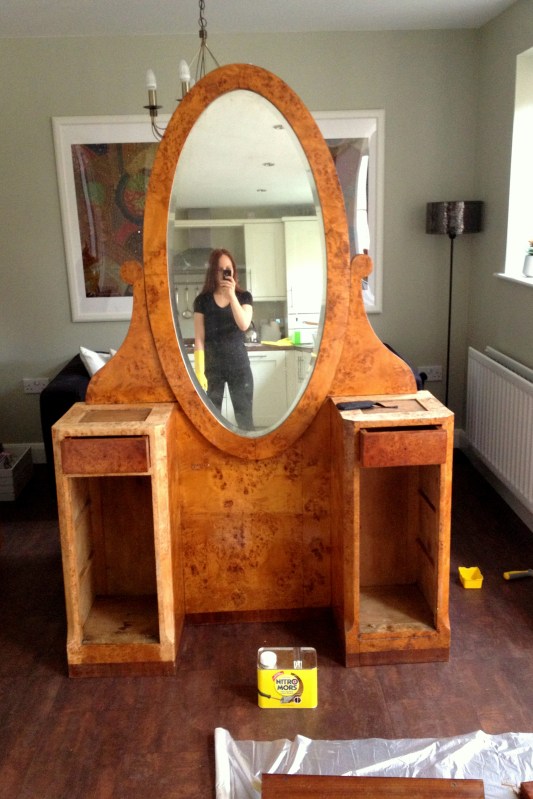
Before

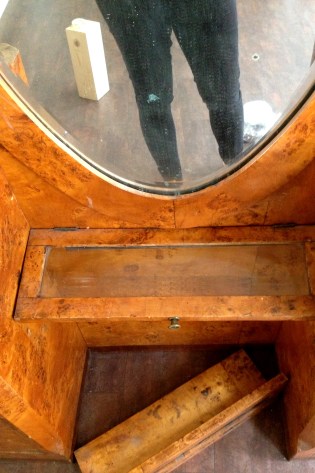


Stripping off old varnish
I couldn’t just sand the dressing table because it was covered with a very thin layer of burl wood (just like many other furniture from art deco period). Sanding would seriously damaged it. I had to find another way of stripping that 100 year old varnish off. I decided to do it with varnish remover and crown shavehooks. It took weeks (!) to get it to the bare wood stage. I had to take the dressing table into pieces first then apply varnish remover, wait for it to work and then gently scrape it off with a crown shavehook. I had to treat each part twice since the varnish wouldn’t come off after one application!!! It was labour of love…. , but it was well worth it.
Unfortunately the bits and pieces of thin burl wood layer from one of the side tables peeled off and fell off long time ago (as you can see on the picture above), so we had to fill these holes with wood filler.
You can see me in action in the picture below. 🙂
Painting
Decisions, decisions… After all that hard ‘stripping off’ work I wanted to make sure the new stain/varnish would be the right one. The last thing I wanted to do was to go through that painstaking process of removing it again. I was absolutely sure I wanted to get rid of that awful pine-ish colour, but on the other hand I still wanted that beautiful burl wood to be visible. After all I decided to go with teak finish (not too light and not too dark). It was a perfect match for our rosewood master bedroom suite.
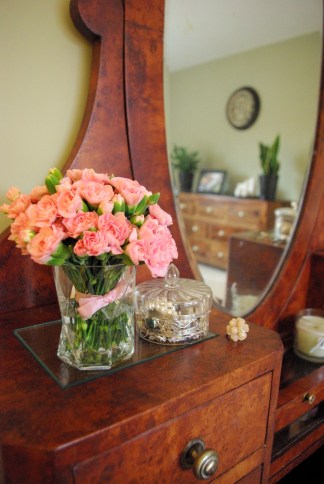
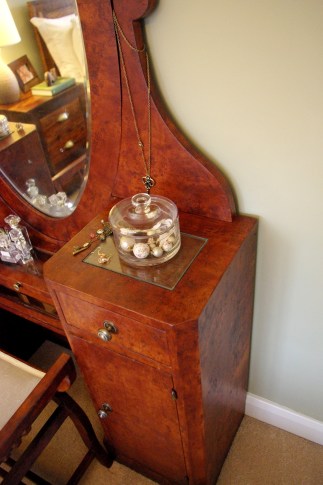
After
This is the end result of our hard work.
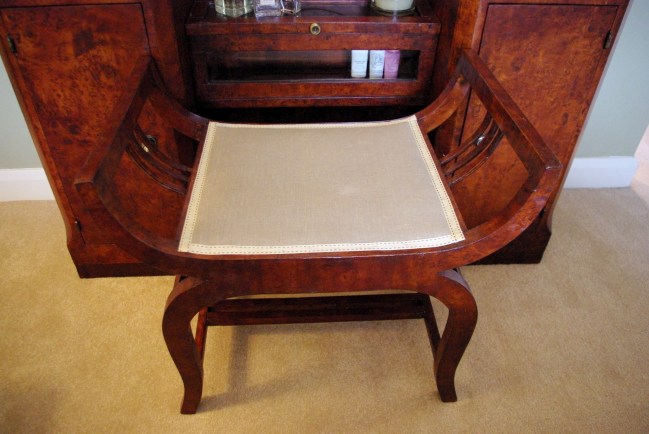
Unfortunately I don’t have any ‘pre’ pictures of the stool. It was the same colour as the vanity and it had really ugly kind of 70s patterned fabric glued to its seat. I ripped the old upholstery off and I used this light brown Ikea fabric to replace it. I nailed the new fabric to the stool and then I glued the cream ribbon (from HobbyCraft) around it to cover the nails.